

I have trained with a sled for years, and it completely changed how I build strength and conditioning.
The sled push workout is one of the most effective tools in any fitness plan, and this guide covers everything you need to know.
You will learn how it works, which muscles it targets, and how to perform it correctly. I will also share beginner to advanced plans, proper technique tips, and a weekly schedule that fits any fitness level.
This blog is built on real training experience and trusted fitness principles. No filler, no fluff. Just clear, practical guidance you can apply right away.
If you want to build real strength and stay consistent, keep reading.
What Is a Sled Push Workout?
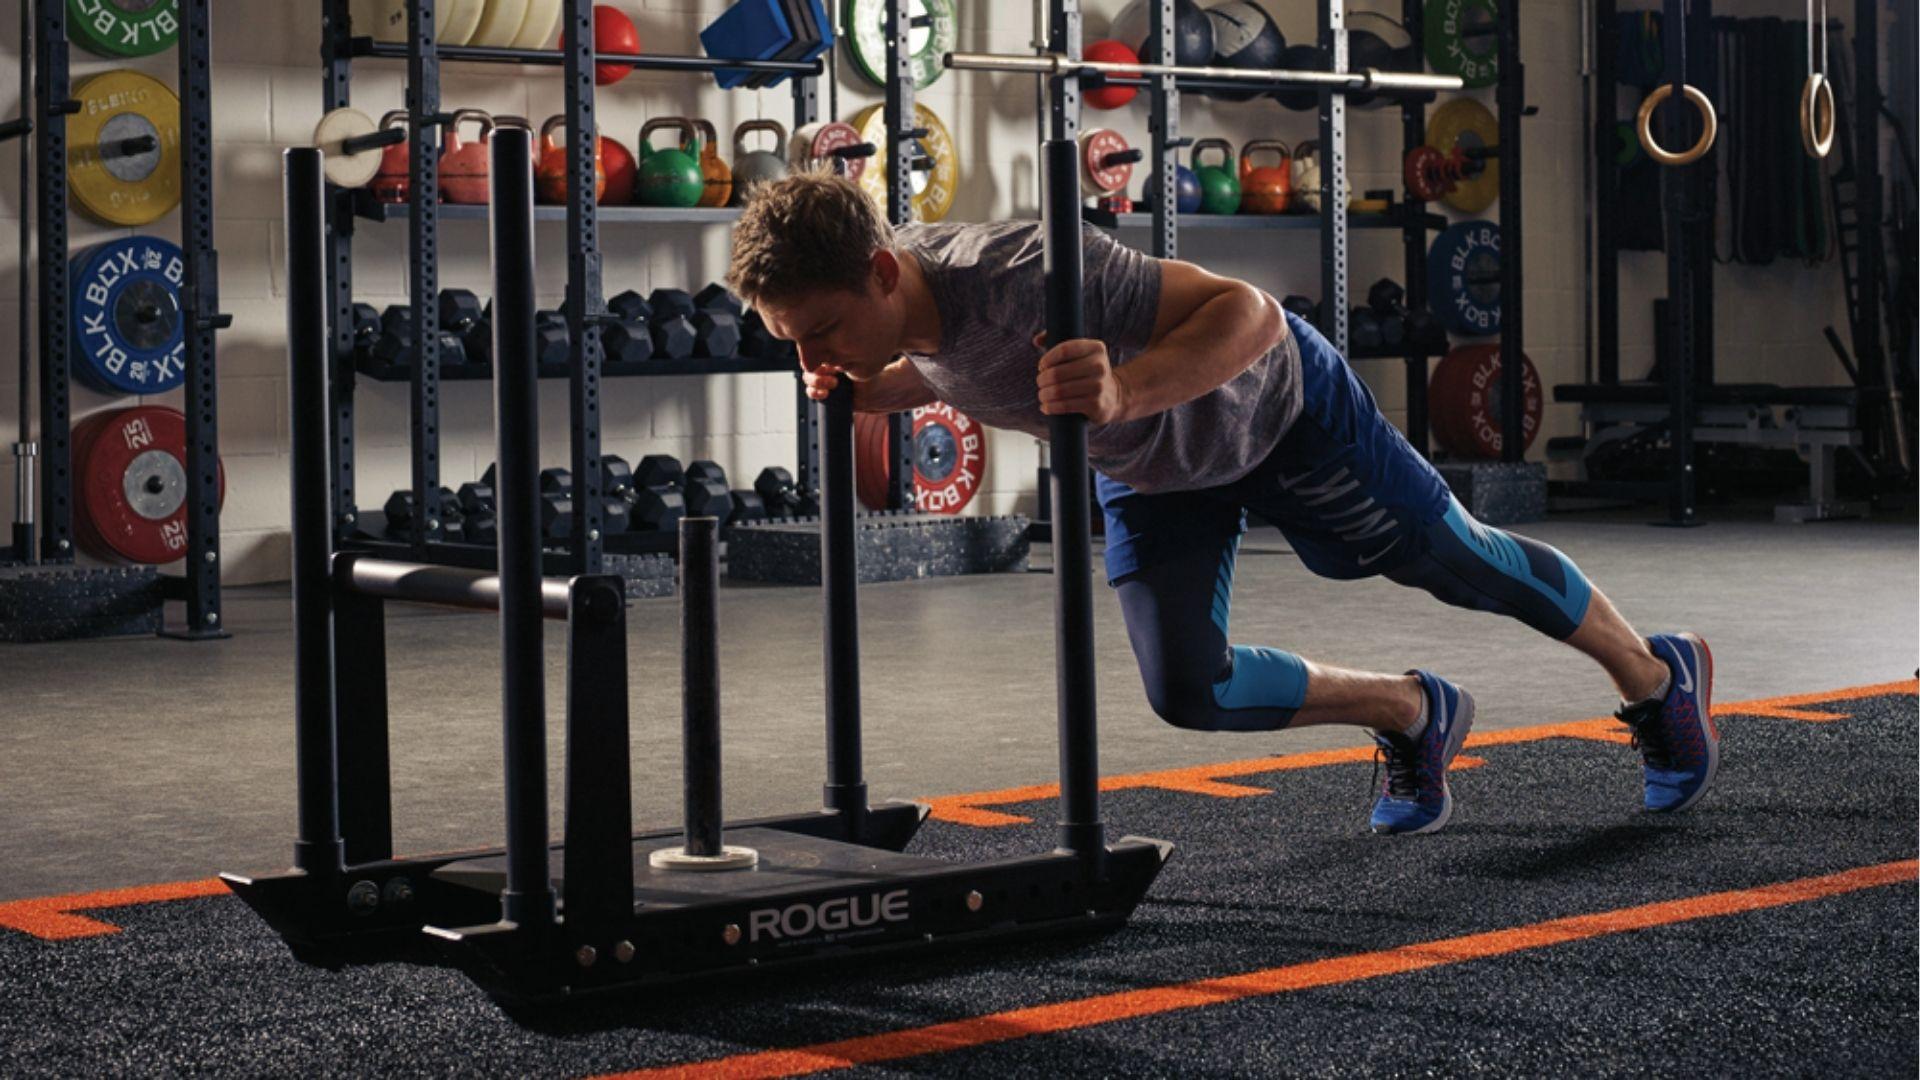
A sled push workout is a simple but powerful way to build full-body strength using a weighted sled.
You load weight onto a sled and push it across the floor or turf, forcing your legs, hips, and core to work together.
Since there is no lowering phase, muscle soreness stays low. It targets your quads, glutes, hamstrings, calves, shoulders, and triceps all at once.
Sled training builds strength, speed, and cardio simultaneously, making it popular with athletes, gym-goers, and rehab patients alike.
It scales easily for any fitness level, making it a solid choice for beginners and advanced trainers both.
Sled Push Workout Benefits for Full-Body Fitness

Sled training builds strength, burns fat, and boosts your conditioning all in one move.
Builds Lower-Body Strength and Power
Sled pushes load your legs with every step. This builds quad and glute strength fast. Over time, your power output grows, which helps in sports and daily life.
Improves Cardiovascular Conditioning
Pushing a heavy sled for distance or time raises your heart rate fast. It gives you a cardio effect without running. Many athletes use it as a conditioning tool between strength sessions.
Strengthens Core Stability and Balance
Keeping your back flat during a sled push requires strong core muscles. Your abs and lower back must work constantly. This builds real, functional core strength.
Supports Fat Loss and Athletic Performance
Sled training burns a lot of calories in a short time. The combination of strength and cardio demand makes it great for fat loss. It also improves athletic performance by training explosive movement patterns.
Low-Impact but High-Intensity Training
Unlike running or jumping, the sled push has no impact on your joints. This makes it safer for people with knee or hip issues. You can push hard without the risk of joint stress.
Best Sled Push Workout Plan for Strength and Conditioning
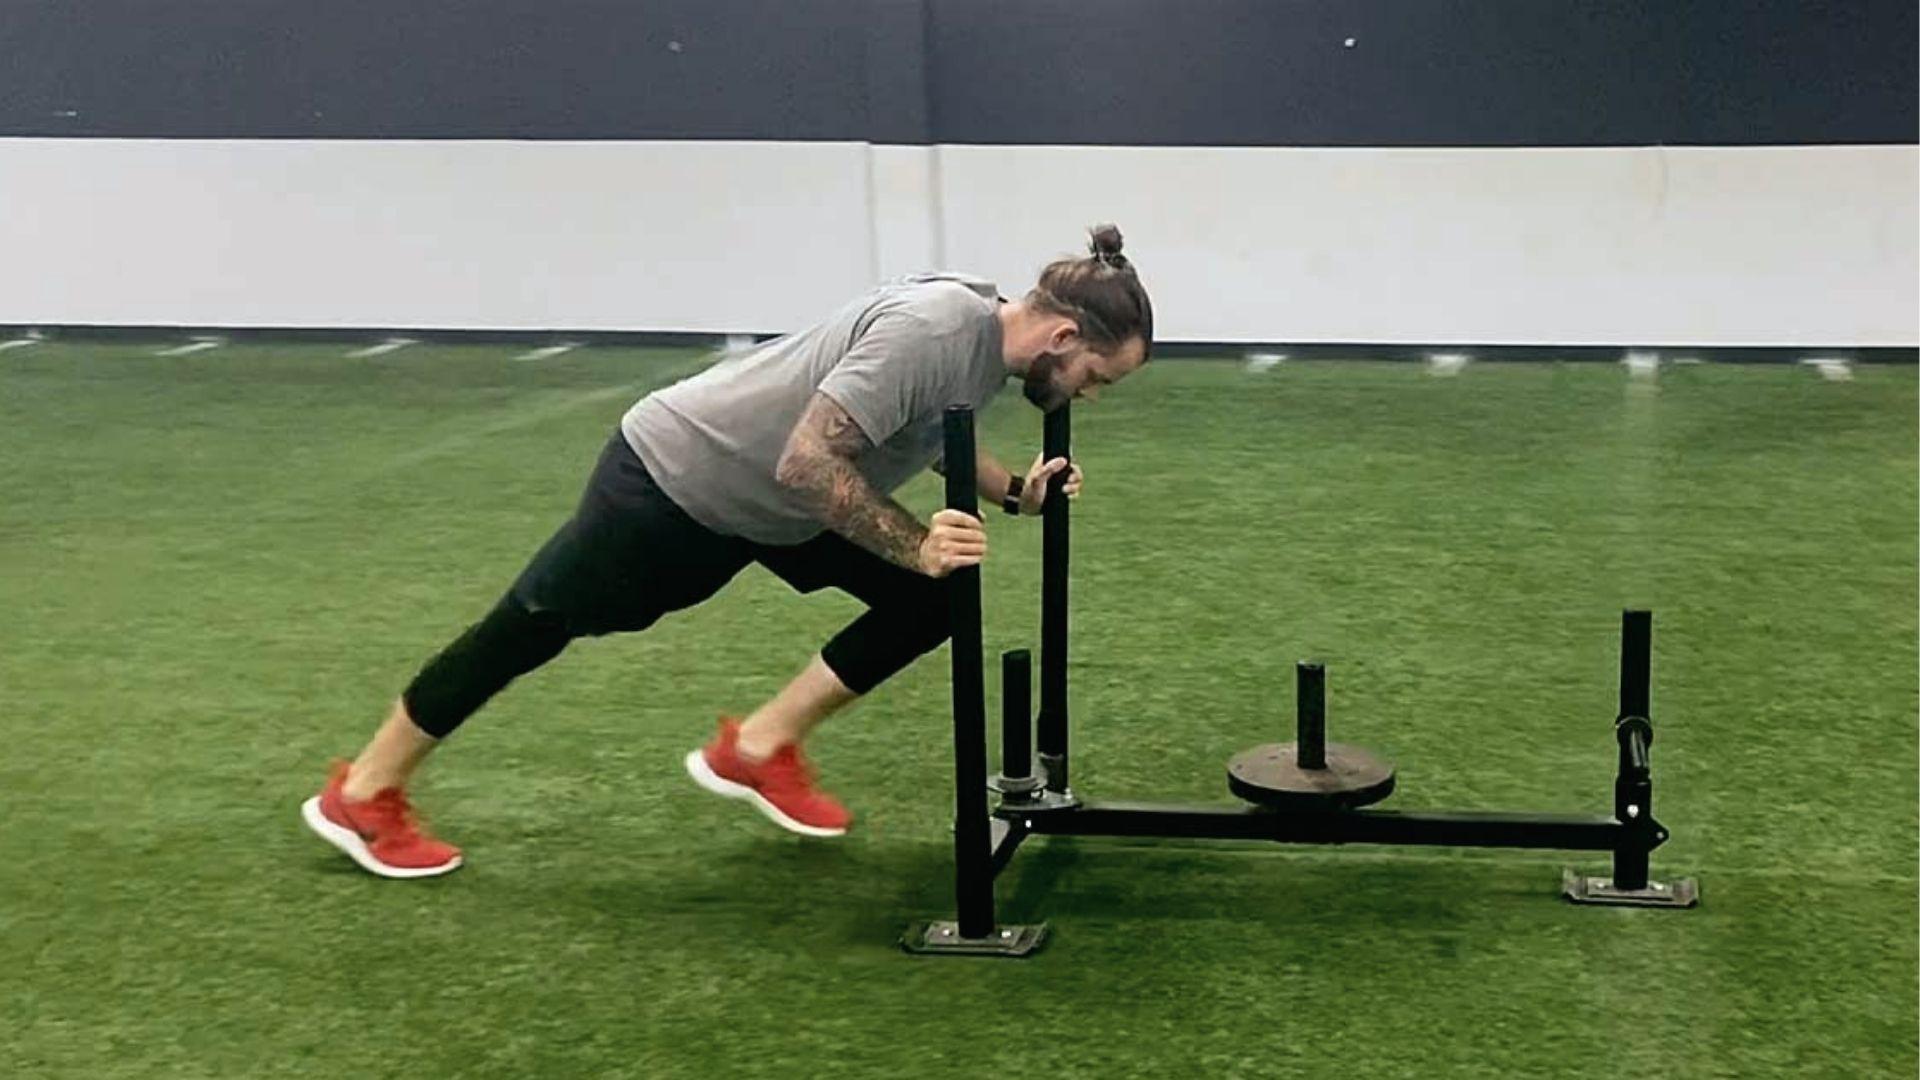
Here are four training plans to match your fitness level and goals.
Beginner Sled Push Workout Plan
Start light and focus on form. Push the sled for 20 meters, rest for 60 seconds, and repeat 5 times. Use a weight that feels manageable. Do this twice a week.
Intermediate Strength and Conditioning Routine
Add more weight and distance. Push for 30 meters with a moderate load. Rest 45 seconds between sets. Do 6 to 8 rounds. Include this in your training 2 to 3 days per week.
Advanced Heavy Sled Push Workout
Load the sled heavily. Push for 20 meters, rest 90 seconds, and repeat 8 to 10 times. Focus on leg drive and keeping your hips low. This builds raw power.
Sprint-Based Conditioning Sled Workout
Use a lighter weight for speed. Push the sled as fast as possible for 15 to 20 meters. Rest 2 minutes between sprints. Do 6 to 10 sprints per session. This improves speed and conditioning.
Weekly Sled Push Workout Schedule
A simple weekly plan can look like this.
Day 1: strength-focused sled push.
Day 3: conditioning or sprint-based session.
Day 5: light sled work or active recovery. Rest on the remaining days.
How To Perform a Sled Push Workout Correctly
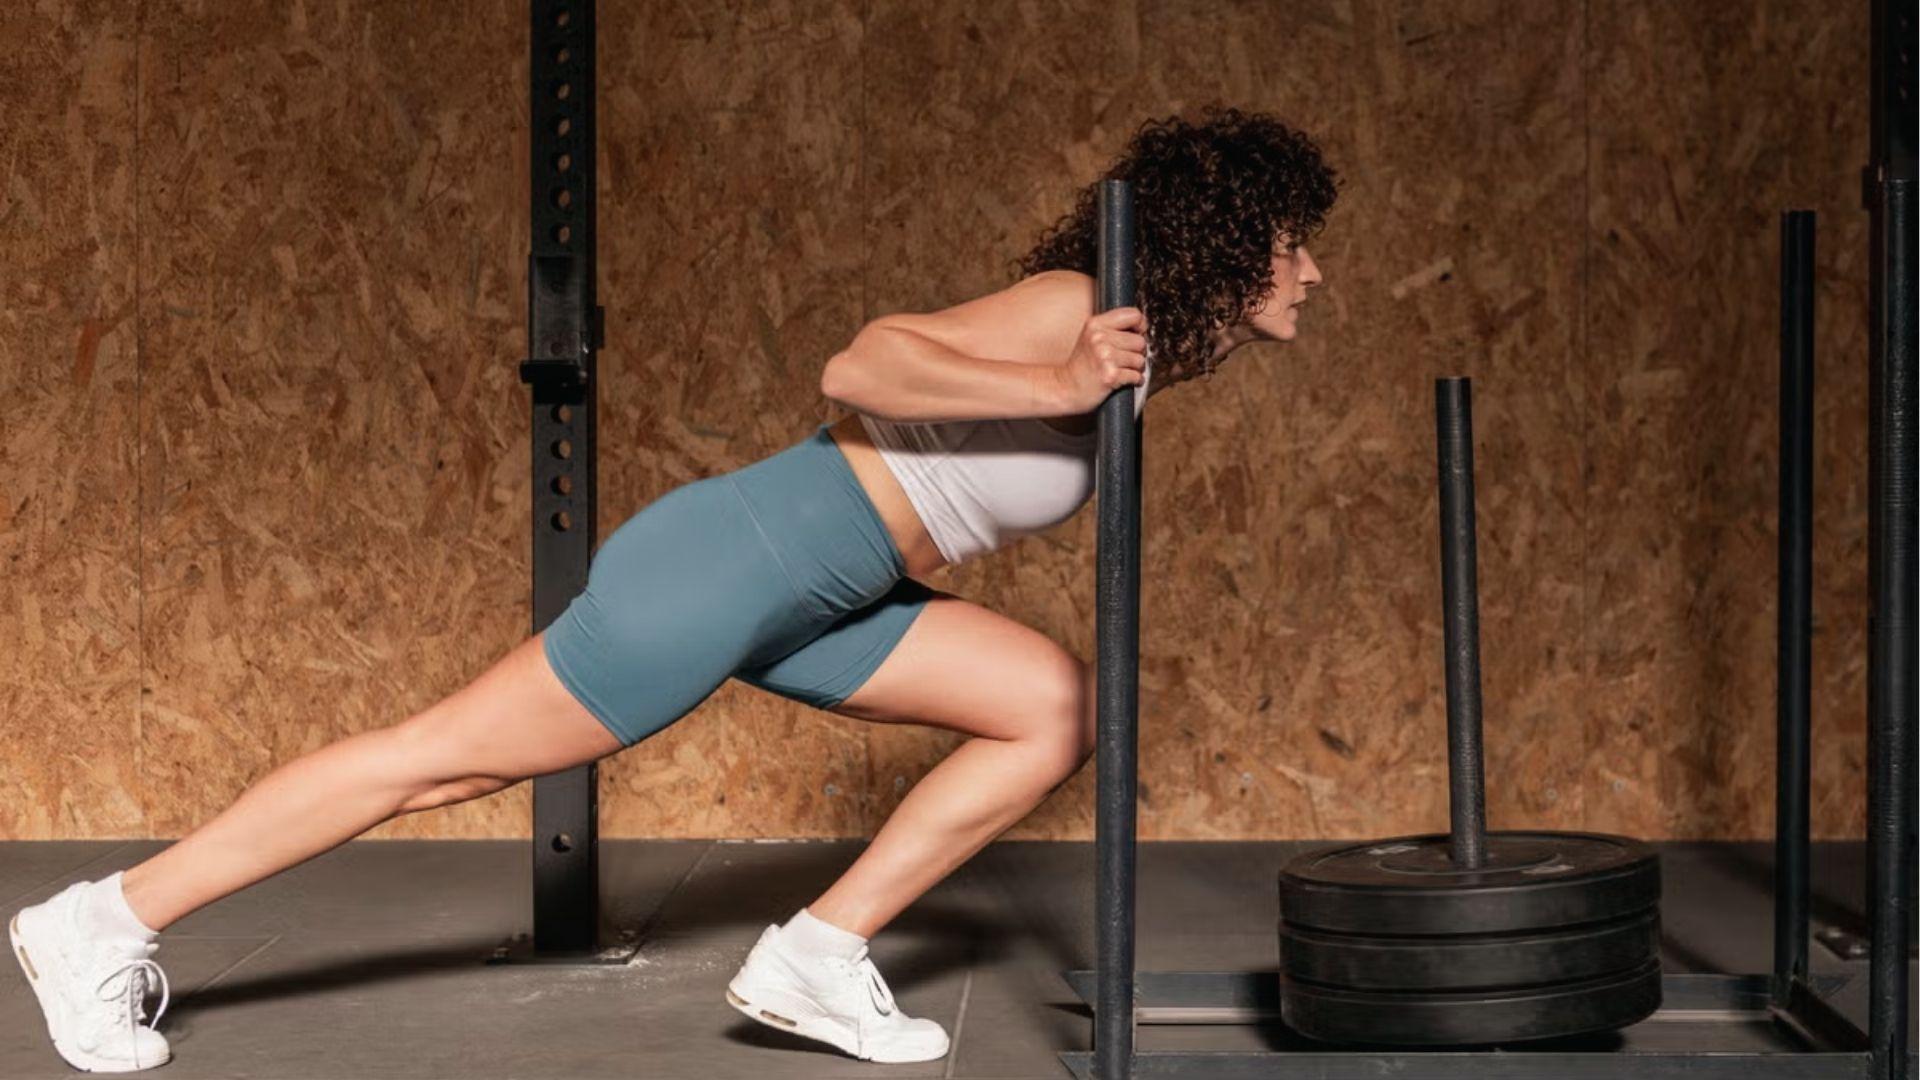
Good form makes every rep more effective and keeps you safe from injury.
Proper Starting Position and Body Angle
Place your hands on the sled handles at shoulder height. Lean forward at a 45-degree angle. Keep your arms straight. Drive through your legs from the start.
Best Stride Length and Foot Placement
Use short, quick steps rather than long strides. Keep your feet hip-width apart. Drive your knees forward with each step. This gives you the best push power.
How To Maintain a Neutral Spine
Do not let your lower back round during the push. Keep your spine flat from head to hips. Tighten your core before you start moving. Look down slightly, not straight ahead.
Common Sled Push Workout Mistakes To Avoid
Steer clear of these common mistakes to push harder, move better, and stay injury-free.
- Don't round your lower back. Keep your spine straight during every push.
- Avoid long, slow steps. Short and fast steps keep you moving forward.
- Keep your arms straight. Pushing with bent arms reduces your power.
- Don't load heavy too soon. Master your form before adding more weight.
- Remember to breathe. Holding your breath kills your performance.
How To Choose the Right Weight for a Sled Push Workout

Picking the right weight helps you train smarter and see faster results.
Best Sled Weight for Beginners
Start with the sled only, or add 25 to 50 pounds. You should be able to push with good form for the full distance. If you slow down too much, reduce the weight.
Light vs Heavy Sled Push Training
Light weight builds speed and cardio. Heavy weight builds strength and power. Both have value. Mix them in your weekly plan based on your goals.
Weight Recommendations for Speed vs Strength
For speed, use 10 to 20 percent of your body weight. For strength, use 50 to 100 percent of your body weight or more. Always start on the lower end and build up gradually.
Progressive Overload for Better Results
Add weight or distance gradually each week. Even a small increase makes a difference over time. Track your sessions so you know when to push harder.
Beginner Tips To Improve Your Sled Push Workout Results
Small habits make a big difference when you are starting out with sled training.
- Start light and nail your form before adding weight. Technique first, always.
- Use short, powerful steps with fast foot turnover instead of long strides.
- Track your weight, distance, and time to monitor progress and stay motivated.
- Rest well between sessions and stretch your hips and quads to avoid pain.
- Stay consistent. Two to three sled sessions a week is all you need to see real results.
Conclusion
The sled push workout is one of the most rewarding training tools I have ever added to my routine.
It builds real strength, burns fat, and pushes your conditioning in ways most gym exercises simply cannot.
I still remember how tough my first sled session felt, and how much stronger I felt just weeks later.
Start with a solid plan, stay consistent, and trust the process. If this guide helped you, drop a comment below, share it with a training partner, or check out more workout guides on the blog.
Frequently Asked Questions
How often should I do a sled push workout?
Two to three times a week is a good starting point. Give your legs at least 48 hours of rest between sessions to recover properly.
Is a sled push workout good for weight loss?
Yes, it is very effective. Sled training burns a high number of calories and keeps your metabolism active long after the session ends.
Can beginners do a sled push workout?
Beginners can start with just the sled and no added weight. Focus on good form first, then add weight as your strength improves over time.
What surface is best for sled push training?
Turf or rubber flooring works best. These surfaces offer good grip and reduce friction, which makes pushing smoother and easier on your joints. For home gyms or smaller training spaces where a full turf lane is not practical, a sled push machine can offer a similar pushing movement without requiring a long open track.
How long should a sled push workout last?
Most sessions last between 20 and 40 minutes. The total time depends on the number of sets, rest periods, and the weight you are using.