

If you want a stronger, thicker back, the iso lateral row deserves a spot in your routine.
This guide covers everything, from what the exercise is, to how to do it right, what muscles it works, and common mistakes to avoid.
I've worked with this machine long enough to know what works and what doesn't. Whether you're just starting out or fixing a plateau, this article has clear answers for you.
You'll also find setup tips, variations, and who benefits most from this movement.
Let's get into it.
What Is the Iso Lateral Row?
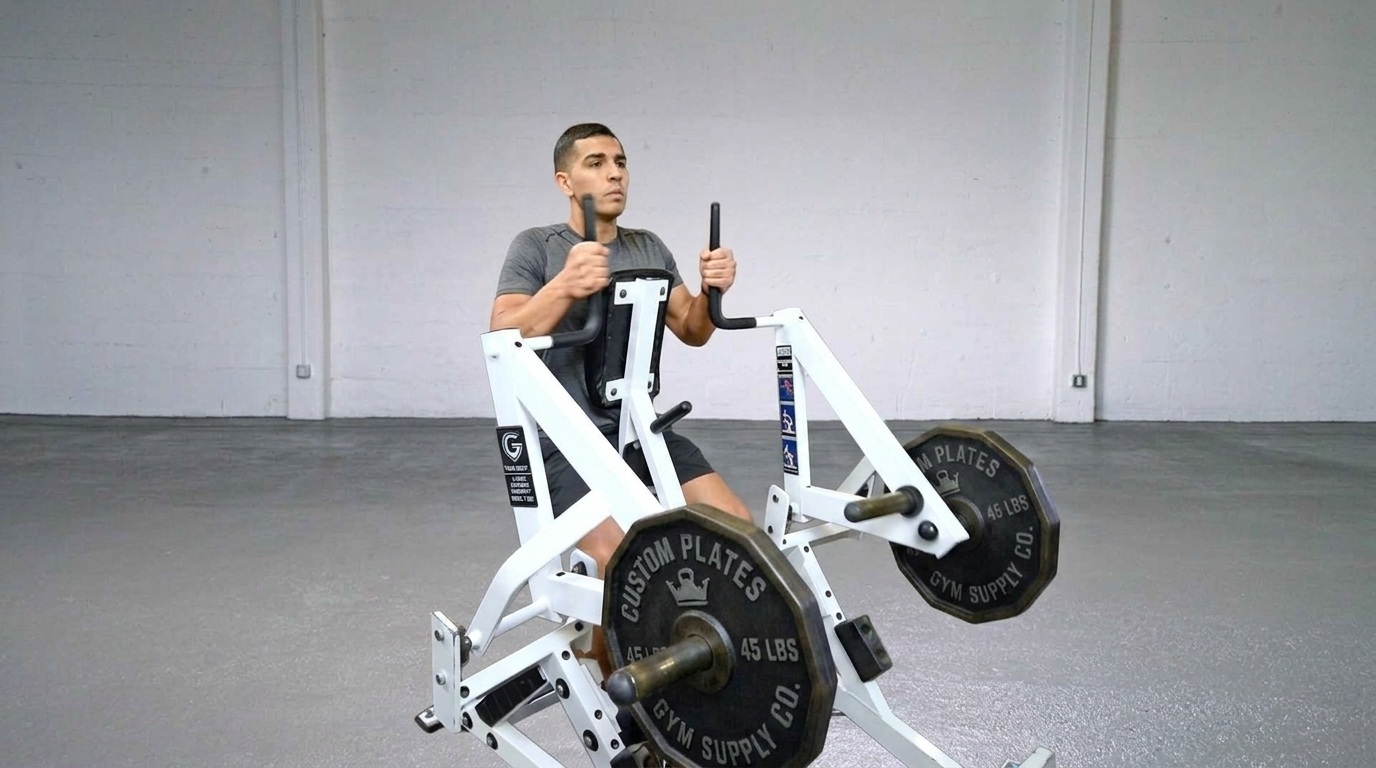
The iso lateral row is a machine-based back exercise where each arm works independently. Unlike a barbell row, your stronger side can't compensate for the weaker one. This gives you more control, better focus, and a longer range of motion per rep.
The Hammer Strength version is the most common in commercial gyms. It features a padded chest support, two separate handles, and a plate loader on each side.
You sit facing the machine, press your chest into the pad, and pull the handles toward your torso. The chest pad keeps your upper body steady so your back does the work.
Each arm has its own lever that moves freely. This forces both sides to work equally and makes it easy to spot any strength imbalance between left and right.
The chest pad also takes your lower back out of the movement. Tension stays where it belongs, on your lats, rhomboids, and rear delts. The fixed path reduces the chance of poor form, making it easier to train hard without risking injury.
Benefits of the Iso Lateral Row
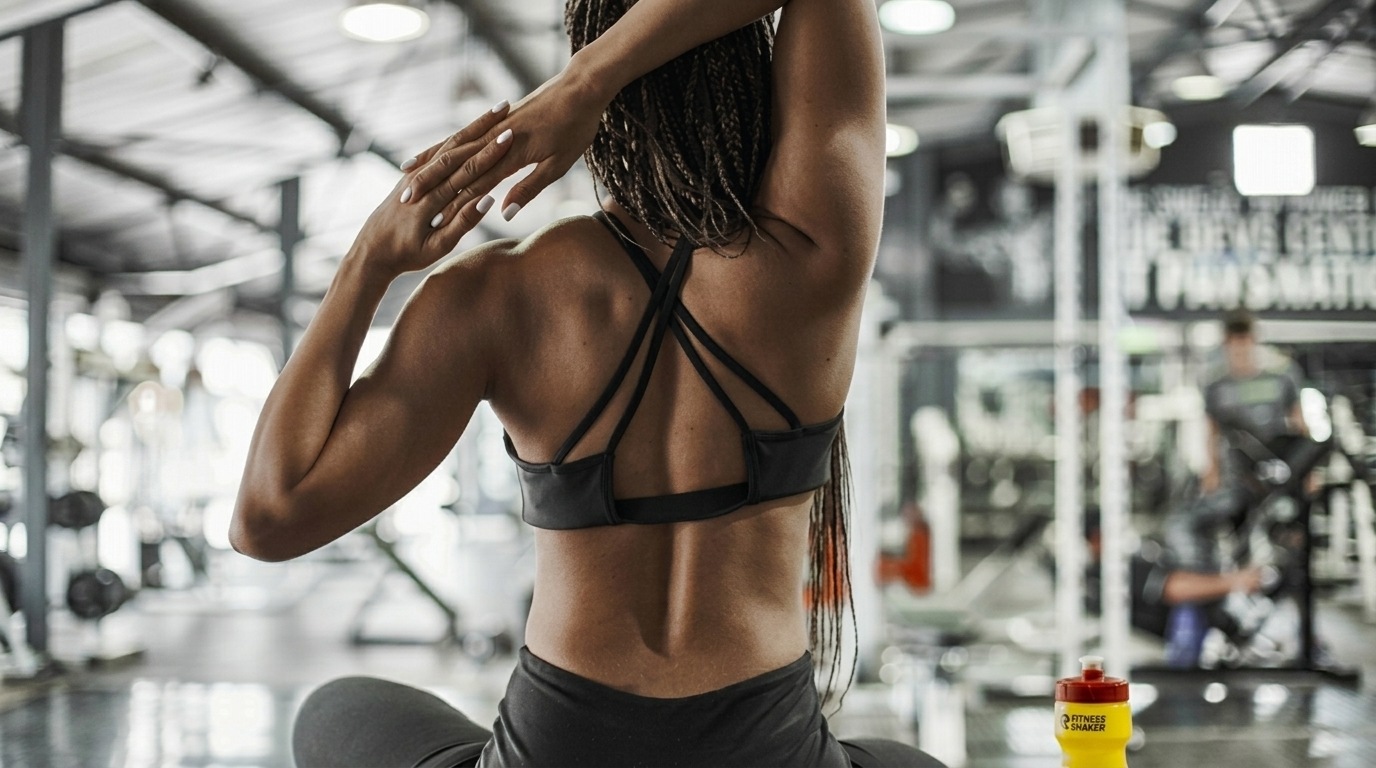
The iso lateral row offers more than just added weight to your back day. It brings real, practical advantages that help you build better results with lower injury risk.
Builds Back Strength and Muscle Mass
This exercise puts a heavy load on your back muscles through a full range of motion. That combination is what drives muscle growth over time.
Because the machine is stable, you can push closer to failure safely. More quality sets near failure means more stimulus for your back to grow.
Encourages Balanced Muscle Development
When one arm does more work, your body adapts unevenly. That imbalance shows up in posture, strength, and even injury risk.
The iso lateral setup forces each side to carry its own weight. Over time, this builds more even development across both sides of your back.
Reduces Lower Back Involvement
Free weight rows often turn into a lower back workout without you realizing it. The chest pad on this machine prevents that.
With your torso supported, your lower back stays relaxed. All the effort goes to your upper and mid back, exactly where you want it.
Provides a Natural Pulling Path
The machine's lever arms follow a natural arc. This matches how your arm and shoulder move when you pull something toward your body.
A natural path means less joint stress and more muscle activation. Your elbows, shoulders, and wrists stay in a comfortable position throughout the movement.
Suitable for Various Fitness Levels
A beginner can start with light weights and learn the movement pattern safely. An advanced lifter can load it heavy and push for muscle growth.
The adjustable seat and handle options make it easy to set up correctly for different body types. This exercise works for almost anyone who wants to build their back.
Muscles Worked by the Iso Lateral Row
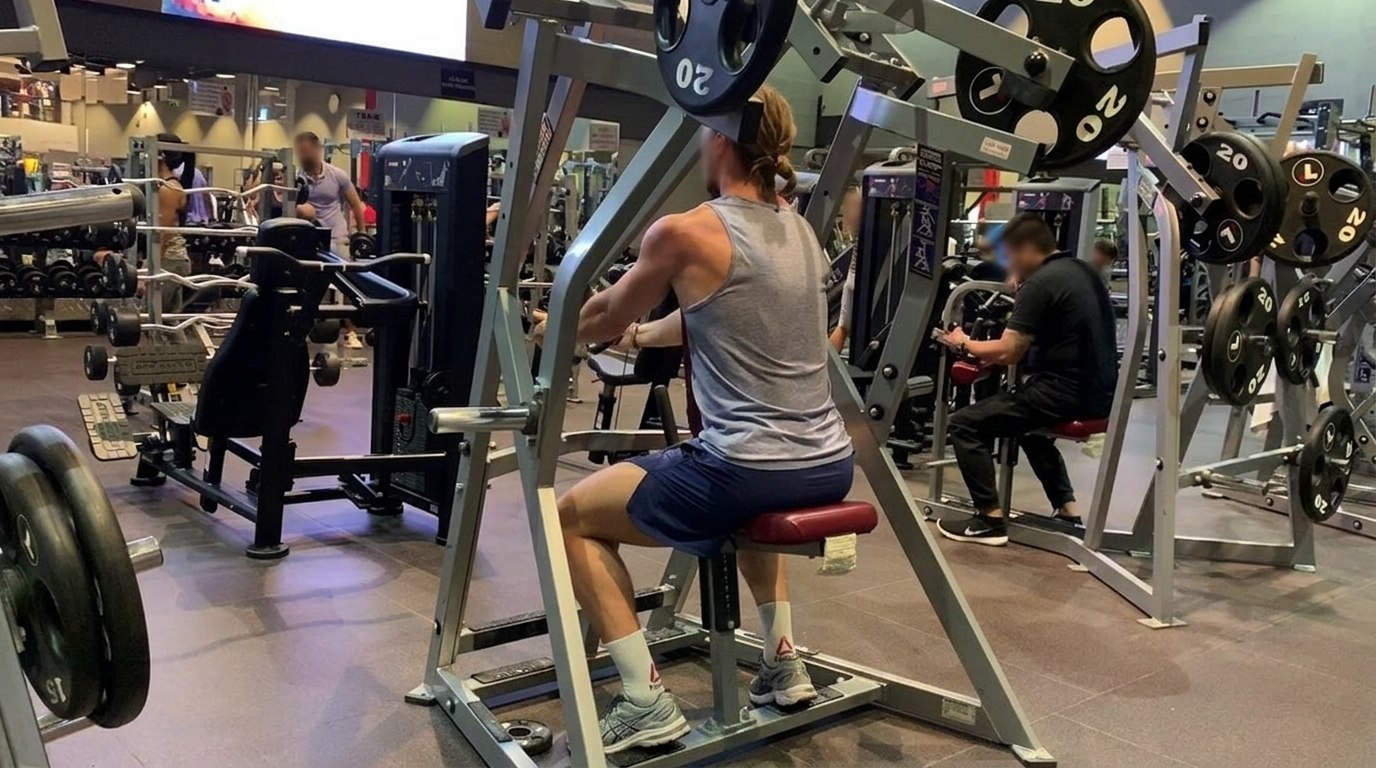
The iso lateral row targets several major muscles in your back and arms. Understanding what gets trained helps you focus better during each set.
Latissimus Dorsi (Lats)
The lats are the large, wing-shaped muscles on either side of your back. They are the primary target of the iso lateral row.
When you pull the handle toward your lower chest or hip, your lats do the bulk of the work. Strong lats create the wide, thick back most people are training toward.
Rhomboids and Middle Trapezius
These muscles sit between your shoulder blades. They pull your shoulder blades together at the end of each rep.
Squeezing fully at the top of the movement is what activates them most. Skipping that squeeze means leaving gains on the table.
Rear Deltoids
The rear delts sit at the back of your shoulder. They assist during the rowing movement and help stabilize your shoulder joint.
Training rear delts regularly also improves shoulder health and posture. The iso lateral row works them without needing a separate exercise.
Biceps and Forearms
Your biceps and forearms act as helpers in this movement. They don't do the primary work, but they're active throughout each pull.
If your grip fatigues before your back does, consider using straps. That way your biceps and back can get fully trained without grip being the limiting factor.
Supporting Stabilizer Muscles
Your core, rear delts, and rotator cuff muscles all work in the background. They keep your posture steady while your back muscles contract and extend.
These smaller muscles don't get the spotlight, but training them through compound movements like this keeps your body strong and injury-resistant.
How to Set Up the Iso Lateral Row Machine
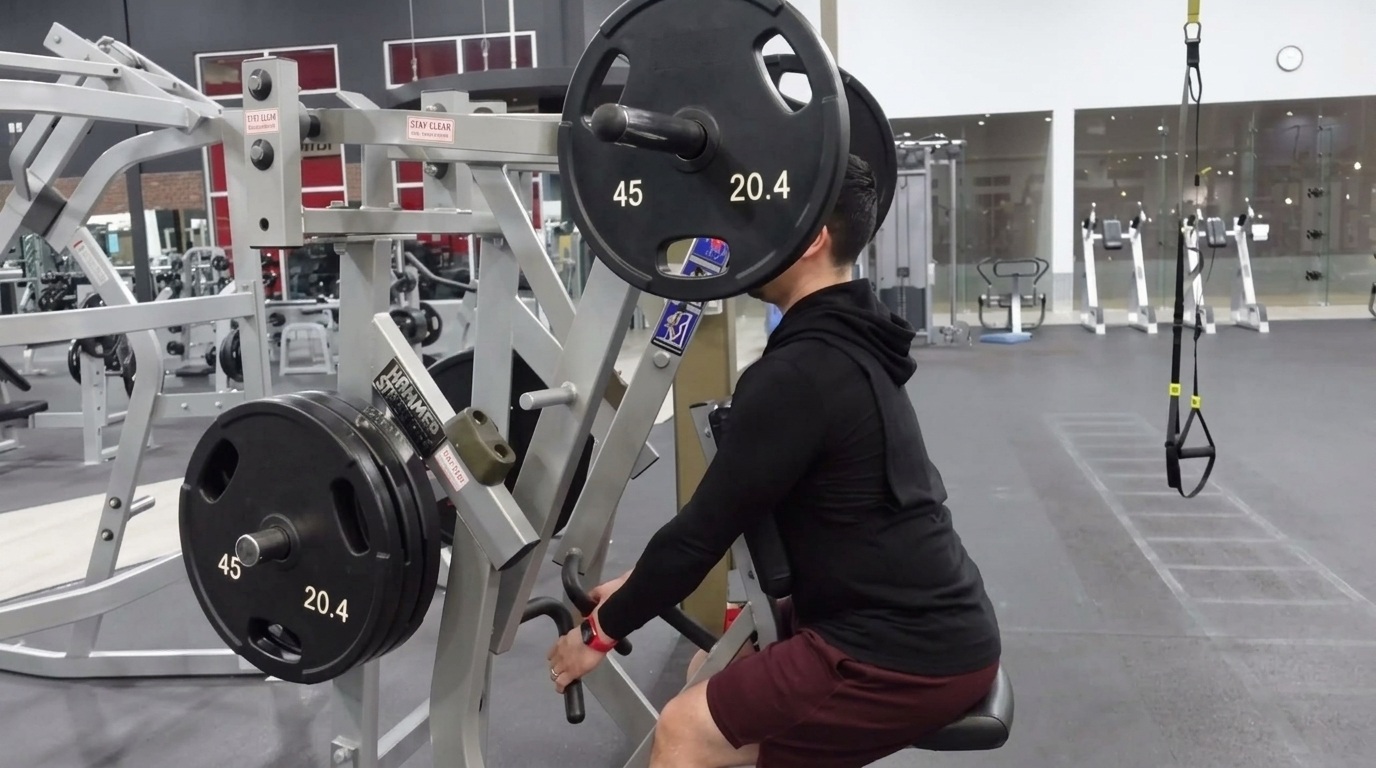
A good setup makes a big difference. A few small adjustments before your first rep can improve both safety and muscle activation.
Adjusting the Seat for Proper Alignment
Sit down and position the chest pad at mid-chest level. If it's too high or too low, your pulling angle changes and the wrong muscles take over.
Your arms should reach the handles comfortably without stretching or hunching. Adjust the seat height until your posture feels natural and upright.
Loading the Machine Correctly
Load equal weight on both sides. Even a small difference between the two sides can create an imbalance in how you move.
Start lighter than you think you need to. This machine isolates well, which means the muscles feel more load than they might on a barbell row at the same weight.
Choosing the Right Handle Position
Most iso lateral row machines offer a neutral grip or an overhand grip option. Neutral grip tends to be easier on the wrists and elbows.
Choose the grip that lets you pull without wrist pain and keeps your elbows tracking behind you. Experiment with both and go with what feels better for your shoulder and elbow comfort.
Establishing a Strong Starting Posture
Before you pull, press your chest into the pad firmly. Keep your shoulders down, not shrugged up toward your ears.
Take a breath, brace your core lightly, and grab the handles with a secure grip. This posture should stay consistent from the first rep to the last.
How to Do the Iso Lateral Row Correctly
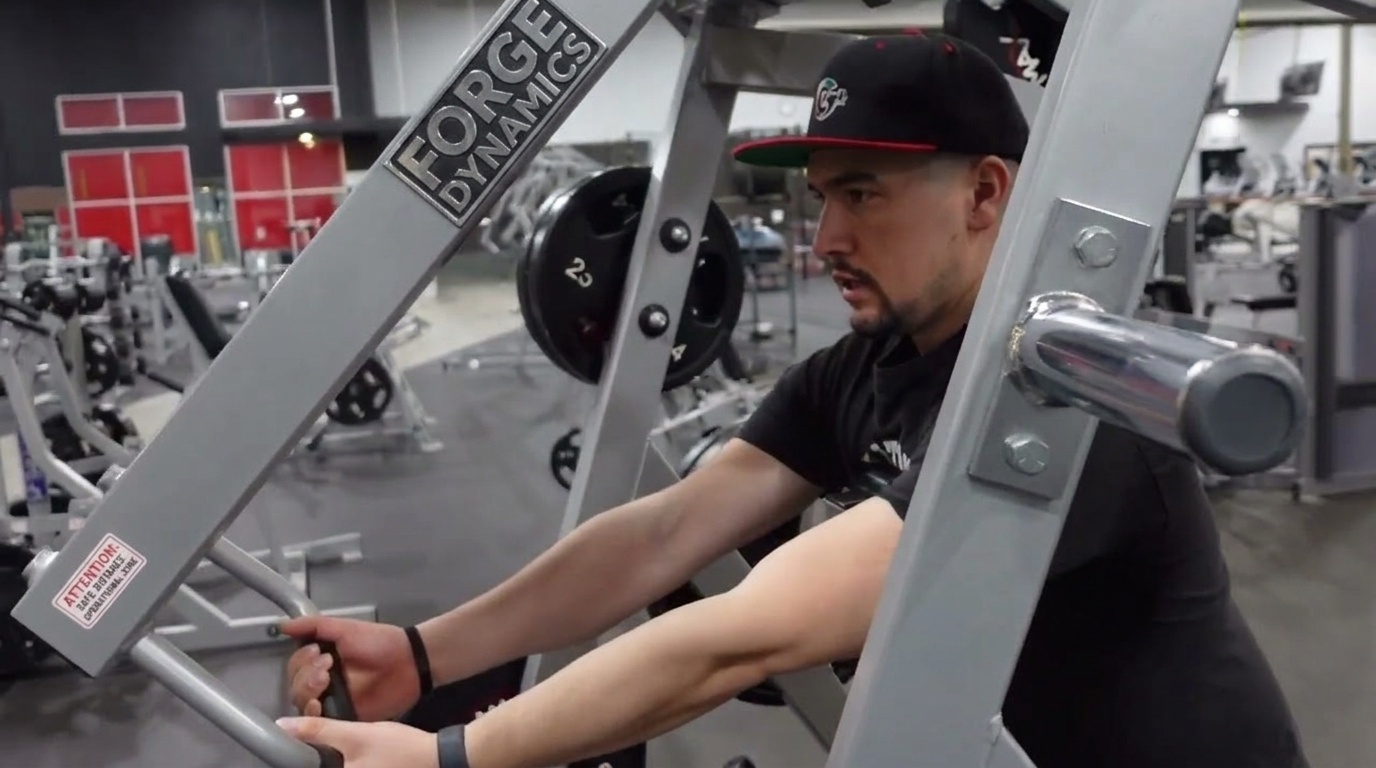
The setup matters, but execution matters more. Here's how to do each rep properly so your back gets the most out of every set.
Position Yourself Against the Chest Pad
Sit with your chest pressing firmly into the pad. Your feet should be flat on the footrests or the floor.
Grip the handles and let your arms extend fully. This starting position stretches your lats, which primes them for a stronger contraction.
Initiate the Pull With Your Back Muscles
Don't start the movement by bending your elbow. Instead, think about pulling your shoulder blade back first.
That one cue changes everything. It shifts the work from your arms to your back, where it belongs.
Drive the Elbows Through the Row
As you pull, drive your elbows back and slightly downward. Keep them close to your body, not flaring out wide.
Flaring the elbows shifts tension to the rear delts and away from the lats. Keep them tucked for better lat activation.
Control the Return Phase
Don't just let the weight fall back. Lower it with control and feel your lats stretch at the bottom.
A controlled return keeps tension on the muscle longer, which is a key part of building size and strength. Rushing through the eccentric phase is one of the most common wasted opportunities in back training.
Maintain Proper Breathing Throughout the Set
Exhale as you pull. Inhale as you return the weight.
This breathing pattern keeps your core stable and prevents you from holding your breath under load. Consistent breathing also helps maintain your rhythm and focus through longer sets.
Iso Lateral Row Variations
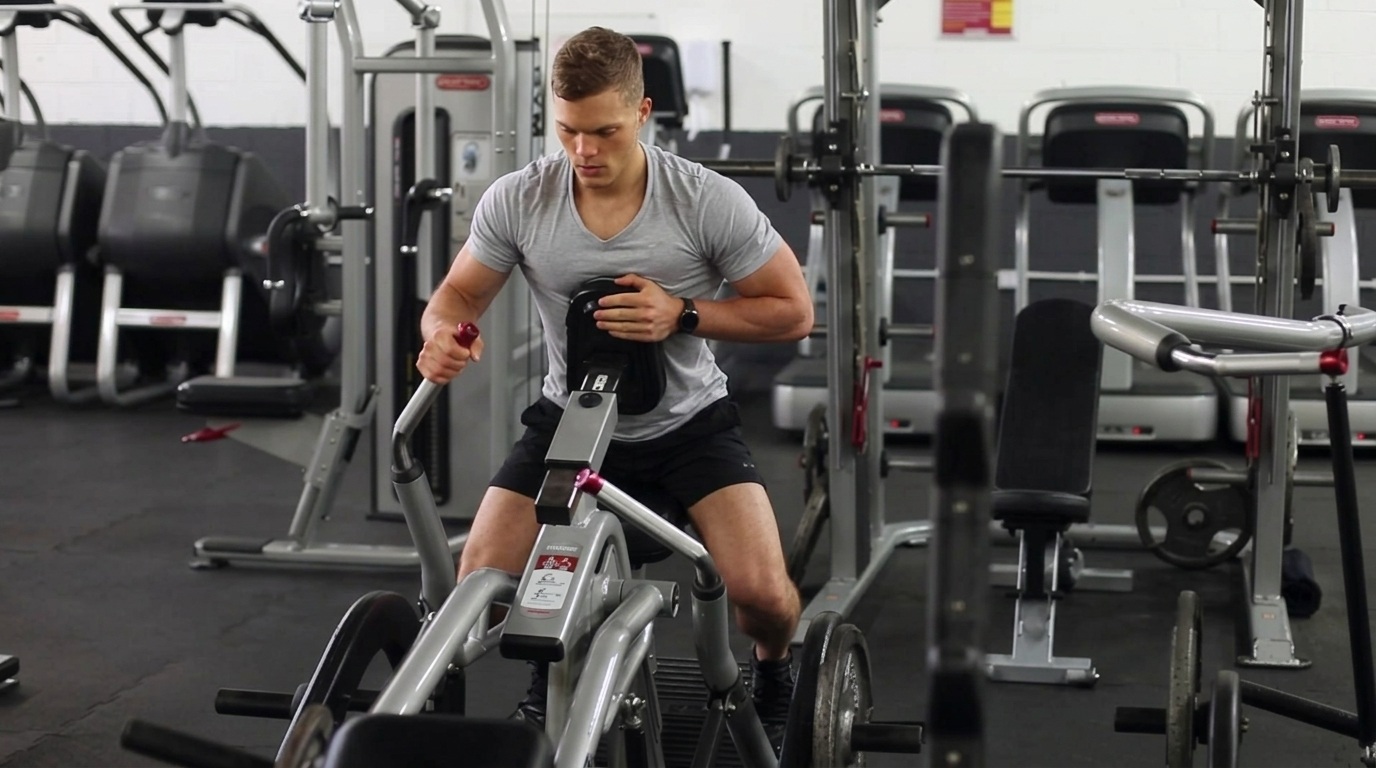
Once you know the standard movement, you can try different versions to keep things interesting and target your back from slightly different angles.
Single-Arm Iso Lateral Row
Train one arm at a time for extra focus. This variation lets you give full attention to each side separately.
It's especially useful if one side of your back is underdeveloped. You can do a few extra reps on the weaker side to help bring it up.
Two-Arm Iso Lateral Row
Both arms pull at the same time. This is the most common way to use the machine and is great for building overall back size.
It keeps the workout efficient and allows you to move heavier loads across both sides simultaneously.
Neutral-Grip and Overhand-Grip Options
A neutral grip keeps your palms facing each other. This tends to feel more natural for most people and puts less strain on the elbow.
An overhand grip, with palms facing down, shifts more emphasis to the upper back and rear delts. Both are worth trying to see which one gives you a better feel.
Common Iso Lateral Row Mistakes to Avoid
Knowing what not to do is just as valuable as knowing what to do. These mistakes are common and easy to fix once you're aware of them.
Using Excessive Weight
Too much weight forces your body to compensate. You end up using your arms, lower back, and momentum instead of your back muscles.
Start lighter and focus on feeling the right muscles work. Add weight only when your form stays clean throughout every rep.
Relying on Momentum
Swinging or jerking the weight robs your muscles of tension. It also increases your risk of strain.
Move with intention. Each rep should feel controlled from start to finish. If the weight forces you to swing, it's too heavy.
Letting the Chest Lift Off the Pad
If your chest lifts off the pad, your lower back is doing extra work. This defeats the purpose of the machine.
Press into the pad on every rep. If you feel yourself lifting, reduce the weight or reset your position.
Pulling Primarily With the Arms
Your arms should assist the movement, not lead it. If your biceps are the first thing that tires out, your back isn't doing its job.
Cue yourself to lead with your elbows, not your hands. That mental shift helps your back take over.
Limiting Shoulder Blade Movement
Many people pull without letting their shoulder blades move fully. This limits range of motion and reduces activation of the rhomboids and mid trap.
Let your shoulder blades spread at the start and fully retract at the top. That full movement is what makes this exercise so effective.
Tips to Maximize Your Results
Small adjustments in how you train can make a real difference in the results you see over time.
- Let your arms extend fully at the start and pull until your elbows pass behind your torso. Half reps limit how much muscle you actually train.
- Before each set, squeeze your back lightly to wake up the connection between your brain and muscles. During the set, actively think about your lats doing the work.
- Hold for one second at the top of each rep and squeeze your shoulder blades together. This increases time under tension and trains your muscles to fully contract.
- Try a two-second pull, one-second hold, and three-second return to keep the muscle loaded longer. Slower reps are harder to cheat and more effective for building size.
- Add small increments every couple of weeks and track what you lift each session. Consistent small increases add up to serious strength gains over time.
Conclusion
The iso lateral row is one of those exercises I wish I had started sooner. It's simple, effective, and it works. Once I stopped overthinking it and just focused on feeling my back muscles pull, everything clicked.
If you've been struggling to build back thickness or fix a strength imbalance, give this machine a proper shot. Start light, stay consistent, and trust the process.
Try it in your next back session and see how it feels. Drop a comment below and let me know what you noticed, or share this with someone who needs a better back day.
Frequently Asked Questions
What is the iso lateral row good for?
It builds back thickness and fixes muscle imbalances. Each arm works independently, so both sides develop evenly.
How many sets and reps should I do for the iso lateral row?
Stick to 3 to 4 sets of 8 to 12 reps. Focus on clean form over heavy weight.
Can beginners use the iso lateral row machine?
Yes. The chest pad and guided path make it easy to learn proper rowing form safely.
Should I use the iso lateral row with one arm or two?
Two arms work well for general back training. Single arm is better for fixing imbalances or adding extra focus to one side.
Is the iso lateral row better than a barbell row?
They serve different goals. The iso lateral row isolates the back better. The barbell row builds more total strength. Both together give the best results.