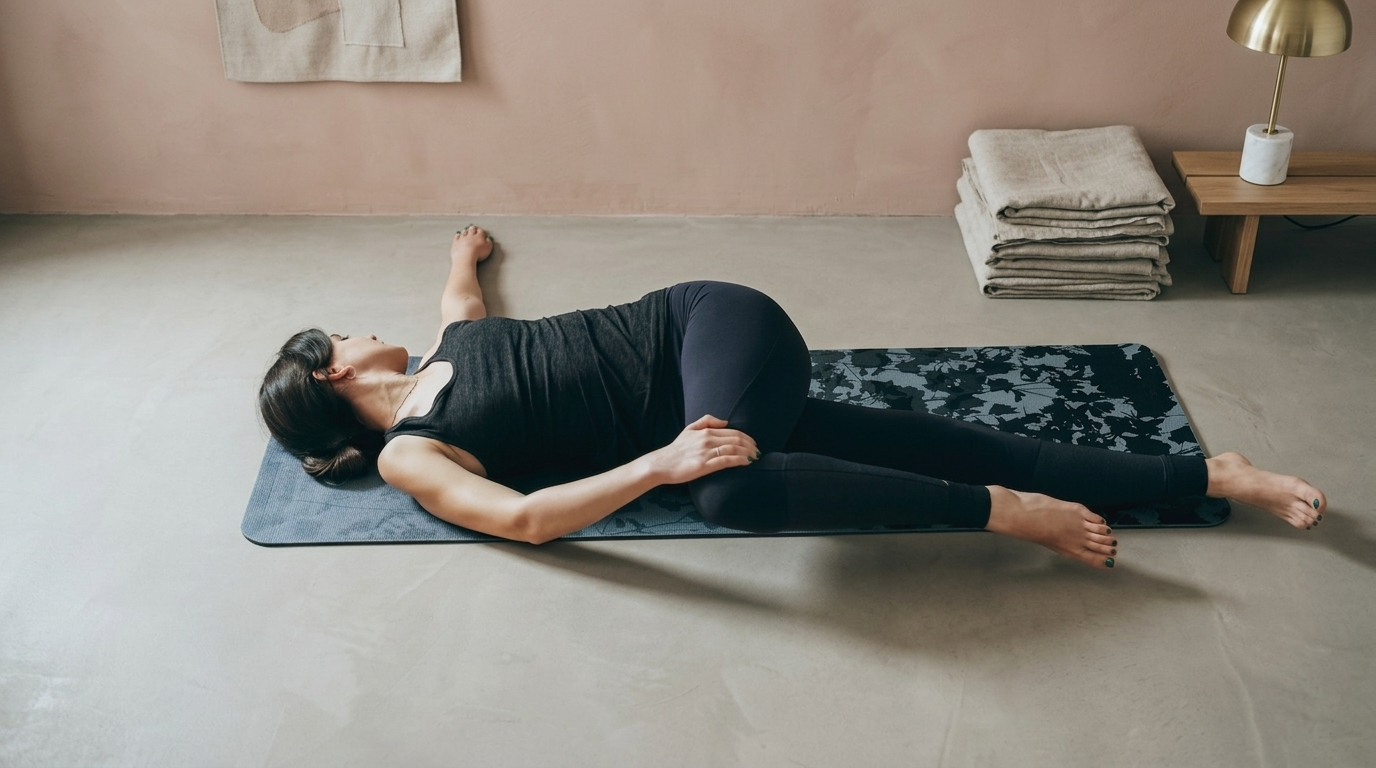
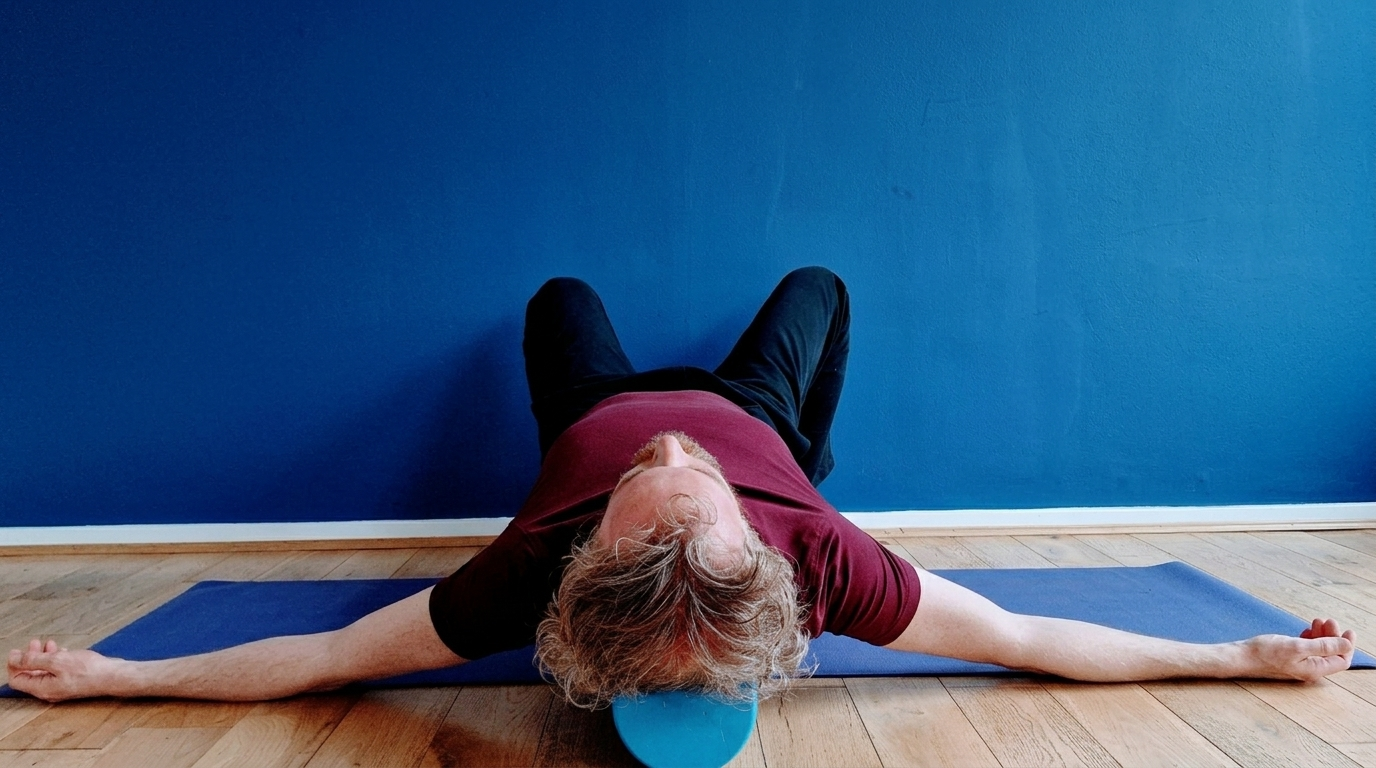
Upper back tightness is more common than you think. Long hours at a desk, poor posture, and stress all build up in your thoracic spine.
The open book stretch is one of the simplest ways to fix that.
I have used it myself after long workdays, and the relief is real. In this guide, you will learn the correct form, common mistakes, variations, and tips to get the most out of this stretch.
Whether you are a complete beginner or someone returning to mobility work, this article covers everything you need.
No fluff. Just clear, practical steps that actually work.
What Is the Open Book Stretch?
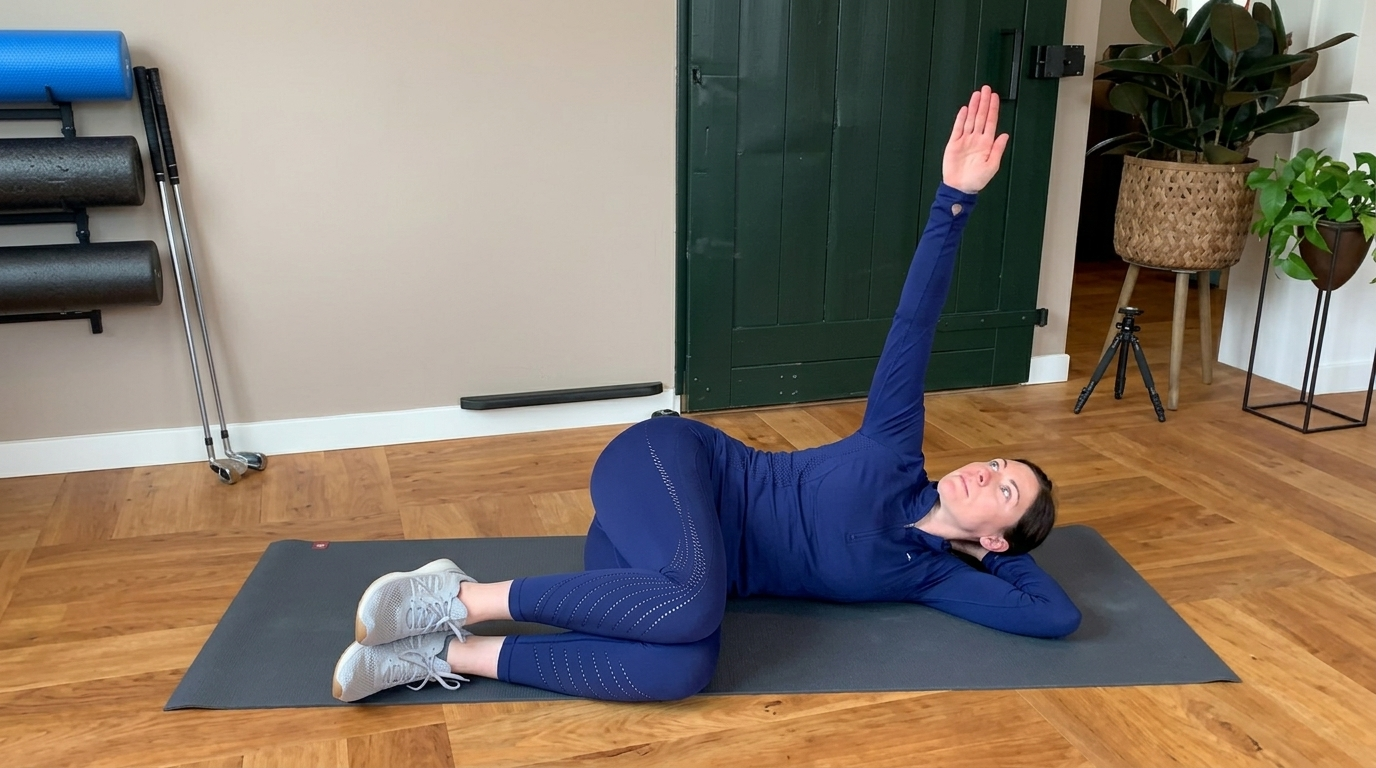
The open book stretch is a rotational mobility exercise that targets the mid and upper back, chest, and shoulders. You lie on your side with your knees bent and arms stretched out in front of you, then slowly rotate your top arm backward, opening your chest toward the ceiling.
The movement looks just like opening a book, which is where the name comes from. To do it, lie on your side, stack your hips, bend both knees to about 90 degrees, and extend both arms forward with palms together.
Lift your top arm, rotate it backward, and let it drop toward the floor on the other side. Hold for 2 to 3 seconds and repeat 8 to 10 times on each side. It helps improve spinal mobility, eases back and neck tension, and supports better posture over time.
It requires no equipment, suits all fitness levels, and can be done daily or a few times a week for real results.
Benefits of the Open Book Stretch

The open book stretch offers more than just a quick relief from tightness. It works on several areas of the body at once.
Improves Thoracic Spine Mobility.
The thoracic spine is often the most neglected part of the back. This stretch targets it directly, helping it move more freely.
Increases Thoracic Rotation.
Rotating through your upper back matters for everyday tasks and athletic performance. This stretch trains that specific movement.
Reduces Upper Back and Shoulder Tightness.
Tension in the upper body often builds from poor posture or prolonged sitting. This stretch helps release that tension gently.
Supports Better Posture.
When your thoracic spine moves well, your whole body carries itself better. Less rounding in the upper back means less strain overall.
How to Do an Open Book Stretch Correctly
Getting the form right matters. Follow each step carefully to get the most out of this stretch.
Step 1: Get Into Side-Lying Position

Lie on your side on a mat. Keep your body in a straight line and let your head rest comfortably. You may use a pillow under your head if needed.
Step 2: Set Hips and Knees at 90°
Bend both hips and knees to about 90 degrees. Stack your knees on top of each other. This position keeps your lower body stable throughout the stretch.
Step 3: Extend Arms and Start Rotation
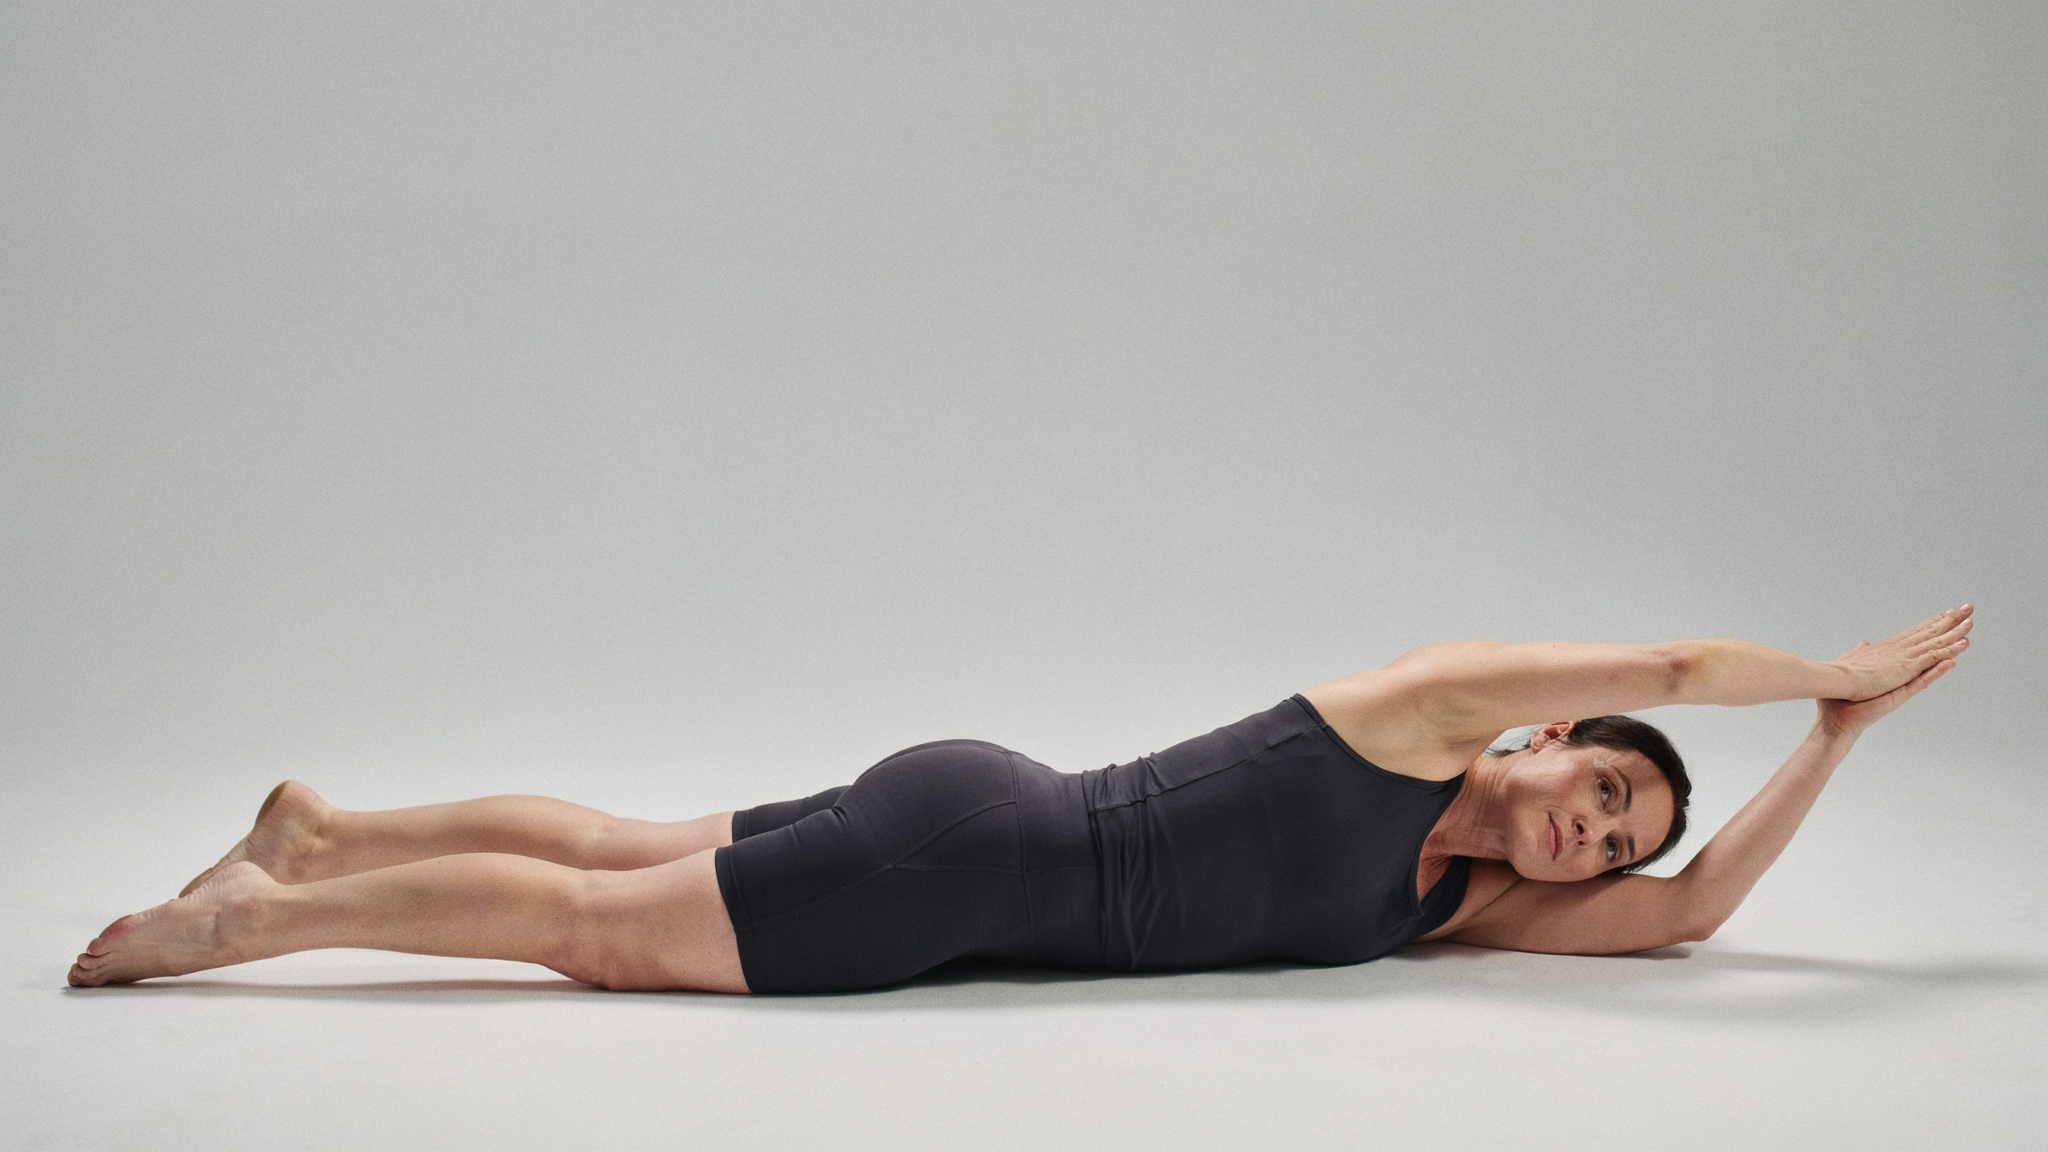
Reach both arms out in front of you at shoulder height, palms together. From here, slowly begin to peel the top arm away from the bottom one.
Step 4: Open Chest and Rotate Through Upper Back
Let the top arm sweep back toward the floor behind you. The goal is to rotate through the upper back, not the lower back. Your chest opens toward the ceiling as you go.
Step 5: Hold, Breathe, and Return Slowly

Hold the end position for a few deep breaths. Do not rush back. Return slowly and with control, then repeat on the other side.
Open Book Stretch Variations

Once you have the basic version down, you can try these options:
Side Lying Open Book Stretch.
This is the standard version described above. It is the best starting point for most people.
Standing Open Book Stretch.
Done upright, this version works well mid-day or in settings where getting on the floor is not practical. You rotate through the upper back while standing tall.
Wall Open Book Stretch.
Using a wall gives you feedback and support. It can help you stay honest about where the rotation is coming from.
Floor-Based Variation.
Some versions involve lying fully flat on your back with modified arm movements. This is a softer option for people with more limited mobility.
Sets, Reps and Timing
Aim for 3 to 5 deep breaths per rep, which usually works out to about 5 to 10 seconds per hold. If you are just starting out, begin with 5 reps per side and do it once or twice a day.
Build up gradually as it gets easier. The open book stretch works well as part of a warm-up before exercise or as a recovery routine after training.
It also fits nicely into a morning mobility session or an evening wind-down.
Common Mistakes
Even simple stretches have room for error. The most common mistake is rotating from the lower back instead of the upper back.
If your lower back starts twisting, reduce your range of motion right away. Your knees should also stay stacked and on the mat the whole time.
Lifting them removes the stability the position is designed to give you.
Watch Your Form
Avoid forcing your arm all the way to the floor if it does not go there naturally. Work within your current mobility and let it improve over time.
Slow Down Your Movement
Finally, do not rush. Speed reduces the quality of the stretch. Slow, intentional movement lets your muscles actually respond the way they should.
Tips for Better Results
Small adjustments in how you stretch can make a big difference in what you get out of it.
- The movement should always come from the upper back, not the lower back. Reminding yourself of this during each rep helps you stay focused and get more out of the stretch.
- A light brace through your core keeps your spine protected and the motion clean. You do not need to squeeze hard. Just stay aware of your midsection as you move.
- Breathe slowly and deeply throughout the stretch. Exhale as you open your chest and inhale as you return to the starting position. This helps your muscles relax and settle into the movement.
- Do not rush through the reps. Slower movement means better muscle response and a more effective stretch overall.
- Be consistent with which side you stretch first so you can track how each side feels over time. Most people have one side that is tighter than the other.
Conclusion
I started doing the open book stretch after months of upper back tightness from sitting at a desk all day. Honestly, I did not expect much. But after just a week, the difference was real.
If your back feels stiff or your posture has taken a hit lately, give the open book stretch a try. Even five minutes a day adds up over time.
Try it tonight and let me know how it feels in the comments below. Your back will thank you.
Frequently Asked Questions
How often should I do the open book stretch?
You can do the open book stretch once or twice daily. Consistency matters more than frequency, so even a short session each day will deliver noticeable results over time.
Can beginners do the open book stretch?
Yes, the open book stretch is beginner-friendly and easy to follow. Start with 5 reps per side and focus on slow, controlled movement before increasing your range of motion.
Is the open book stretch good for lower back pain?
The open book stretch mainly targets the upper back and thoracic spine. However, improving mobility in that area can reduce strain on the lower back indirectly over time.
Do I need any equipment to do the open book stretch?
No equipment is needed at all. A yoga mat or soft surface is enough to get started, making this stretch easy to do at home without any gym setup.
How long does it take to see results from the open book stretch?
Most people notice improved mobility and reduced tightness within one to two weeks of regular practice. Staying consistent with your routine is the key to seeing lasting progress.