
If your treadmill belt keeps slipping or feels wobbly underfoot, you are not alone. I have dealt with this exact problem at home, and it is easier to fix than most people think.
In this guide, I will show you how to tighten treadmill belt the right way, without calling a repair technician.
I have maintained multiple home treadmills for years, including fixing slipping belts, alignment issues, and motor strain problems.
We will cover signs of a loose belt, tools you need, a full step-by-step process, common mistakes, alignment tips, and simple maintenance habits.
You will have everything you need right here.
Let’s get started.
Understanding Treadmill Belt Tension
Before jumping into the steps, it helps to know how the tension system works.
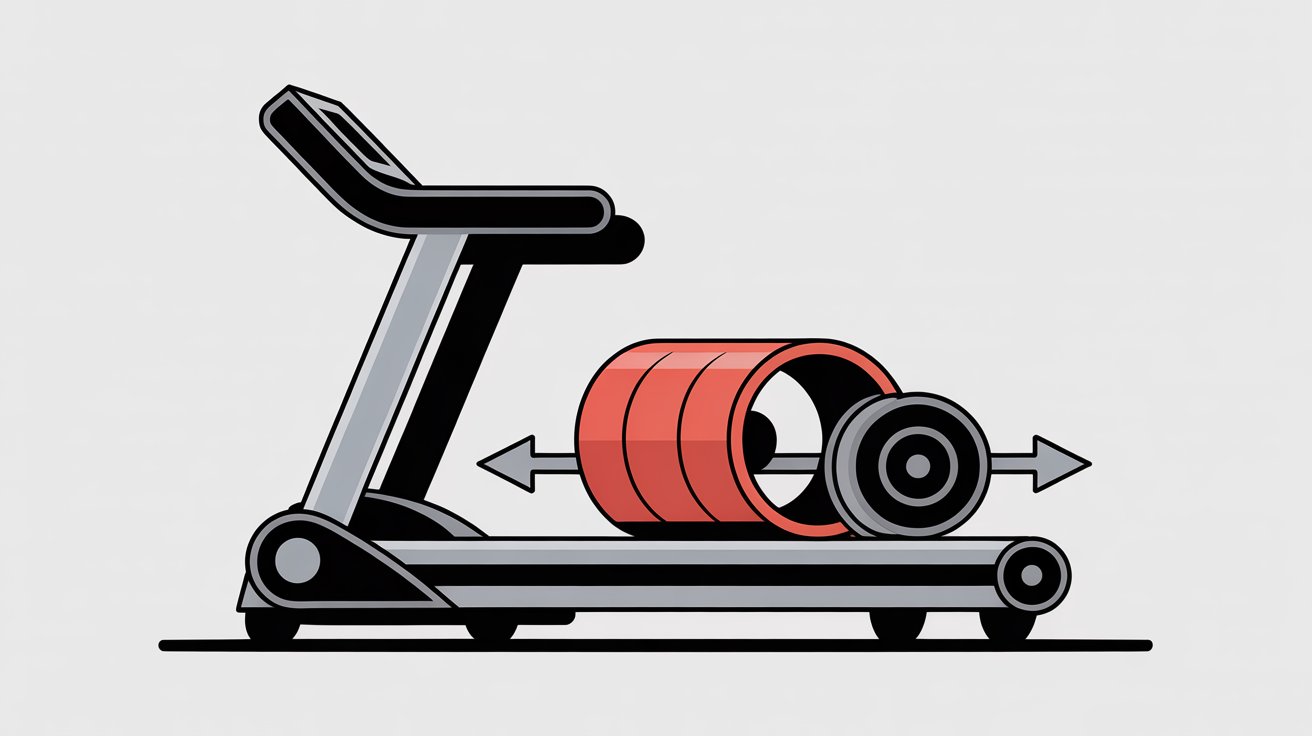
The belt wraps around two rollers. The rear roller controls tension. When you turn the adjustment bolts clockwise, the roller moves back and the belt gets tighter.
Here is the key thing to remember: too tight is just as damaging as too loose. Overtightening stresses the motor and wears out the bearings faster.
The goal is a firm, even fit with just a small amount of lift on each side.
Signs Your Treadmill Belt Needs Tightening
Your treadmill will give you clear signals before things get worse. Do not ignore them.
Watch out for these warning signs:
- Belt slips while walking or running
- Jerky or stuttering motion underfoot
- Belt shifts or drifts to one side
- Slapping or flapping noise during use
- Surface feels uneven or soft with each step
A loose belt puts strain on the motor over time. Catching it early saves you from a much bigger repair bill later.
Tools You Need Before You Start
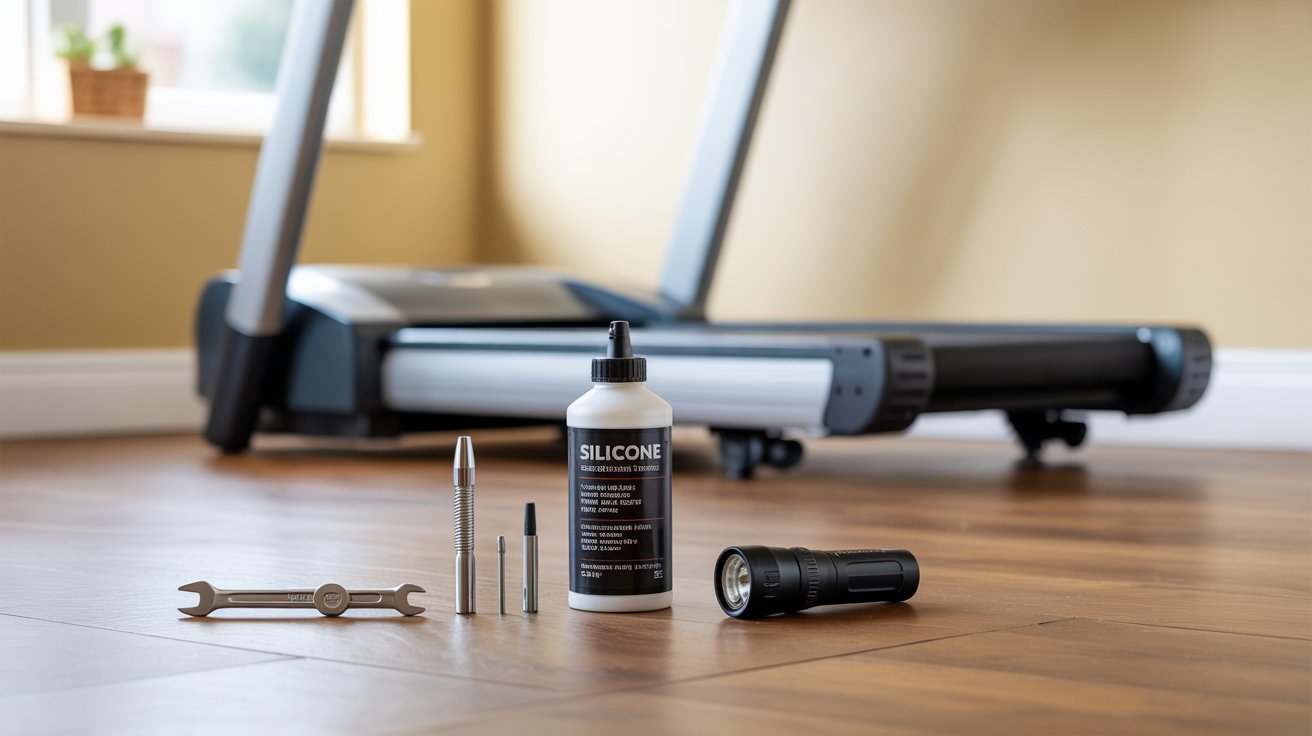
You only need one basic tool to get this done right.
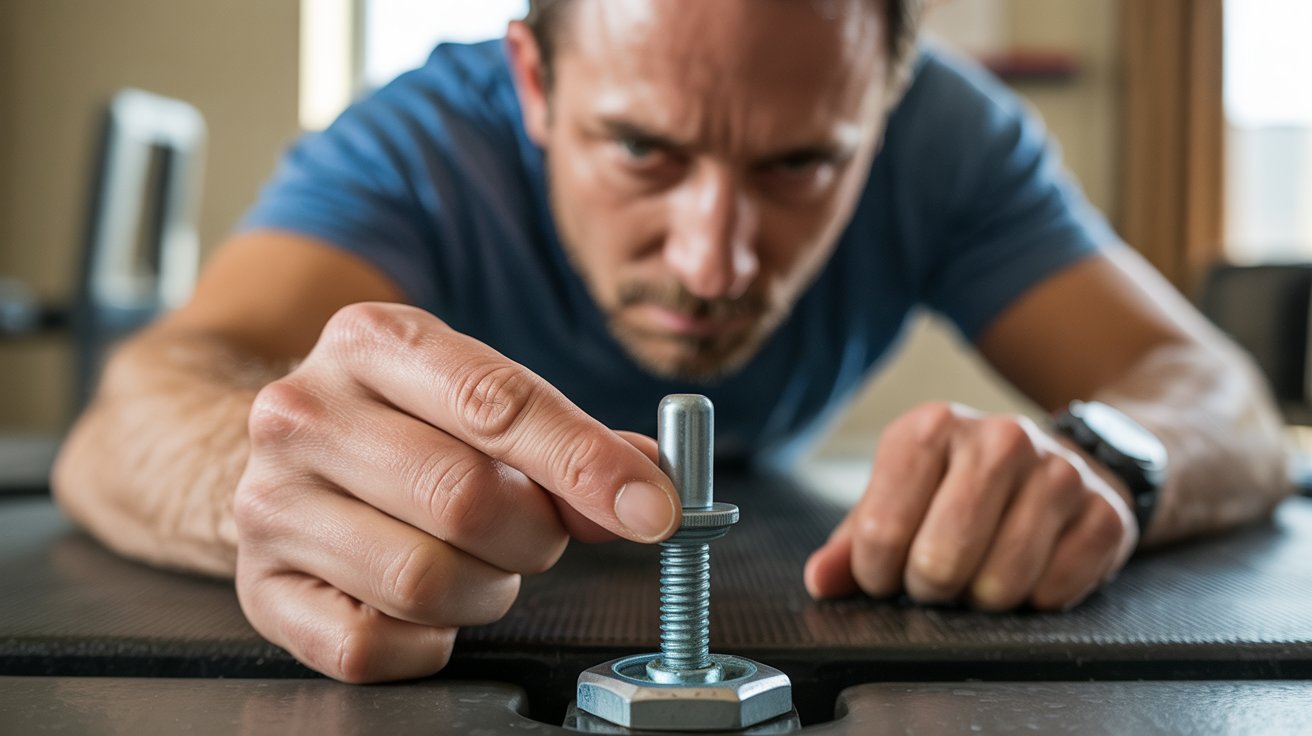
- Allen wrench (hex key): Most treadmills include one in the box. A standard 6mm or 8mm hex key from any hardware store also works. Check your manual for the exact size.
- Flashlight: Helpful for seeing the rear bolt area clearly, especially in low-light spots.
- Silicone lubricant: Not for tightening, but you will need this after the adjustment. Use it to reduce friction on the belt.
That is all. No special skills, no expensive tools, no technician required.
How to Tighten Treadmill Belt Correctly (Step-by-Step Guide for Beginners)
This entire process usually takes less than 5 minutes once you know where the bolts are.
Follow these exact steps in order. Skipping any one of them can cause the belt to drift or overtighten on one side.
Step 1: Turn Off and Unplug the Treadmill
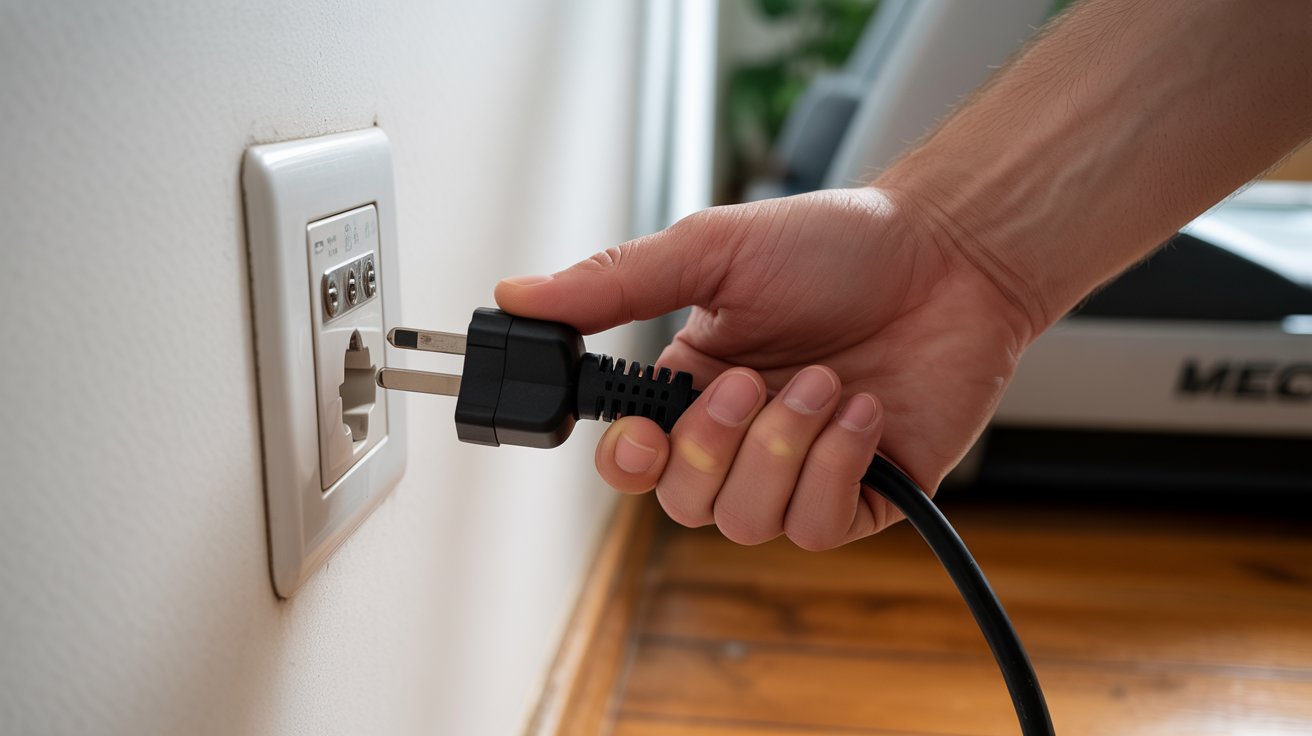
Do not just press stop. Pull the power cord from the wall completely. This prevents any accidental startup while your hands are near the belt. Safety first, always.
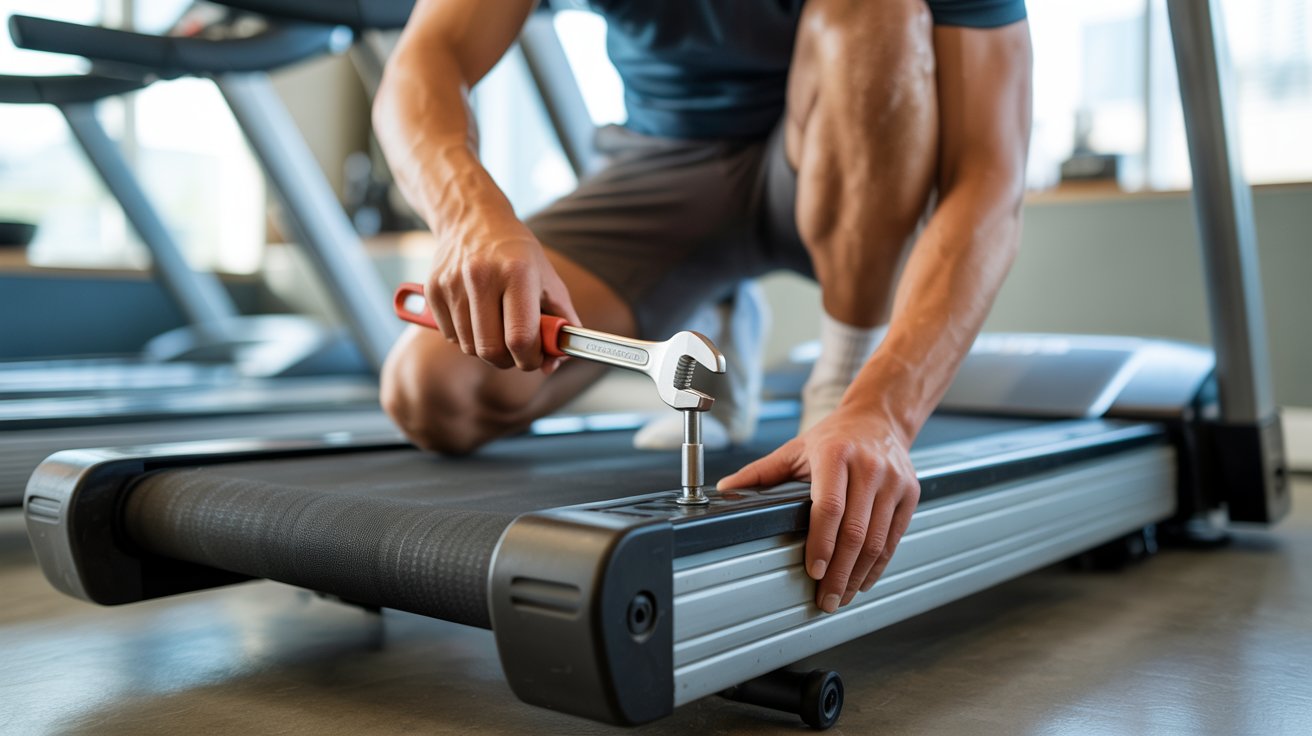
Step 2: Locate the Rear Roller Bolts

Walk to the back end of the treadmill. You will see two small hex bolts, one on each side of the rear roller. They sit in slots along the side frame. Use your flashlight if the area is dim or tight.
Step 3: Adjust Both Bolts Evenly (Prevent Slipping)

Insert the allen wrench into the right bolt. Turn it clockwise by exactly a quarter turn. Then do the same on the left side.
Always adjust both sides by the same amount. This keeps the roller level and the belt centered. I always count my turns out loud to stay consistent. Uneven turns are the most common reason belts start drifting sideways.
Step 4: Test the Belt

Plug the treadmill back in. Set it to a slow speed, around 3 mph. Walk on it carefully for about 30 seconds.
Ask yourself:
- Does the belt still slip?
- Does it feel stiff or jerky?
- Is it moving to one side?
If it still slips, unplug again and repeat the quarter-turn adjustment on both sides.
Step 5: Fine-Tune the Tension
Keep making small adjustments until the belt moves smoothly under your feet. Do not rush this part. Small turns make a big difference here.
I usually go through two or three rounds of testing before I am fully satisfied with the tension.
How to Check If the Belt Is Properly Tightened
Use this quick lift test to confirm the tension is right.
Stand at the side of the treadmill. Lift the edge of the belt from the center of the deck. It should lift between 2 and 3 inches.
- Less than 2 inches: Too tight. Back off a quarter turn on both sides.
- More than 3 inches: Still too loose. Add another quarter turn on both sides.
After the lift test, run on it at your normal workout speed for one full minute. No slipping, no noise, no side drift. That is the target.
Common Mistakes to Avoid When Tightening Your Belt
These mistakes are easy to make. Most people do not even realize they are doing them.
- Overtightening is the biggest one. Tighter does not mean better. It burns out the motor faster and wears down the belt in half the time.
- Adjusting only one side is another common error. It feels fine at first, but the belt will drift and create an uneven wear pattern very quickly.
- Skipping the test run is something I did early on and regretted it. Always test before wrapping up.
- Forgetting to lubricate after tightening is also a mistake. Higher tension means more friction. A dry belt will wear out much faster than it should.
How to Align the Treadmill Belt After Tightening
Sometimes the belt drifts to one side even after a proper tightening. That is an alignment issue, not a tension issue.
Here is the exact fix:
- Belt drifts left: Tighten the left bolt by a quarter turn only
- Belt drifts right: Tighten the right bolt by a quarter turn only
Run the treadmill and check again. Repeat in small steps until the belt stays centered during use.
Fix tension first. Then fix alignment. Doing it the other way around wastes time.
When Tightening Does Not Fix the Problem
If the belt keeps slipping after three or more full rounds of adjustment, the problem is likely not tension.
Check for these signs of a worn-out belt:
- Visible fraying or cracking on the edges
- Deep wear grooves on the underside
- Surface feels very thin or smooth
A worn deck can also cause slipping no matter how tight the belt is. Grooves or rough texture under the belt create uneven friction that no adjustment can fix.
At that point, a replacement belt or a new deck is the next step. I would check your manufacturer’s website for the correct part number before ordering anything.
Maintenance Tips to Keep Your Treadmill Belt in Perfect Condition
Small habits go a long way here. These are the exact steps I follow at home to avoid repeat problems.
- Lubricate the belt every 3 months or after every 40 hours of use. Use silicone-based lubricant only. WD-40 damages the belt material.
- Check belt tension once a month. Regular use naturally loosens the belt over time.
- Wipe down the belt and deck after each session. Dust and debris under the belt cause extra wear.
- Store the treadmill away from moisture. Humidity weakens the belt material from the inside out.
Following these steps will add years to your machine. I have kept the same treadmill running well for over four years with nothing more than routine checks and lubrication.
Conclusion
Fixing a loose treadmill belt does not have to feel complicated.
I have tightened belts on multiple machines over the years, and the process always comes down to the same simple steps: unplug, locate the rear bolts, adjust evenly, test, and fine-tune.
The key is patience and making small, controlled turns rather than big adjustments all at once. Stay on top of monthly tension checks and keep the belt lubricated after every adjustment.
These two habits alone will prevent most belt problems before they start. Your treadmill will run smoother, last longer, and feel better underfoot.
Try the steps now and fix your belt in under 10 minutes.
Still noticing slipping after following every step? Drop a comment and tell me exactly what you are seeing. I will help you troubleshoot it.
Frequently Asked Questions
How often should I tighten my treadmill belt?
Check belt tension about once a month if you use your treadmill regularly. Frequent use causes natural loosening, so staying consistent with checks prevents bigger issues down the line.
Can I tighten the treadmill belt without any tools?
No, you need an allen wrench to adjust the rear roller bolts. Most treadmills include one in the original box, and standard hex key sets from any hardware store work just as well.
How tight should a treadmill belt be for safe use?
The belt should lift about 2 to 3 inches when pulled from the center of the deck. Anything outside that range means you need to adjust, either tightening or loosening by small quarter turns.
Will a loose treadmill belt damage the motor over time?
Yes, it can. A slipping belt forces the motor to work harder than it should, which leads to overheating and early motor failure. Fixing it quickly is always the cheaper option.
Is it normal for the belt to drift sideways after tightening?
Yes, this usually happens when both sides were not adjusted equally. Fix it by tightening only the bolt on the side the belt is drifting away from, one quarter turn at a time.


