

The hollow body hold looks simple. It is not. Most people lift their legs, raise their arms, and wonder why their lower back aches the next day. That happens because of poor form, not the exercise itself.
In this guide, you will learn exactly how to do a hollow body hold the right way, from setup to full hold. We cover beginner modifications, form tips, variations, and progressions to build real core strength over time.
I have worked with this movement personally and seen how one small form fix changes everything. This guide is built for all levels, whether you are just starting out or looking to sharpen your technique and get better results faster
What Is a Hollow Body Hold?
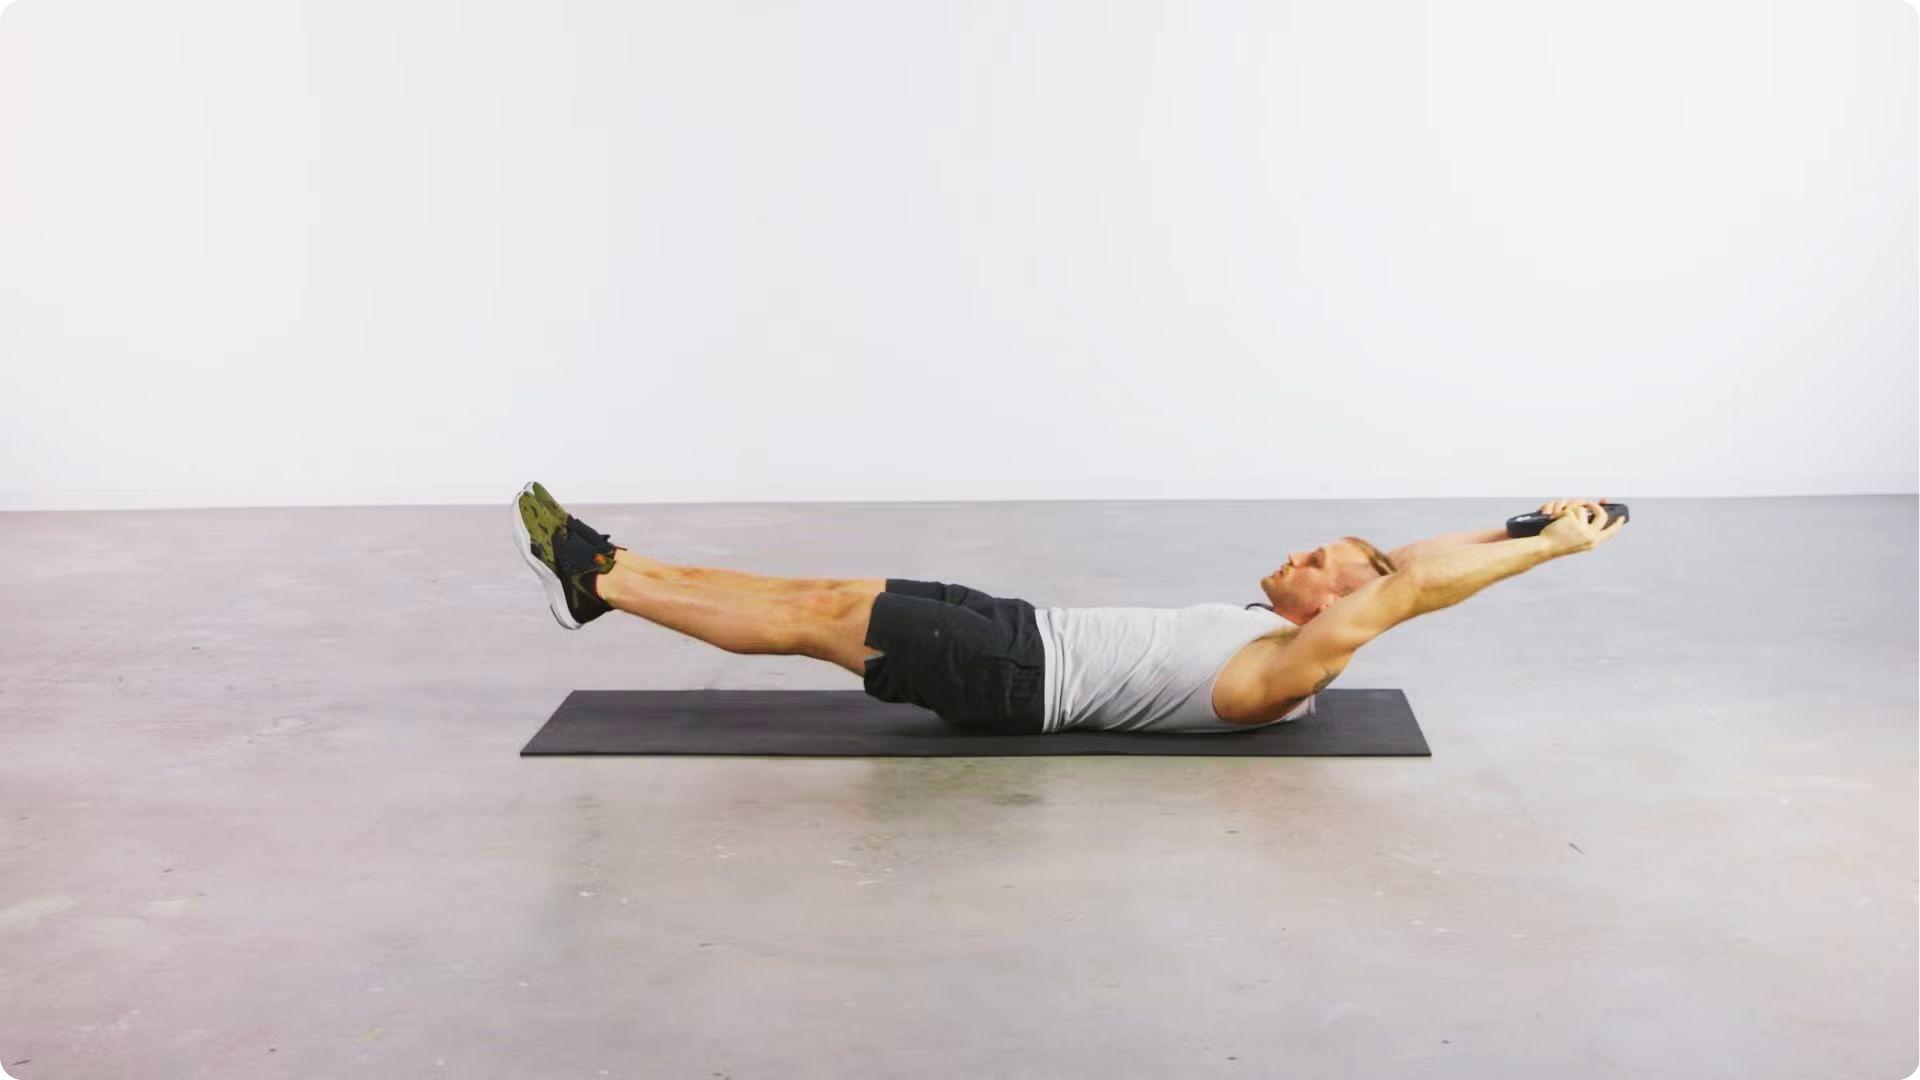
The hollow body hold is a core exercise performed lying on your back.
You press your lower back flat into the floor, lift your legs and shoulders slightly off the mat, and hold full-body tension.
Your body forms a shallow "C" shape, with the midsection compressed and tight. It is not about how high your legs go.
It is about maintaining tension throughout. Coaches use it in gymnastics, calisthenics, and general strength training because it builds deep core stability that most standard ab exercises cannot match.
The difficulty adjusts based on leg position, making it a practical option for beginners and advanced athletes alike.
How to Do a Hollow Body Hold Correctly (Step-by-Step Instructions)
Follow each step carefully. Skipping the setup is the most common reason people feel lower back pain during this movement.
Step 1: Set Up the Starting Position
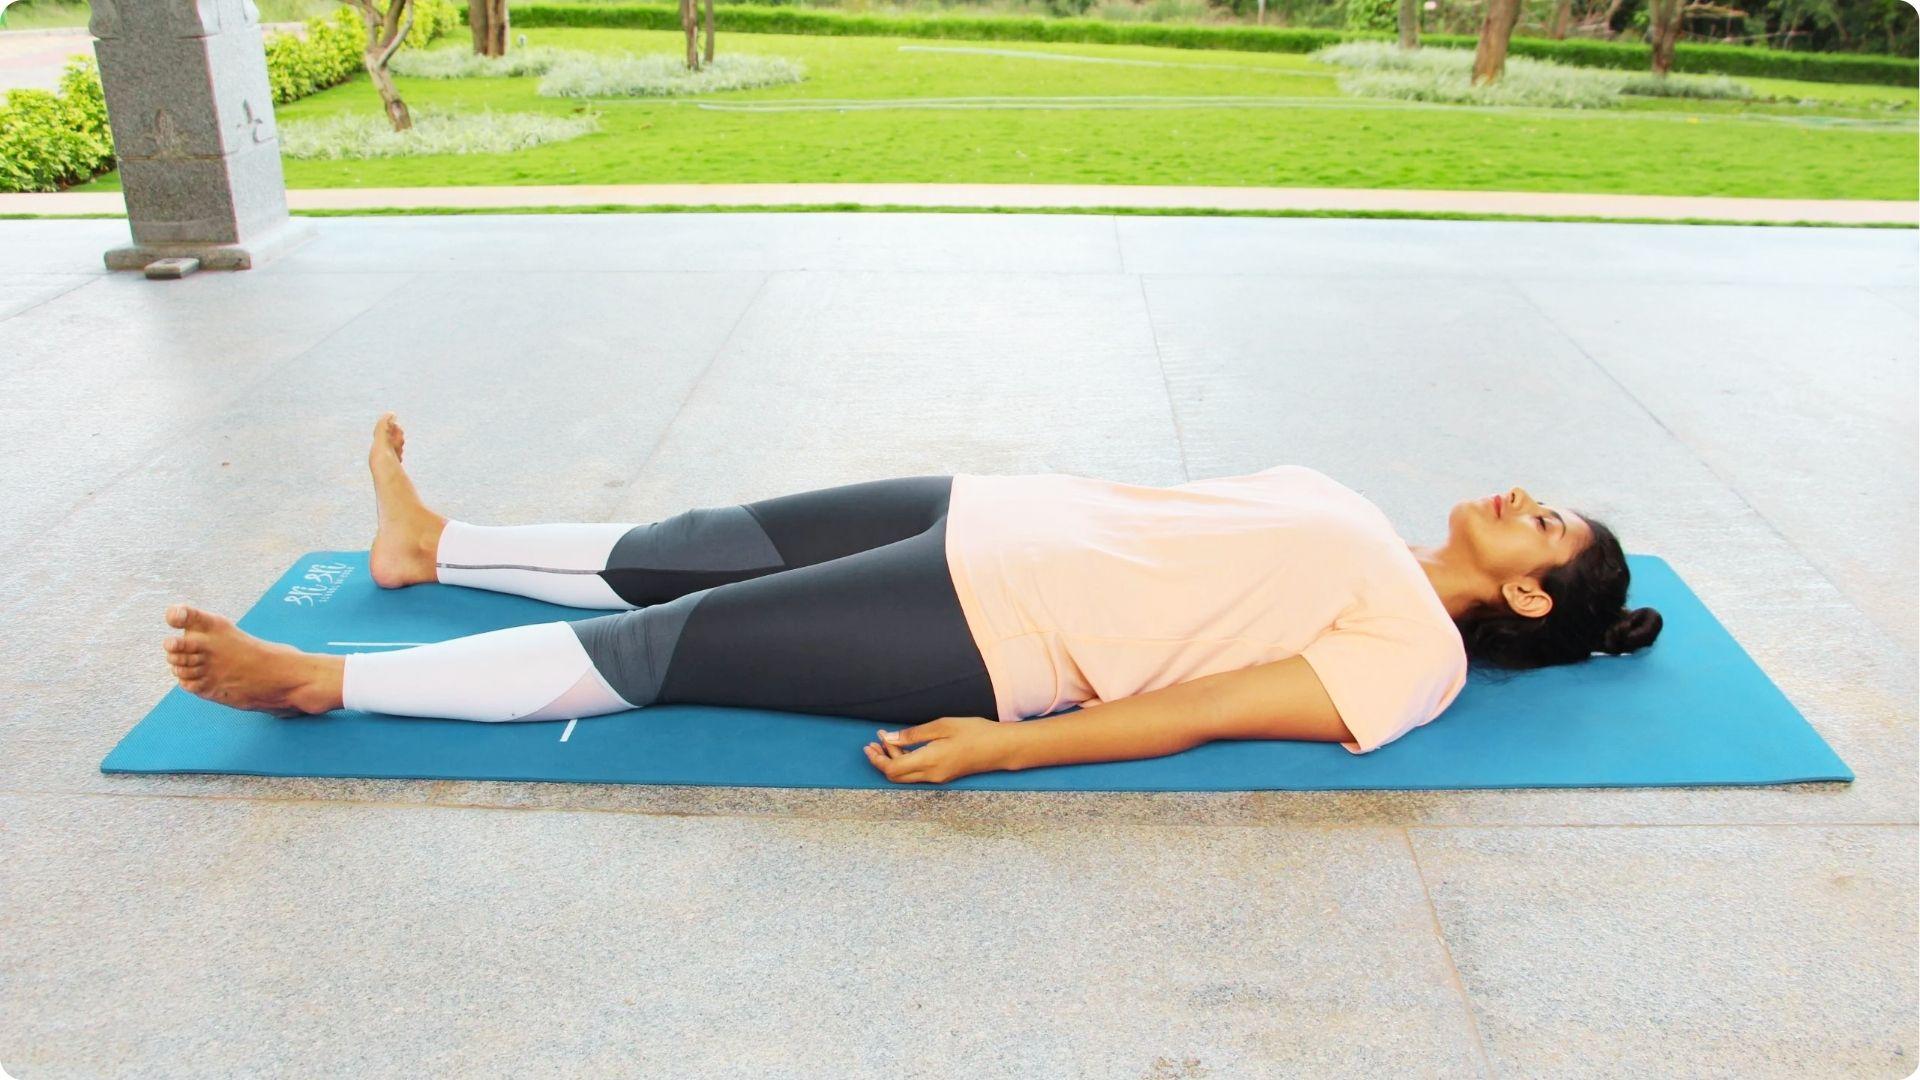
Lie flat on your back on a firm mat with legs fully extended and feet together. Place your arms at your sides and check whether your lower back has a gap between it and the floor before you move.
Step 2: Engage Core and Lock the Lower Back
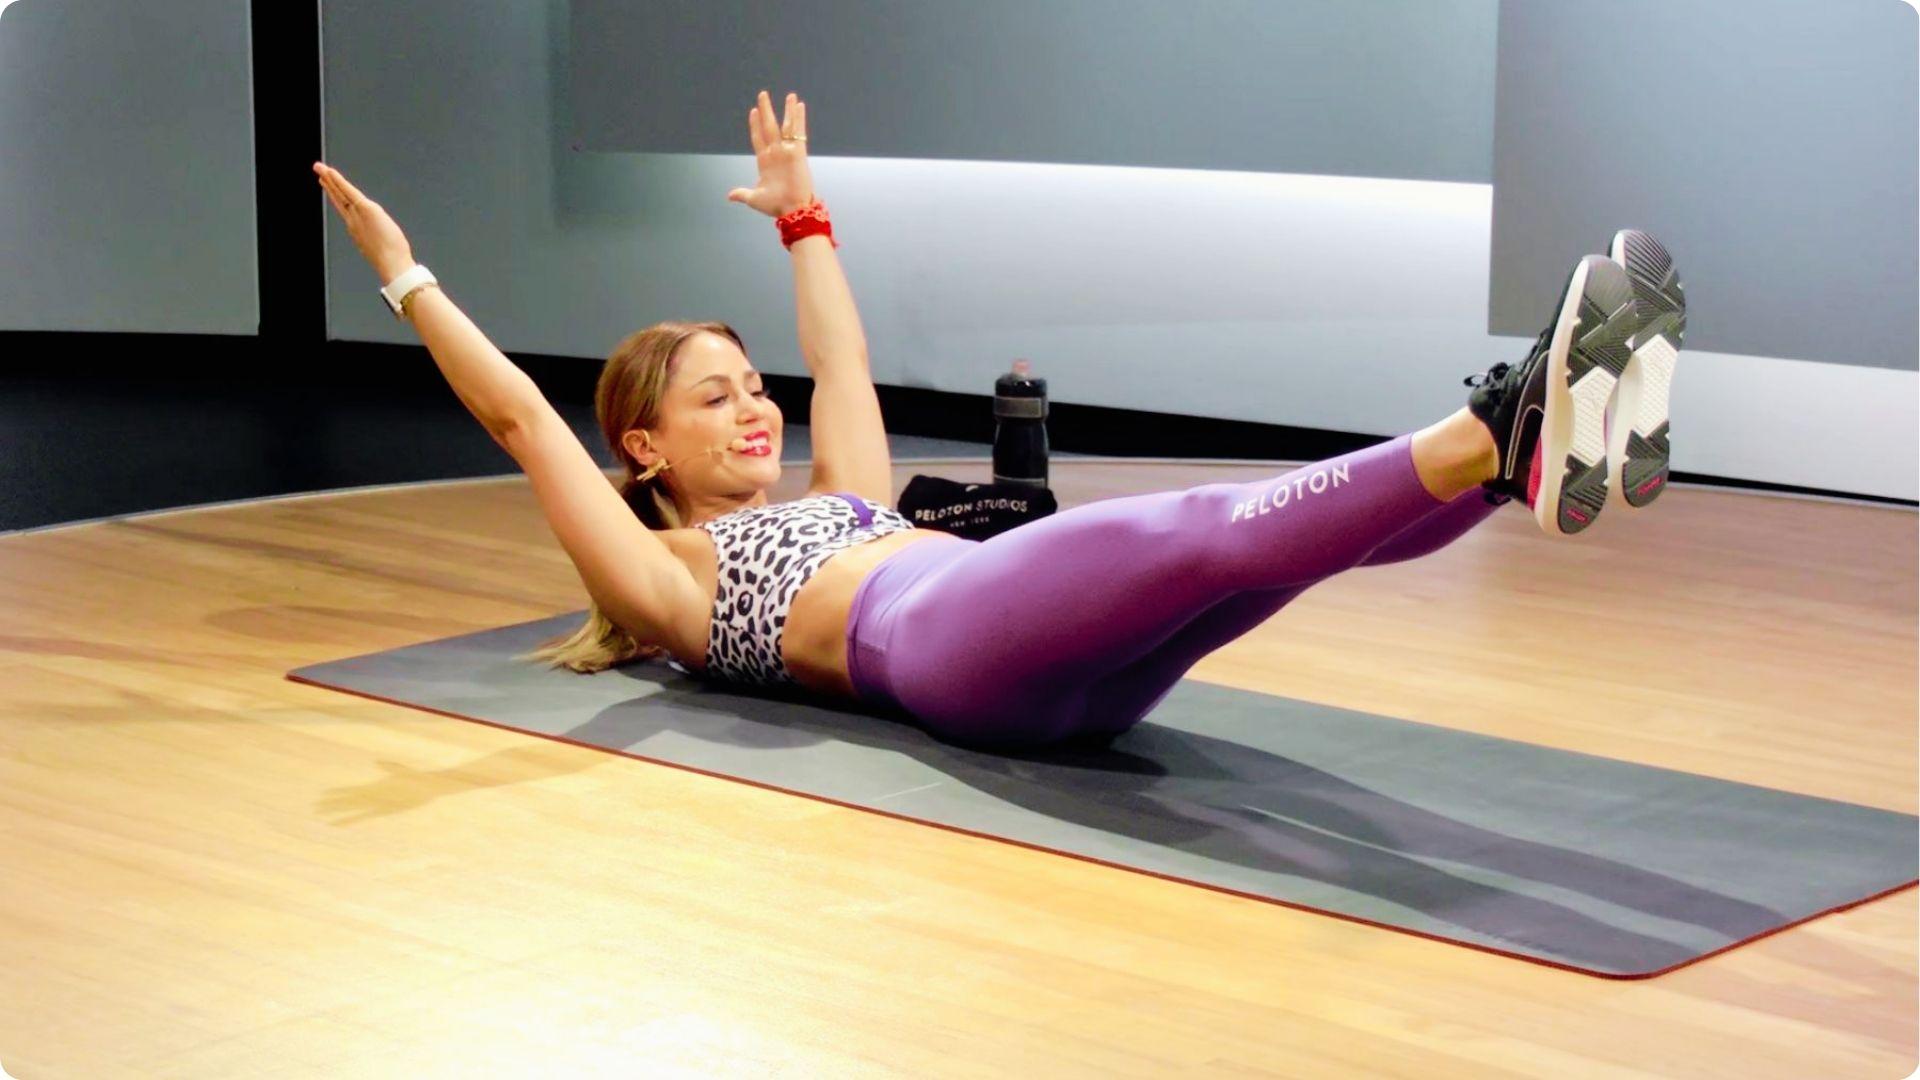
Press your lower back firmly into the mat by tilting your pelvis and pulling your belly button toward your spine.
Tighten your abs and squeeze your glutes, then keep that position locked throughout the entire hold.
Step 3: Lift Into Hollow Body Position and Hold
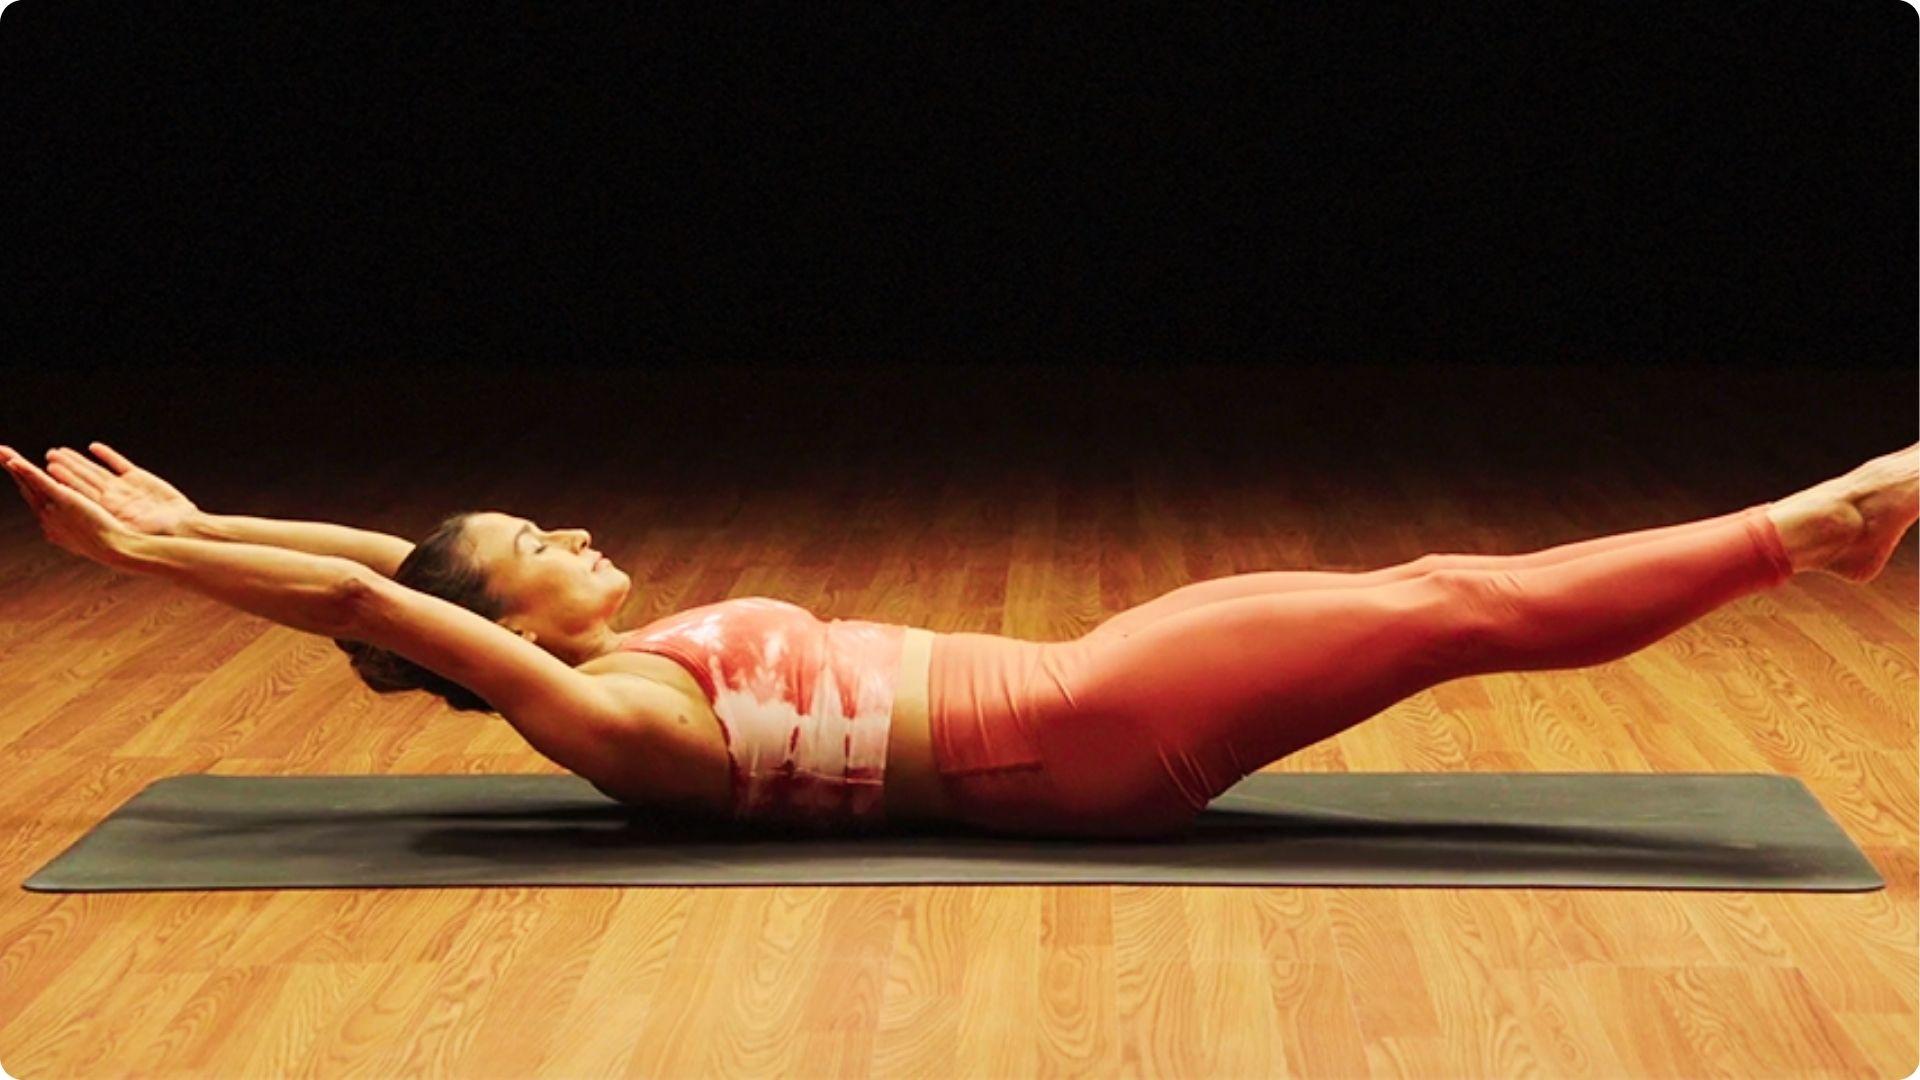
Slowly raise your legs a few inches off the ground and lift your shoulders using your abs, not your neck.
Extend your arms overhead if your form allows, breathe steadily, and lower your legs or bend your knees the moment your lower back lifts.
Hollow Body Hold Benefits
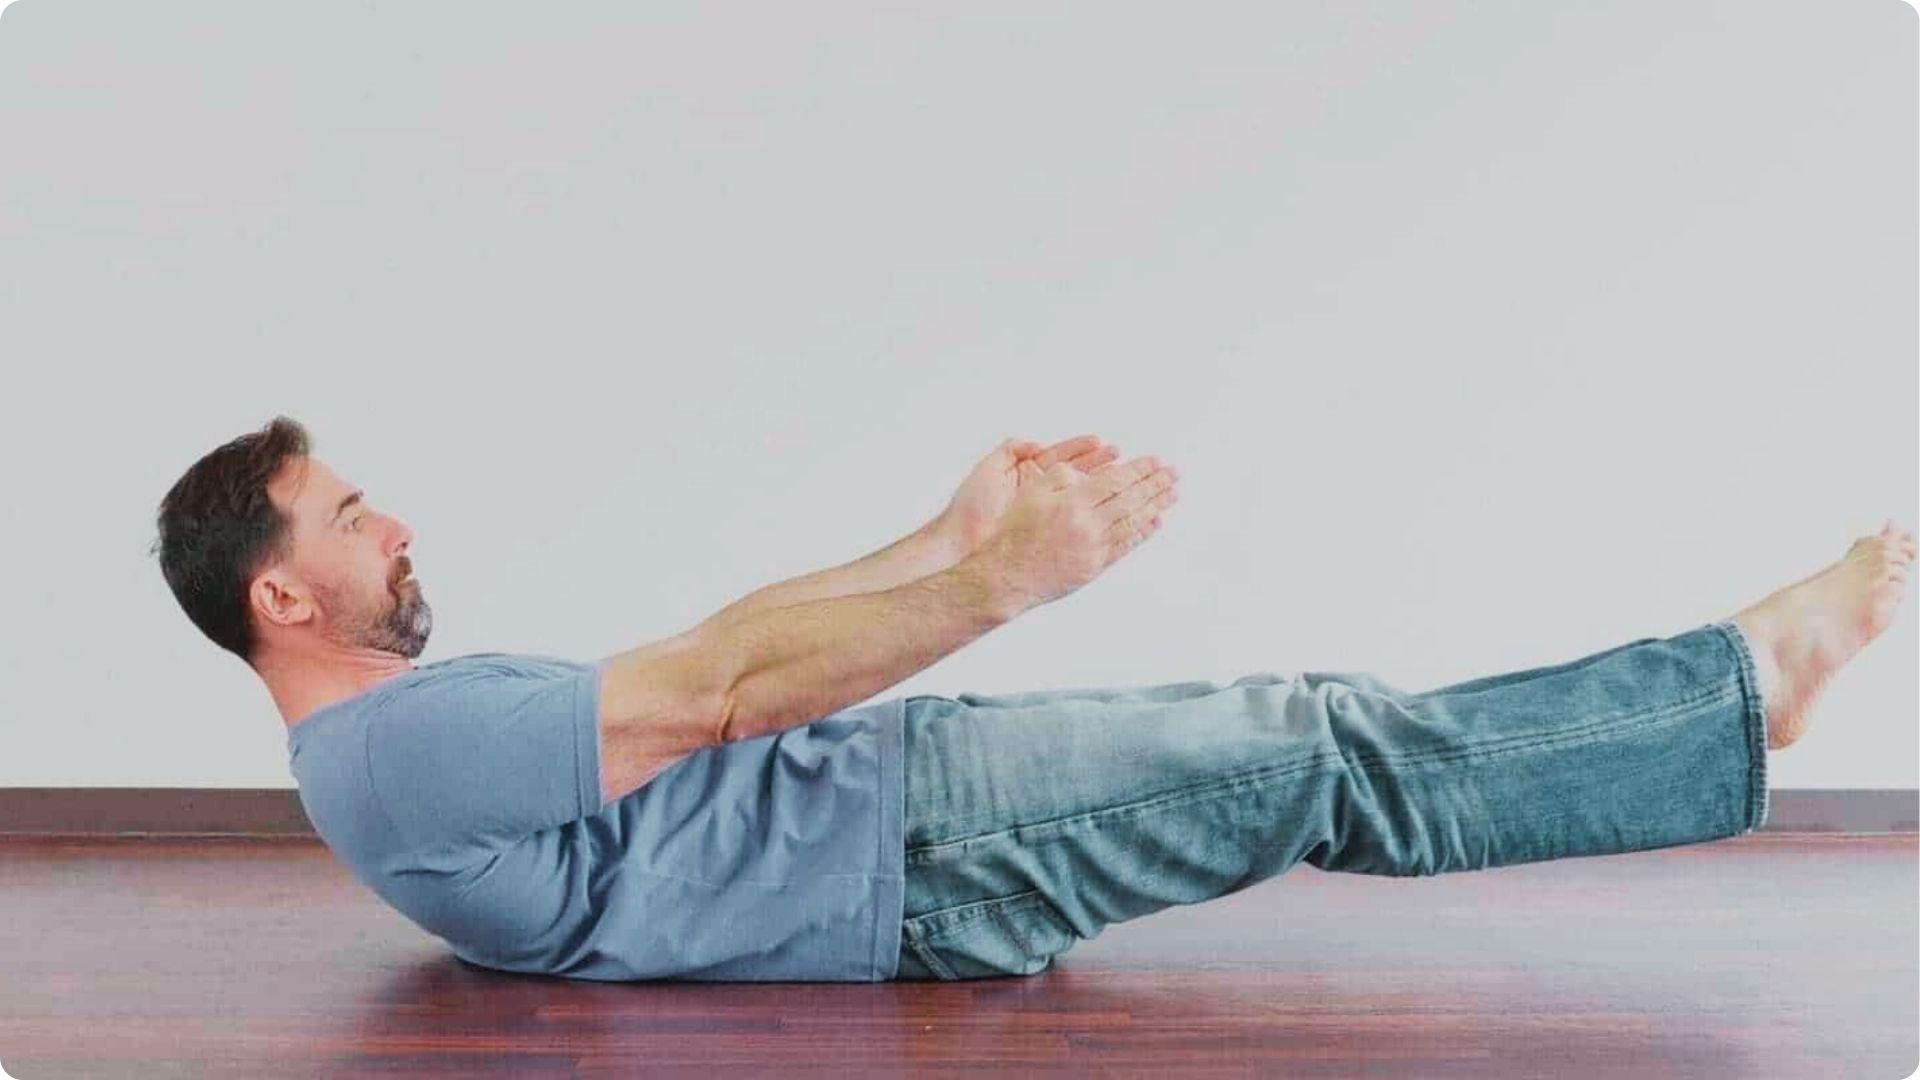
The hollow body hold does more than build abs. It trains your entire system to work together.
Builds Core Strength and Stability
The hold activates your transverse abdominis, rectus abdominis, and obliques at the same time. Consistent practice builds deep stability that protects your spine under load.
Improves Posture and Spinal Alignment
A stronger anterior core stops your lower back from overworking during daily movement. Posture improves naturally because your body finally has the strength to hold itself properly.
Improves Gymnastics, Calisthenics, and Athletic Performance
Any skill that needs a strong midline gets better with hollow body training. Handstands, pull-ups, and sprints all benefit from a core that transfers force efficiently.
Improves Body Control and Movement Efficiency
Regular hollow body training sharpens your sense of where your body is in space. Better body awareness leads to cleaner movement patterns and fewer injuries over time.
Hollow Body Hold Variations for All Levels
Once you can hold the basic position with clean form, there are several ways to progress or modify the movement.
Bent-Knee Hollow Body Hold (Beginner Version)
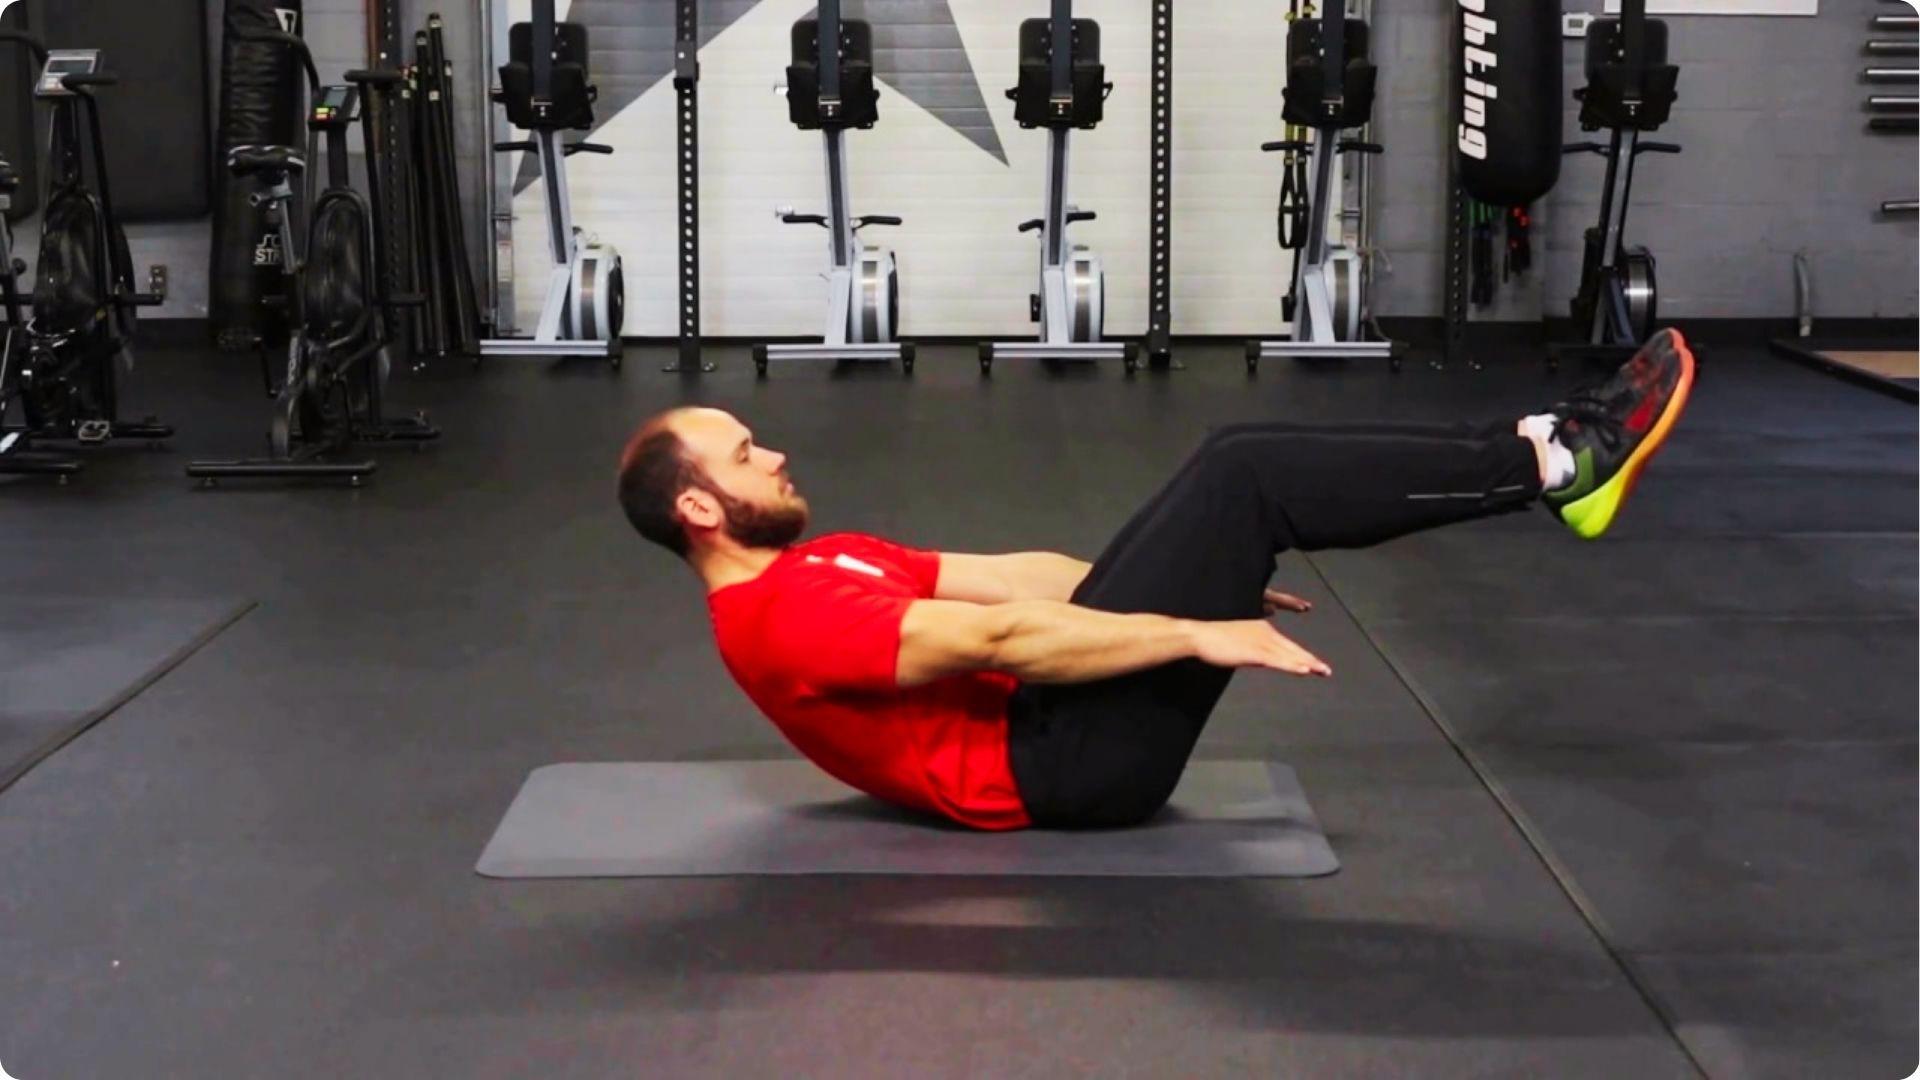
Bend your knees to 90 degrees, keep your shins parallel to the floor, and hold with arms at your sides. This shortens the lever arm and makes lower back contact much easier to maintain.
One-Leg Extended Hollow Hold
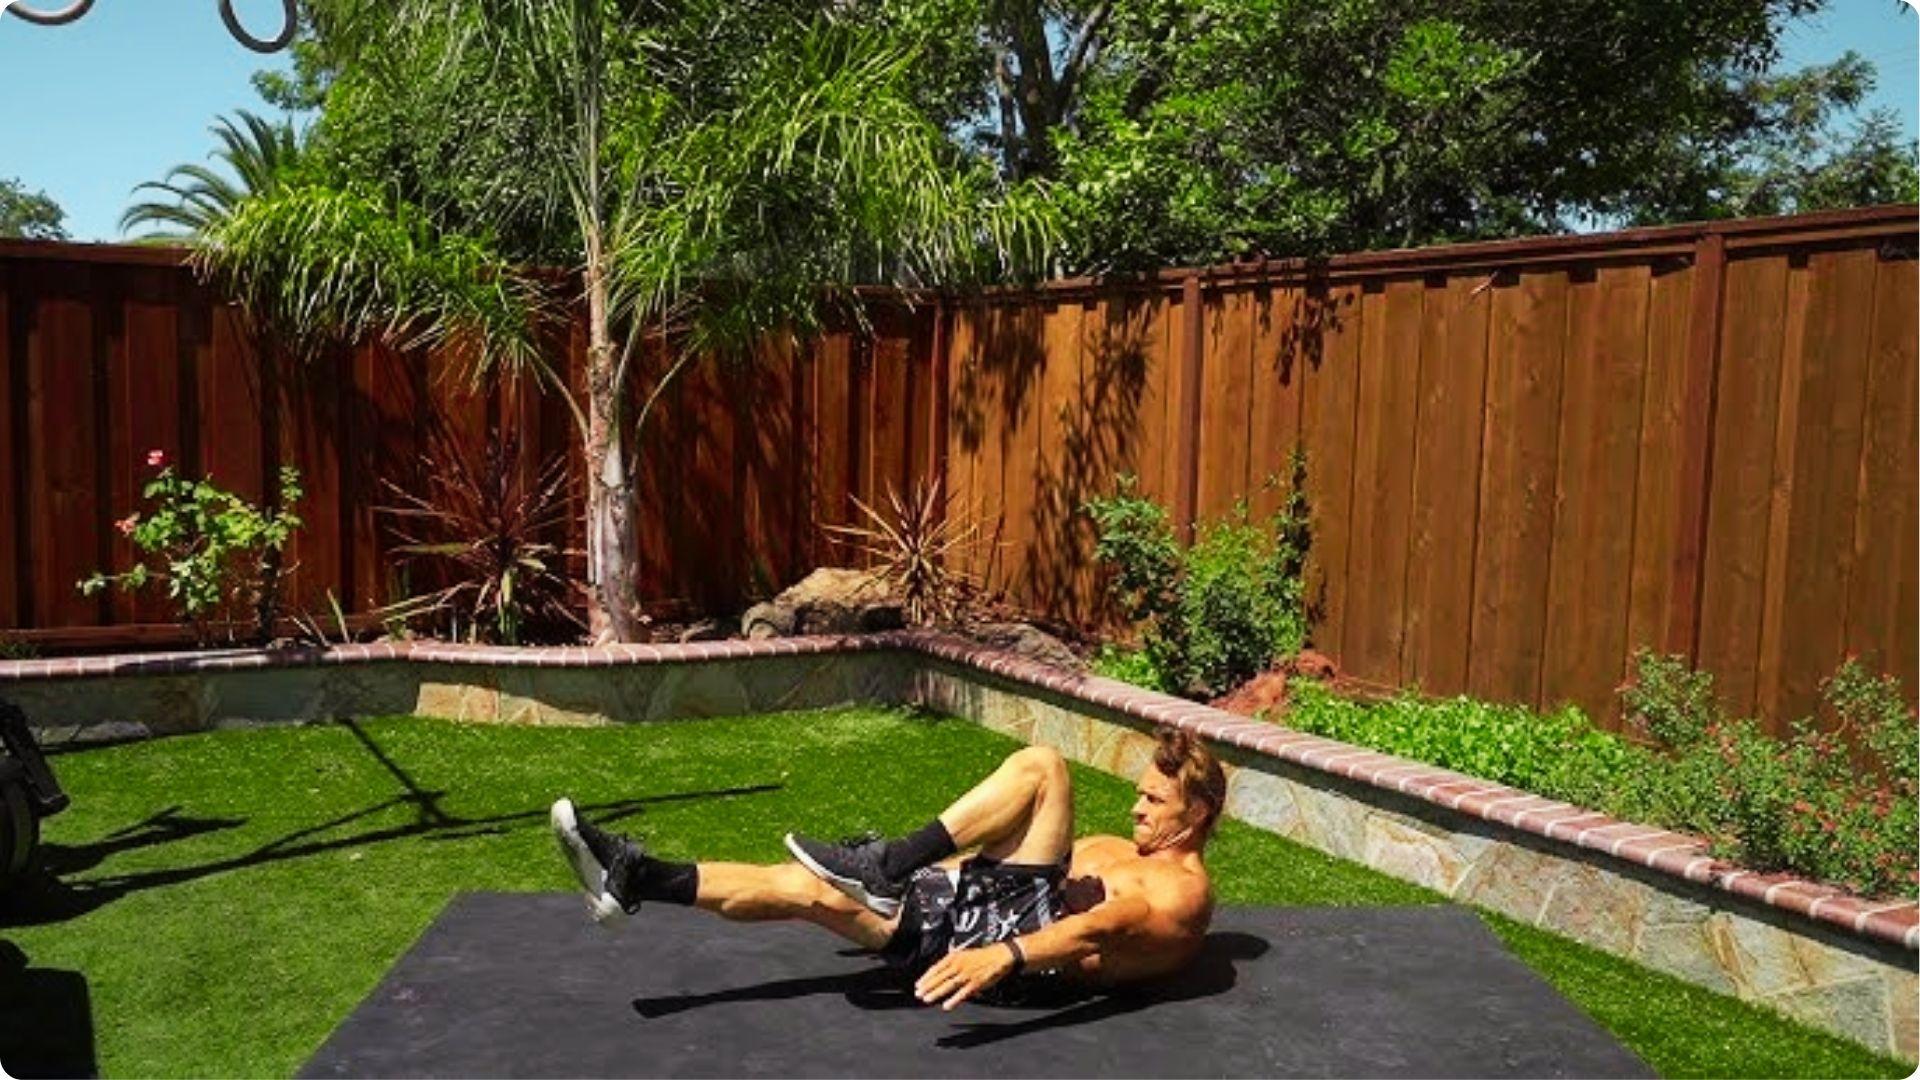
Extend one leg fully while keeping the other bent to increase core load without jumping straight to the full version. Switch legs and practice both sides equally.
Weighted Hollow Body Hold for Advanced Strength
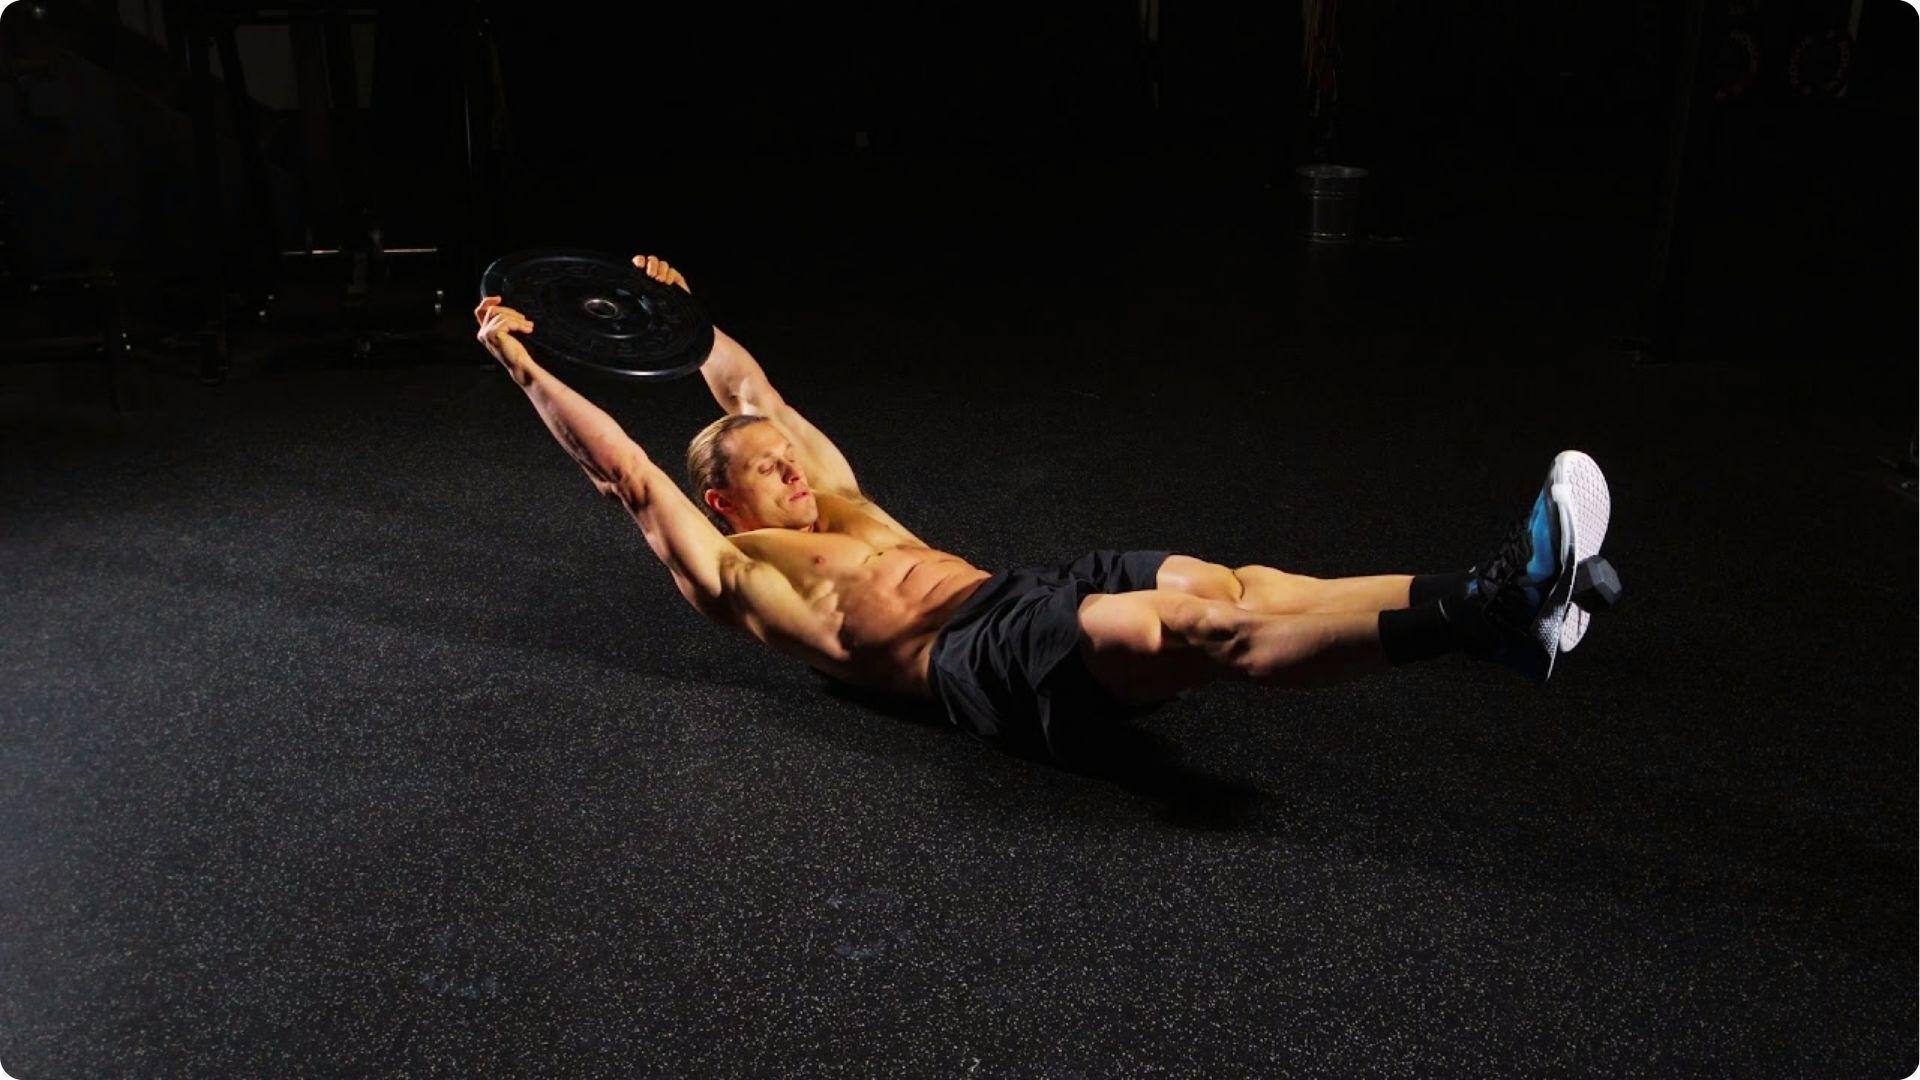
Hold a light plate above your chest or extend it overhead once you can comfortably hold the full position for 45 to 60 seconds. Start light and keep the focus on maintaining a flat lower back.
Gymnastics Hollow Body Hold Progression
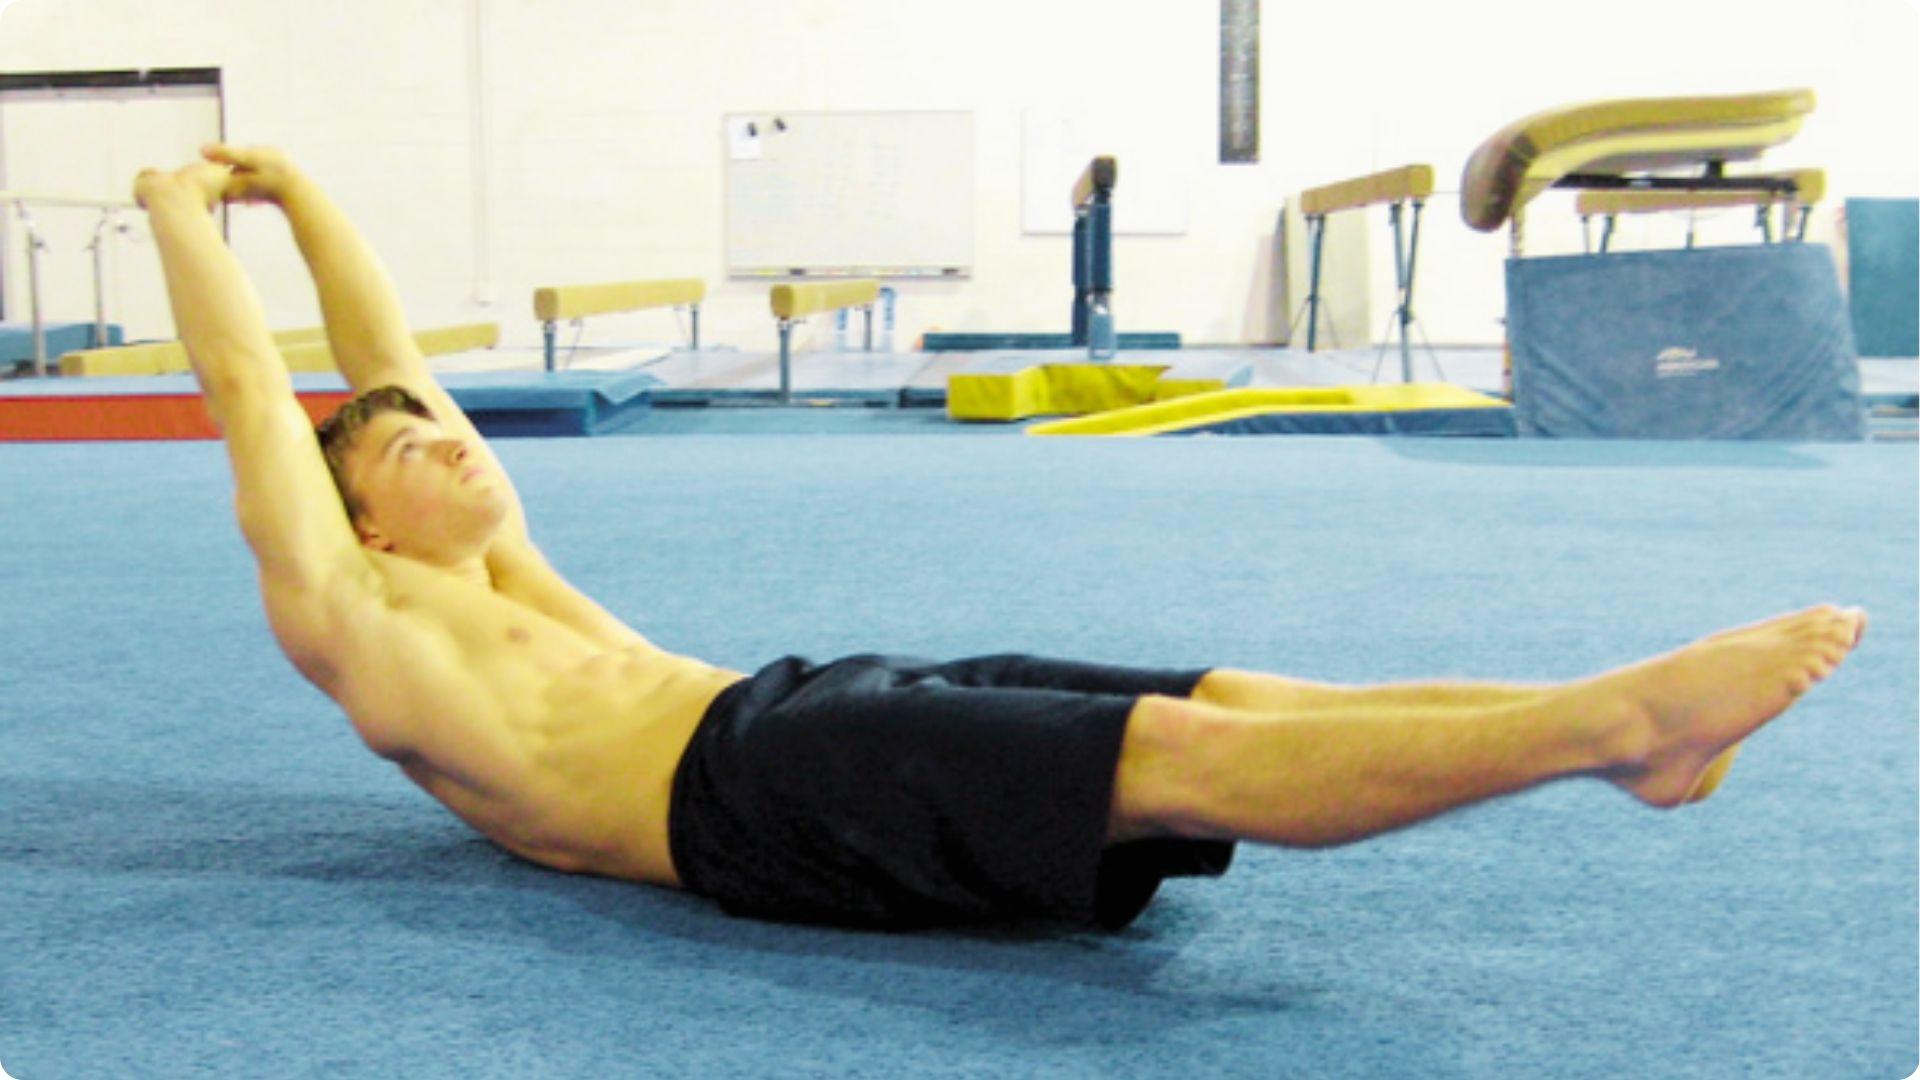
Gymnasts apply the hollow position across floor holds, ring rows, pull-up bar work, and kipping movements. Build the floor hold first, then carry that tension into bar and ring-based skills.
Hollow Body Hold Exercise Progressions
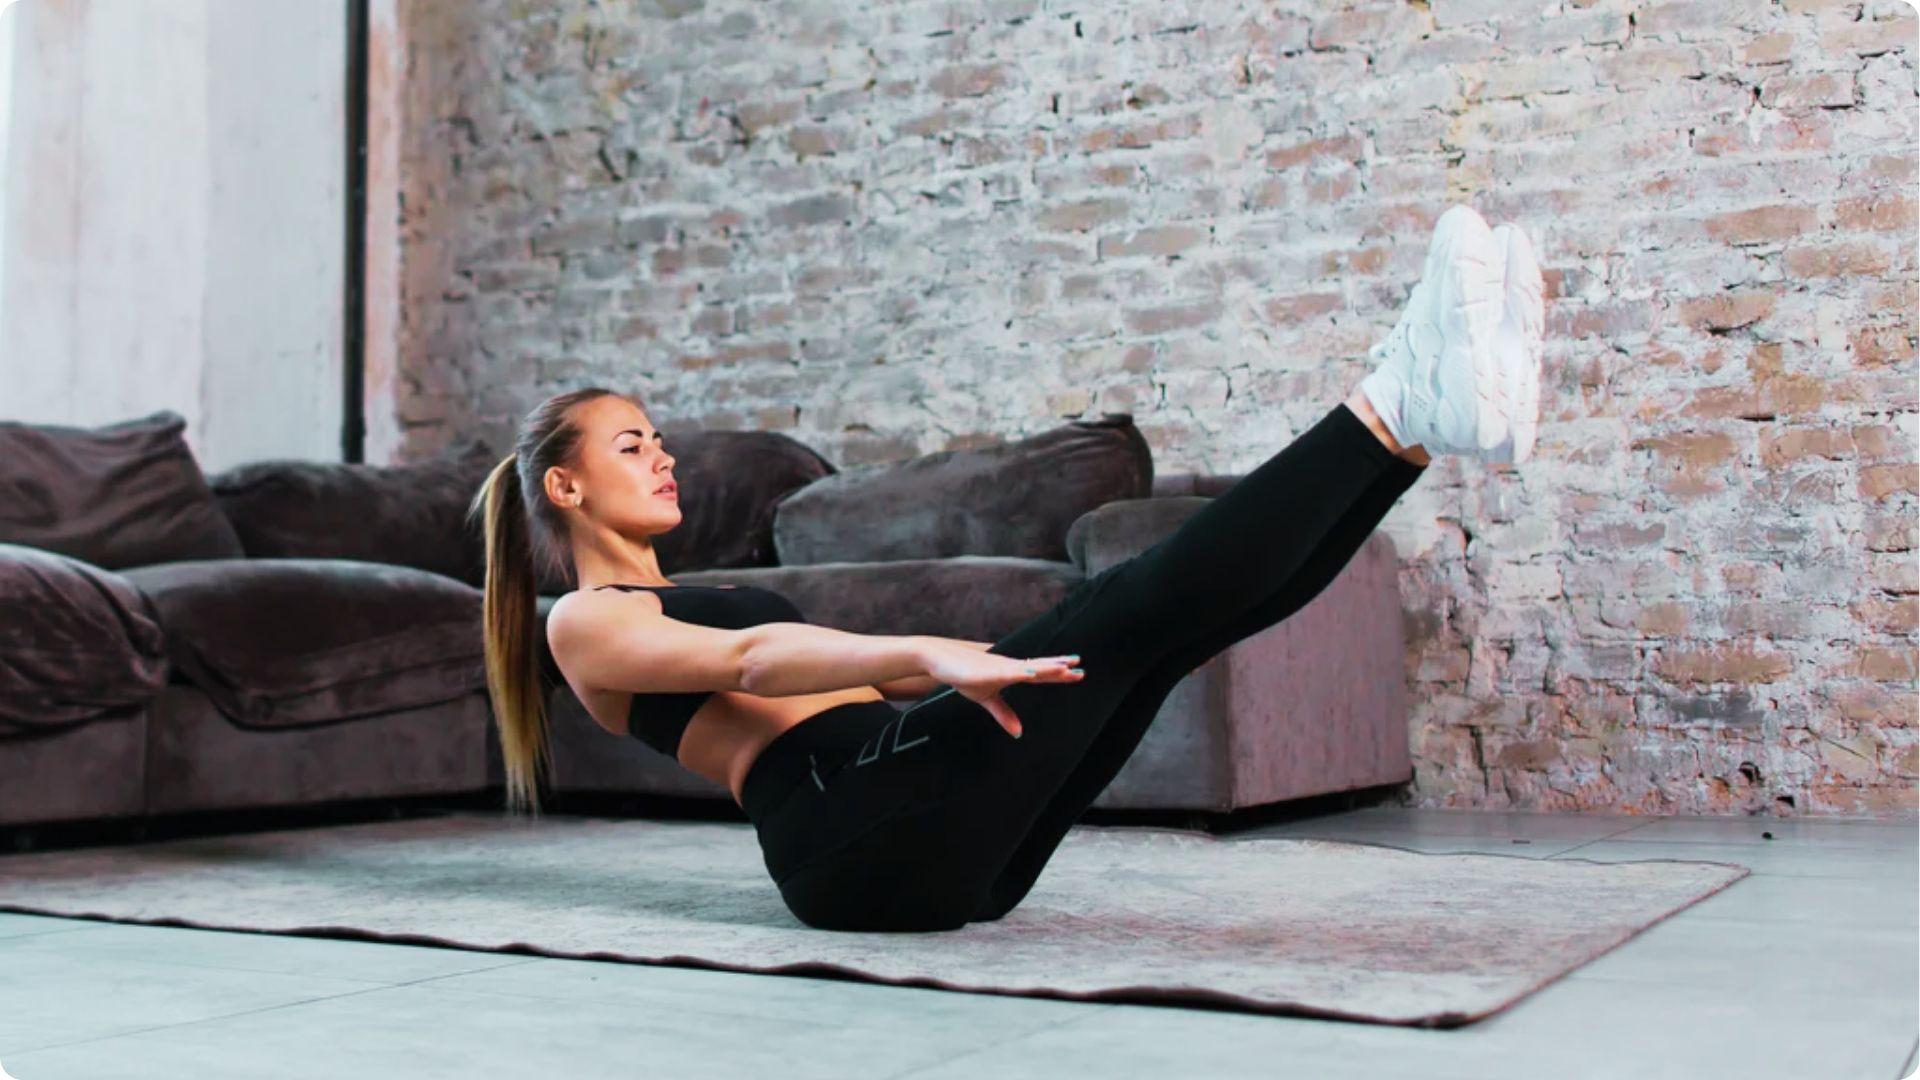
A structured plan helps you build strength without plateauing or getting hurt.
Beginner Progression Plan for Core Activation
Practice the bent-knee hold for two to three sets of 10 to 15 seconds, three times per week, focusing on lower back contact and steady breathing.
Once you hold 20 seconds cleanly, begin adding arm overhead extension gradually.
Intermediate Strength and Endurance Development
Work up to three sets of 20 to 30 second holds with one or both legs extended and 45 seconds of rest between sets.
Add the hollow body rock twice per week and video your form to check lower back position honestly.
Advanced Hollow Body Control Training
At this level, holds run 45 to 60 seconds in the full extended position with weighted variations added progressively.
Train three to four times per week as part of a broader program, always prioritizing quality over duration.
Tips for Hollow Body Hold Form and Better Results
Good form is what separates progress from injury. These tips help you get more out of every set.
- Press your lower back into the mat before you lift anything. That contact is what keeps your core activated throughout the hold.
- Engage your abs fully before your legs or arms leave the floor. Tension built early makes the entire hold more effective.
- Start with bent knees if the full version breaks your form. A modified hold done right beats a full hold done wrong.
- Let your abs do the lifting, not your neck. Keep your neck soft and relaxed the entire time.
- Tuck your chin slightly and look toward your thighs. This keeps your head aligned and prevents cervical strain.
Conclusion
The hollow body hold is one of the most effective core exercises you can do with zero equipment.
Form always comes before duration. Start with bent knees, press your lower back into the mat, and build from there.
Small, consistent sessions three times per week will produce real results over time.
Master the basics before adding difficulty and your core strength will carry over into every other movement you train. Stop overthinking it. Get on the mat, follow the steps in this guide, and start building a stronger core today.
Frequently Asked Questions
What is a hollow body hold?
It is a core exercise where you lie on your back, press your lower back into the floor, and hold your legs and shoulders slightly off the mat with full-body tension.
How long should I hold a hollow body?
Beginners should aim for 10 to 20 seconds. Intermediate athletes work up to 30 seconds. Advanced practitioners hold for 45 to 60 seconds with strict form throughout.
What muscles does the hollow body hold work?
It primarily works the rectus abdominis, transverse abdominis, and obliques, with the glutes and hip flexors working as secondary stabilizers.
Is hollow body hold good for beginners?
Yes. Start with the bent-knee version and arms at your sides. It is scalable enough for any fitness level when done with correct form.
Why does my lower back hurt during hollow hold?
Your lower back is likely lifting off the mat. Raise your legs higher or bend your knees to fix the position immediately.