

I have been doing the b stance RDL for a while now, and it changed how I train my posterior chain.
If you've been struggling with uneven hamstrings or want better balance in your lower body, this move is worth learning.
In this guide, I'll walk you through exactly how to do it, what muscles it works, and how to avoid common form mistakes.
I've also added tips that helped me get the most out of this lift. I have trained with coaches and studied this movement closely, so you're in good hands.
We'll cover what it is, what muscles it targets, step-by-step form, the benefits, and the best equipment and tips to use.
What Is a B Stance RDL?
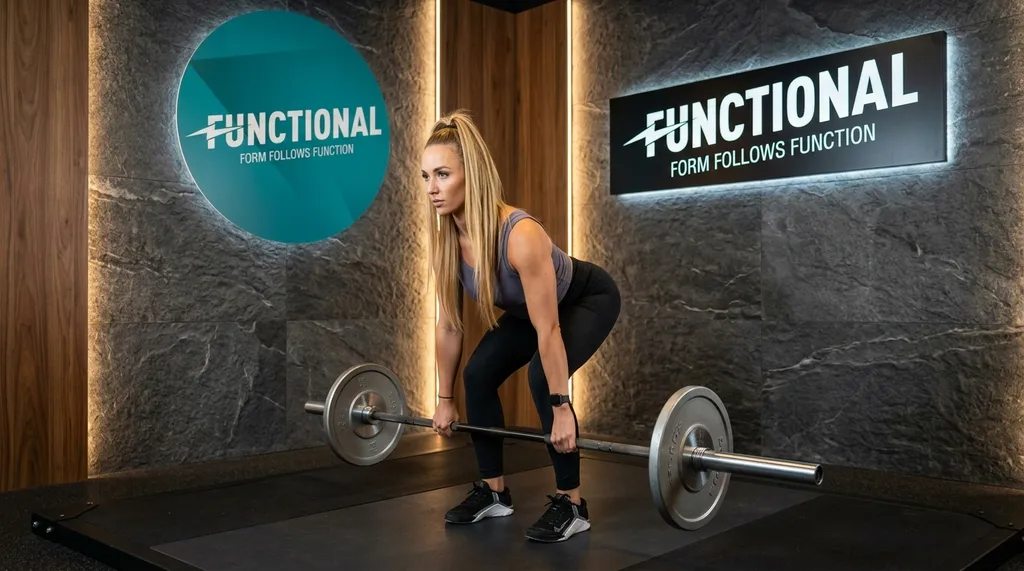
The b stance RDL is a variation of the Romanian deadlift. You use one leg as the main working leg. The other foot rests slightly behind it for balance. That back foot takes very little weight.
It sits between a traditional RDL and a single-leg RDL. You still get a strong unilateral training effect. But it's more stable than doing it on one leg completely.
I like this move because it lets me load one side more without losing my balance.
It's a great way to find and fix side-to-side differences in your hamstrings and glutes.
Muscles Worked During the B Stance RDL
The b stance RDL targets the back side of your body.
Here's what it works:
The hamstrings on the front leg do most of the work. They stretch under load as you hinge down. The glutes fire hard when you drive back up.
Your lower back stays braced to keep your spine safe. Your core stays tight throughout the whole movement. The calves and stabilizer muscles in the front foot also kick in.
The back leg barely contributes. It's just there to help you stay steady.
How to Do a B Stance RDL Step by Step
Follow these steps and you'll get the form right from day one.
Step 1: Set Up Your Stance Correctly
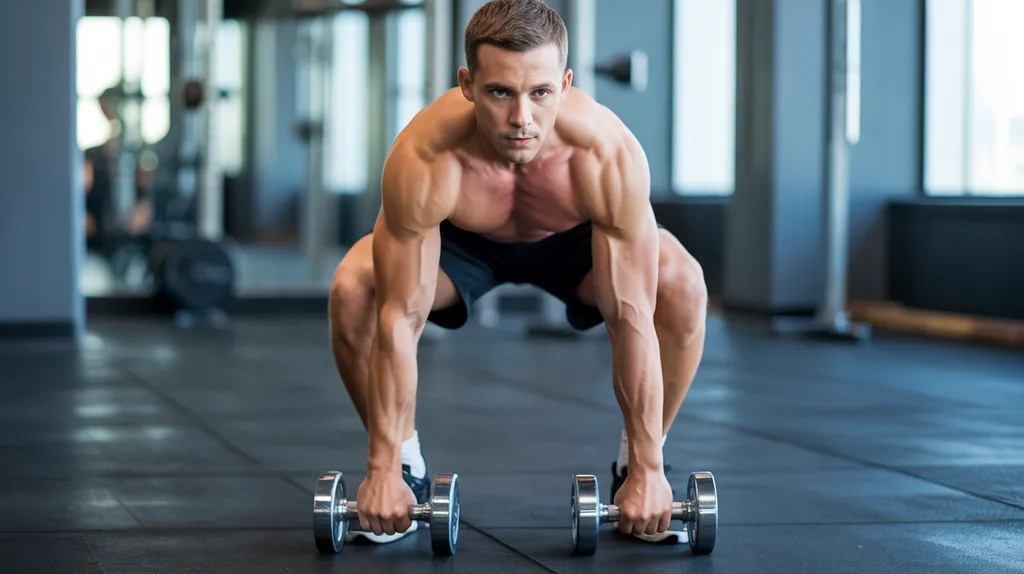
Stand with your feet hip-width apart. Step one foot back so only the toes touch the floor behind you. Your front foot takes almost all your weight.
Keep a soft bend in the front knee. Hold a dumbbell or barbell in each hand in front of your thighs.
Step 2: Brace Your Core and Hinge at the Hips
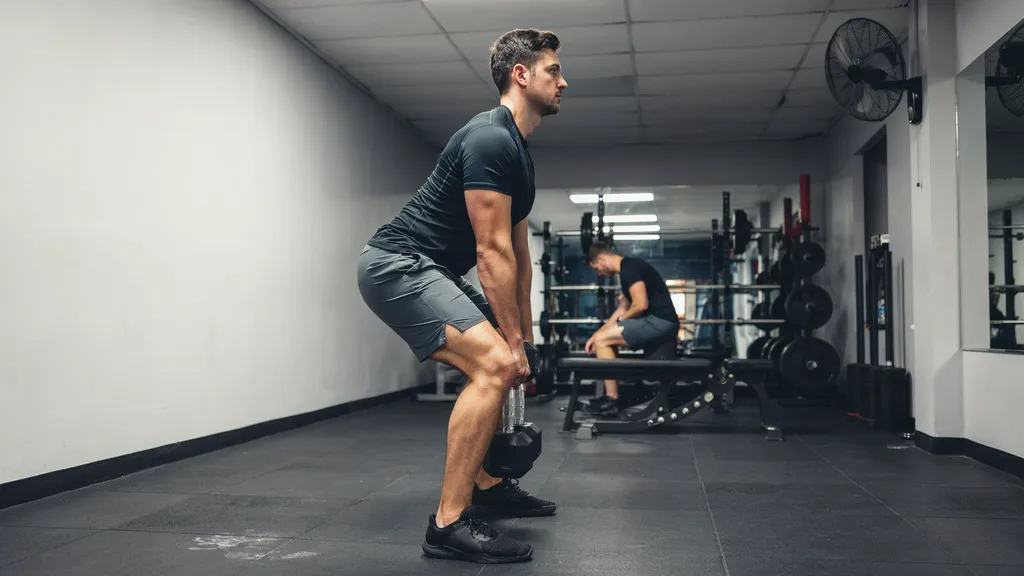
Take a breath and brace your core like you're about to take a hit. Push your hips back, not down. This is a hip hinge, not a squat.
Keep your chest up and your back flat the whole time.
Step 3: Lower the Weight With Control
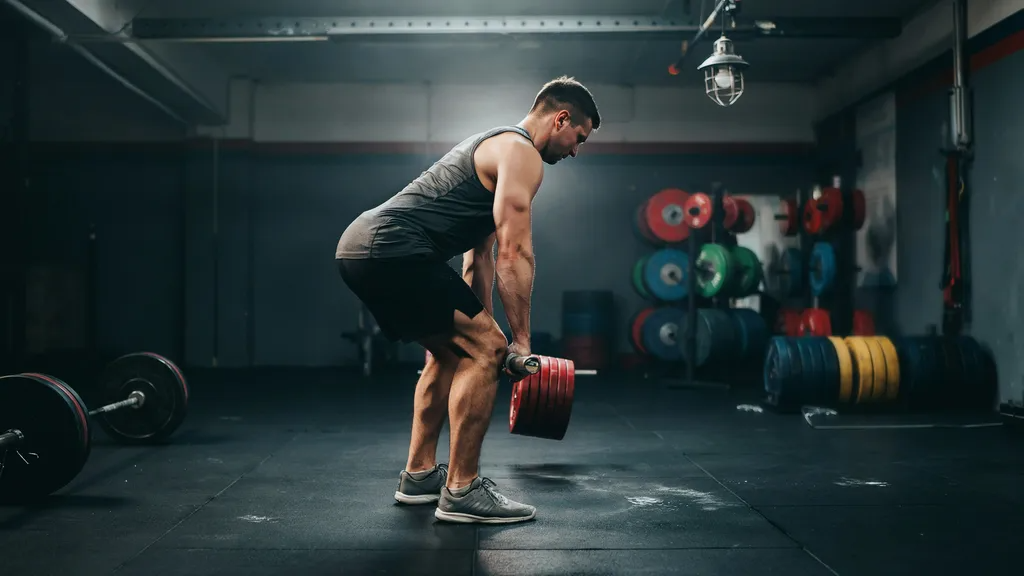
Slide the weights down your front leg slowly. Go as low as your hamstring flexibility allows. Stop before your lower back rounds.
Most people stop just below the knee. Feel the stretch in your front hamstring at the bottom.
Step 4: Drive Through the Front Leg to Return to Standing
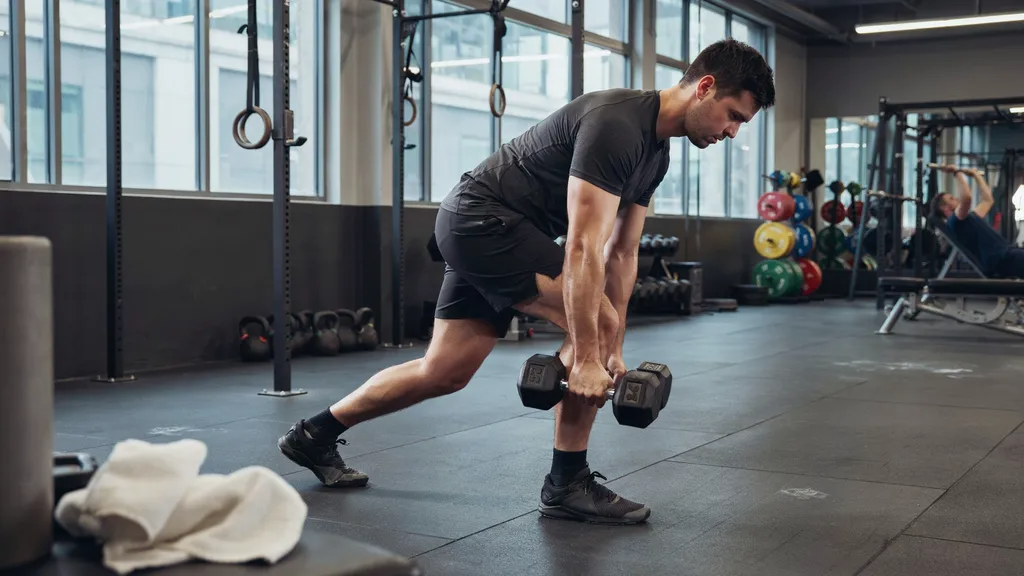
Press your front foot into the floor. Squeeze your glutes and drive your hips forward to come back up. Don't jerk the weight up.
Keep it smooth and controlled. Exhale as you rise.
Step 5: Repeat and Switch Sides
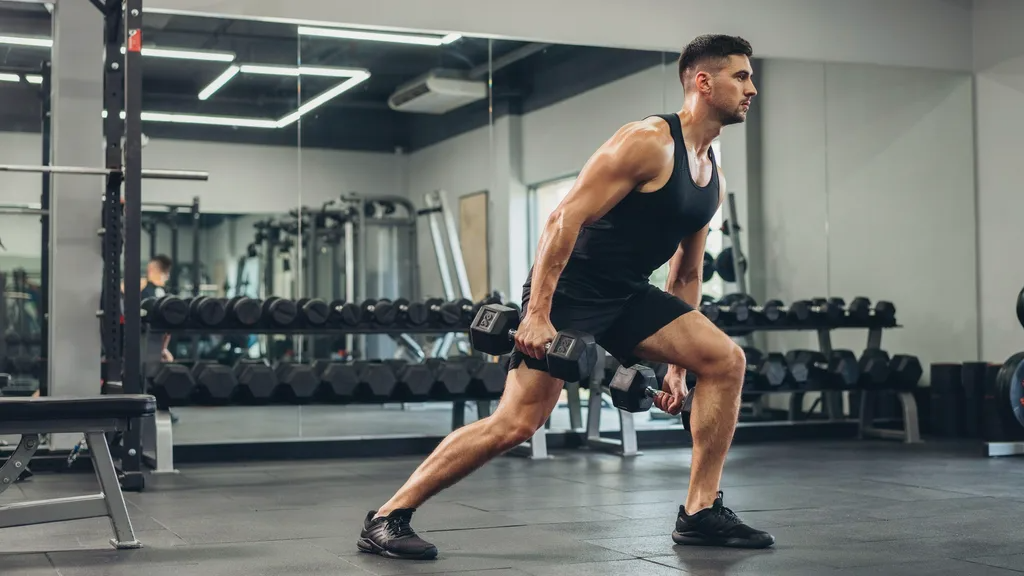
Do all your reps on one side before switching. Keep the same form on both sides. Most people are stronger on one side, and that's okay.
The goal is to train both sides evenly over time.
Benefits of the B Stance RDL
Here's why I keep coming back to this exercise.
- It corrects muscle imbalances between your left and right side.
- It's easier to balance than a full single-leg RDL.
- It lets you load heavier than a single-leg version.
- It builds strong hamstrings and glutes without putting too much stress on your lower back.
- It improves hip hinge mechanics that carry over to deadlifts and squats.
- It works well for beginners and advanced lifters alike.
- It reduces strain on the lower back compared to bilateral lifts done with poor form.
Best Equipment Options for B Stance RDLs
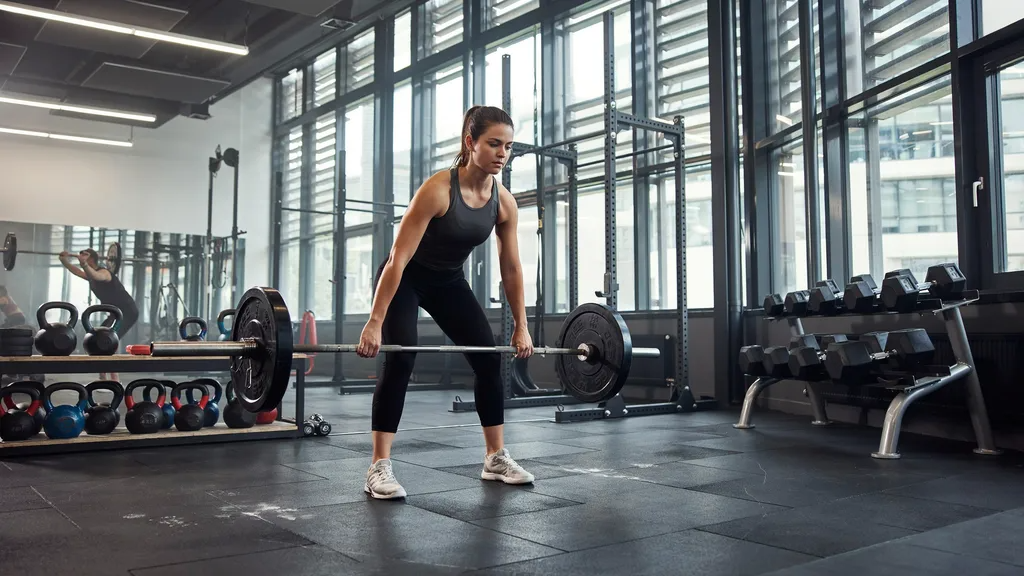
You can do the b stance RDL with different equipment depending on what you have.
Dumbbells are the easiest to start with. They let your hands move freely and are easy to set up. A barbell gives you more loading options as you get stronger.
It also teaches better bar path awareness. Kettlebells work too.
They sit slightly in front of your center of mass, which can feel more natural for some people.
I started with dumbbells and moved to a barbell once my form was solid. Either way works. Just make sure the weight lets you keep good form the whole time.
Proper B Stance RDL Form Tips
Small tweaks make a big difference here:
- Keep your back flat throughout. No rounding, even at heavier weights.
- Push the hips back first. Don't bend at the waist.
- Keep the weights close to your body as they move up and down.
- Go only as deep as your hamstrings allow without your back rounding.
- Move slowly on the way down. Take two to three seconds.
- Don't lock out your front knee. Keep a soft bend.
- Keep your shoulders level. Don't let one side drop.
Common B Stance RDL Mistakes to Avoid
These are the errors I see most often, and they're easy to fix:
- Letting the lower back round. This puts stress on your spine and kills the hamstring stretch.
- Squatting instead of hinging. This turns it into a squat and takes the load off your hamstrings.
- Using too much weight too soon. Heavy weight with bad form is worse than light weight done right.
- Not switching sides. Some people train their stronger side more by accident.
- Rushing the movement. Going fast reduces muscle activation and increases injury risk.
- Letting the back foot take too much weight. Keep it as a kickstand only.
- Looking up too high. Keep your neck neutral and eyes slightly down.
Conclusion
The b stance RDL is one of those moves I wish I had added to my training sooner. It builds strong hamstrings and glutes, fixes muscle imbalances, and teaches you how to hinge properly.
The steps are simple once you get the feel for it. Set your stance, brace your core, push the hips back, and control the weight down and up.
Use good equipment, go slow, and stay consistent. Avoid the common mistakes I listed, and your form will improve fast.
Give it a few weeks and you'll notice the difference.
Have you tried the b stance RDL before, or is this your first time adding it to your workout?
Frequently Asked Questions
What is the difference between a b stance RDL and a single-leg RDL?
The b stance RDL uses a back foot for balance support, making it more stable. A single-leg RDL has no back foot contact, which requires more balance and coordination.
How much weight should I use for the b stance RDL?
Start lighter than you think you need to. Focus on form first, then add weight gradually as your hip hinge pattern improves.
How many sets and reps should I do for the b stance RDL?
Three to four sets of eight to twelve reps per side is a solid starting point for building strength and muscle.
Can beginners do the b stance RDL?
Yes, it's a great move for beginners. It's more manageable than a full single-leg RDL and helps build the hip hinge pattern needed for heavier lifts.
Should I use a barbell or dumbbells for the b stance RDL?
Dumbbells are easier to start with. Once your form is solid and you want to add more weight, switching to a barbell gives you more loading options.