I remember my first time trying to put on wrist wraps. I had no clue which side was left or right. I wrapped them too loose, and they slipped off mid-set.
Embarrassing? Yes. But also super common. If you’ve been there, this blog is for you.
I’ll walk you through how to wear wrist wraps from start to finish. We’ll cover what they are, how to pick the right pair, and a full step-by-step wrapping guide.
I’ve spent time researching and testing this so you don’t have to guess anymore.
Why Wrist Wraps Matter

Wrist injuries in lifting happen more than people expect. One bad rep under heavy load and you’re out for weeks.
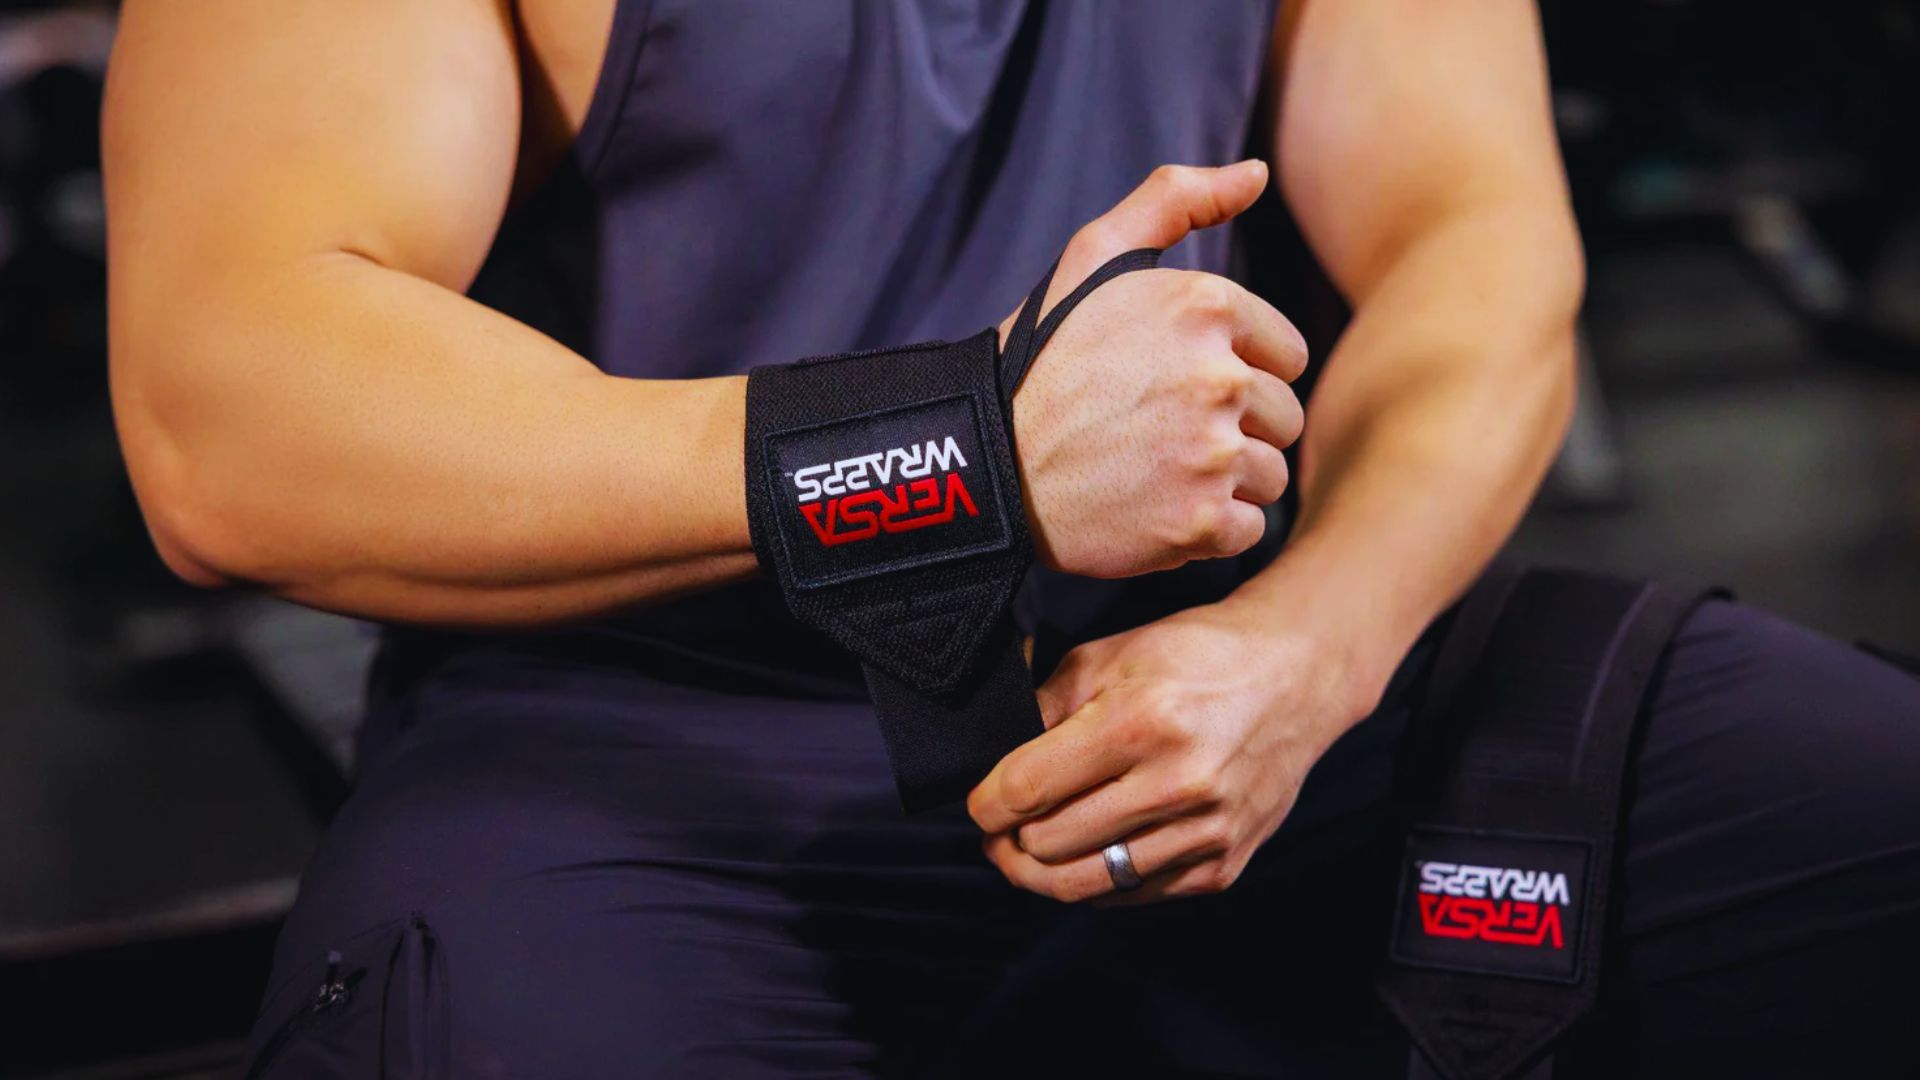
Wrist wraps add stability to the joint when it needs it most. They reduce pressure on tendons and ligaments during big lifts like bench press and overhead press.
I’ve watched lifters hit new personal records just by adding wraps to their routine. They’re not just for powerlifters or pros.
Anyone pushing serious weight can use them. The right wrap keeps your wrist neutral, protects the joint, and lets you focus on the lift itself.
What Are Wrist Wraps?
Simple gear, serious purpose.
Purpose and Benefits
Wrist wraps are strips of fabric, usually cotton or a cotton-elastic blend, that you wrap around your wrist before lifting.
Their main job is to support the wrist joint under load. They hold the wrist in a stable, neutral position so it doesn’t bend back during a press or overhead movement.
This lowers the risk of strain and lets you apply more force through the bar. For heavy lifting sessions, wraps can also reduce fatigue in the wrist over time.
Think of them as a brace you control yourself.
When to Use Wrist Wraps
You don’t need wraps for every lift. Use them when you’re going heavy on pressing movements like bench press, overhead press, or push press.
They’re also helpful during max-effort days or competition prep. If your wrists feel sore or fatigued after a session, that’s a sign wraps could help.
Skip them for lighter warm-up sets. You want your wrists to build natural strength too. Using wraps for everything can create dependency.
Save them for the sets that count.
Choosing the Right Wrist Wrap
The wrong pair can do more harm than good.
Length and Stiffness

Wrist wraps come in different lengths, usually 18 inches, 24 inches, or 36 inches. Shorter wraps are lighter and easier to use for general gym work.
Longer wraps give more support and are better for heavy powerlifting. Stiffness matters too. Stiff wraps offer maximum support for max lifts.
Flexible wraps allow more movement, which works better for Olympic lifts or CrossFit. Choose based on the type of lifting you do most.
If you’re not sure, start with a 24-inch medium-stiffness wrap.
Material and Quality

Most wraps are made from cotton, polyester, or a blend. Cotton is breathable and comfortable. A stiffer polyester blend holds its shape better under heavy load.
Quality matters here. Cheap wraps stretch out fast and lose support after a few uses. Look for reinforced stitching, a strong Velcro closure, and a durable thumb loop.
Brands like SBD, Inzer, and Gymreapers are well-reviewed by serious lifters. You don’t have to spend a lot, but don’t go too cheap either.
Your wrists are worth a solid pair of wraps.
Step-by-Step Guide: How to Wear Wrist Wraps
Follow these steps once and you’ll never wrap wrong again.
Step 1: Identify Left and Right Wraps
Most wrist wraps are labeled L and R. This matters because the thumb loop is positioned for a specific hand.
Using the wrong wrap on the wrong wrist puts the loop at an awkward angle and throws off your wrap job.
Check the label before you start. Getting this right from the beginning makes every step after it easier and more comfortable.
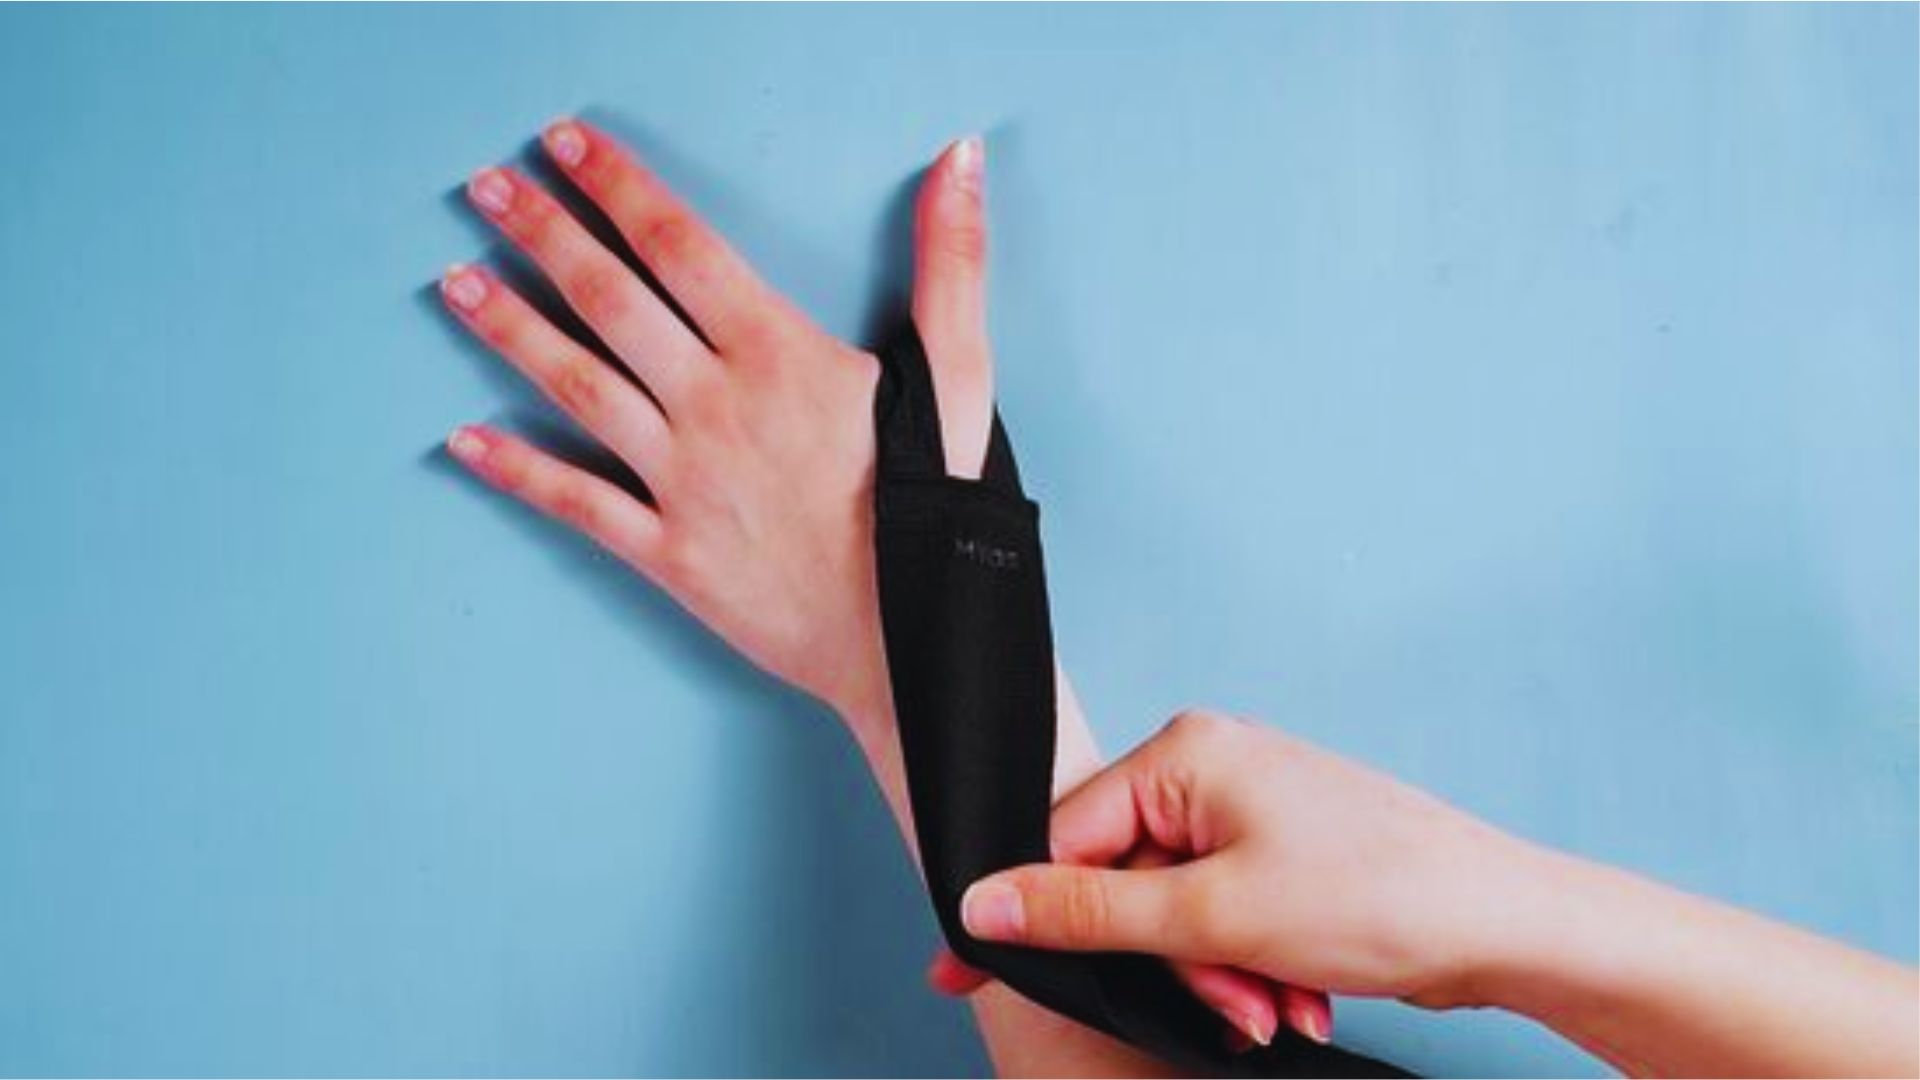
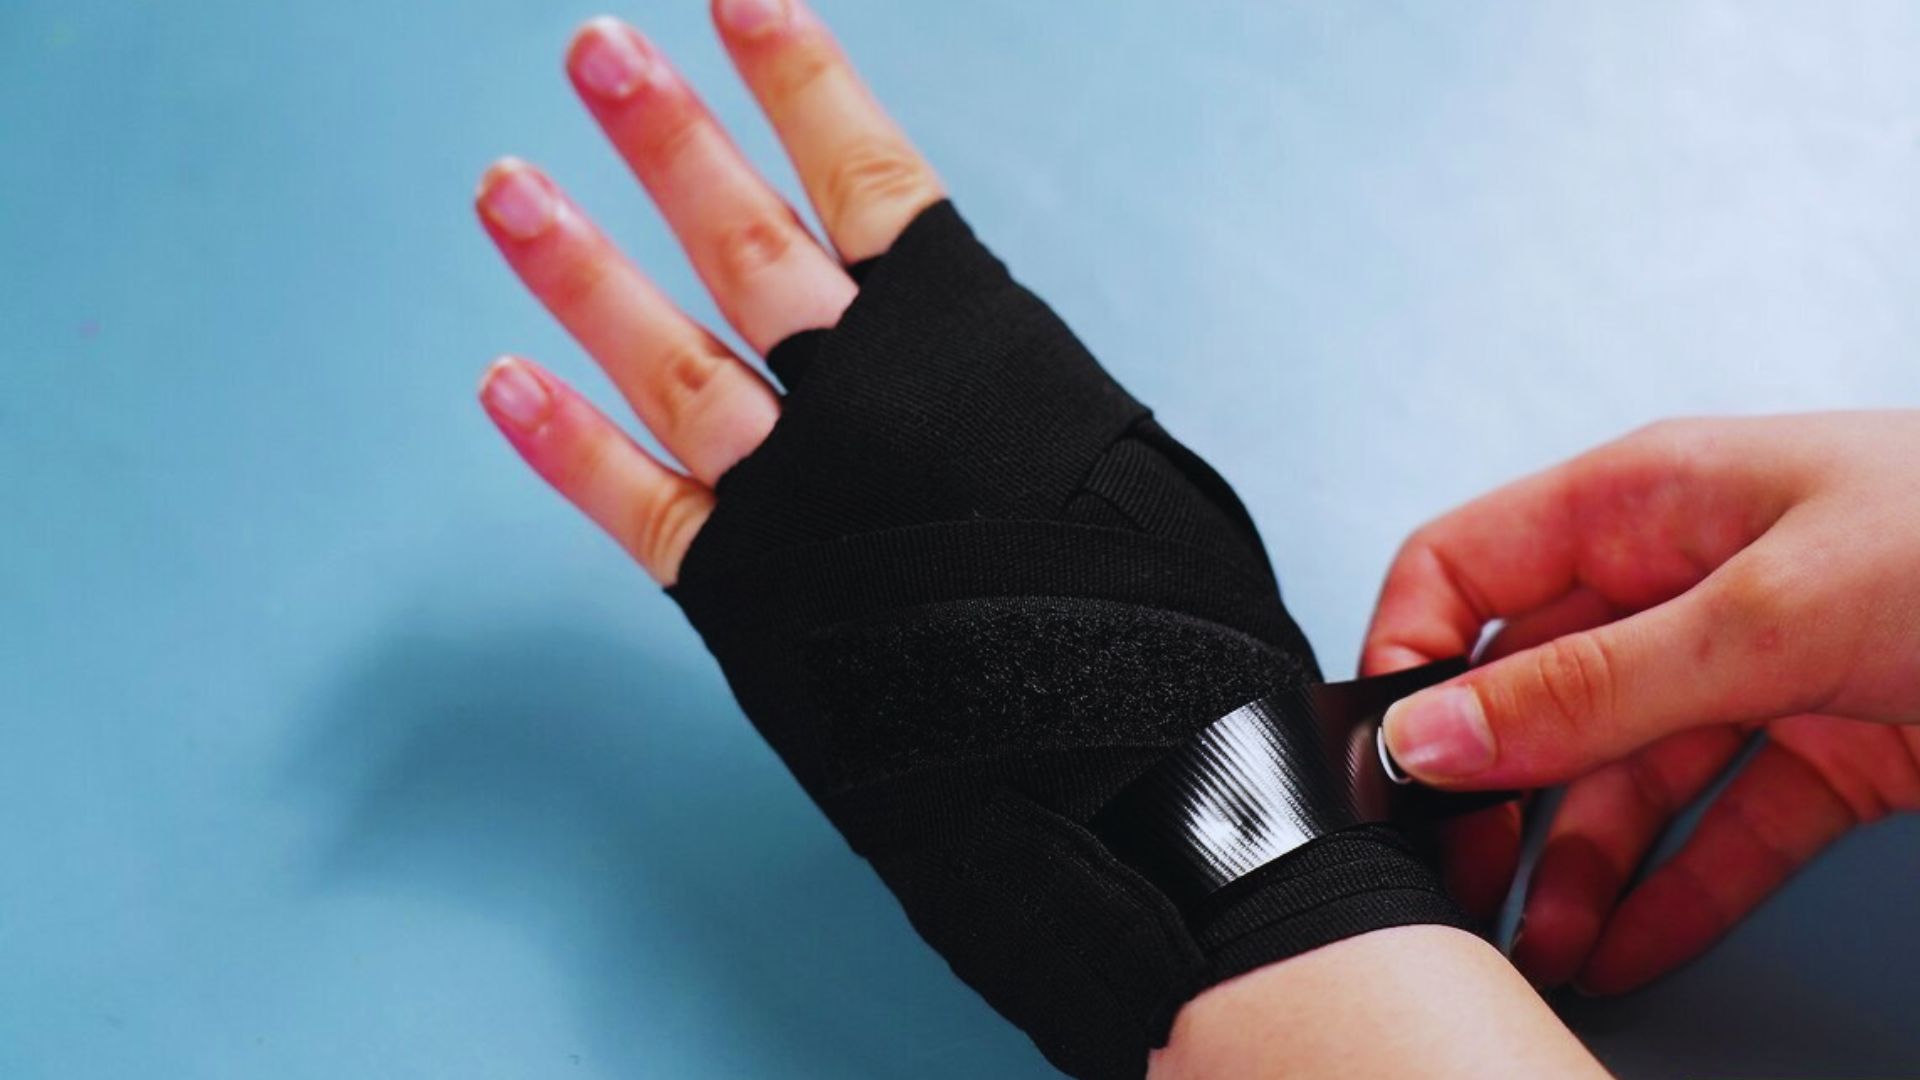
Step 2: Position the Wrap

Hold the wrap so the Velcro end hangs free. Place the center of the wrap just above your wrist joint.
Not on the hand. Not too far up the forearm. Right at the base of the wrist. This is the sweet spot.
Correct placement means the wrap supports the joint where it actually needs support during a lift. If it’s too high or too low, you lose most of the benefit.
Step 3: Anchor with Thumb Loop
Slip your thumb through the loop. This keeps the wrap from sliding while you wrap around the wrist.
The loop acts as your anchor point. Once your thumb is in, hold the wrap flat against your wrist and get ready to start wrapping.
Don’t pull the loop too tight. It just needs to hold things in place for the next few steps.
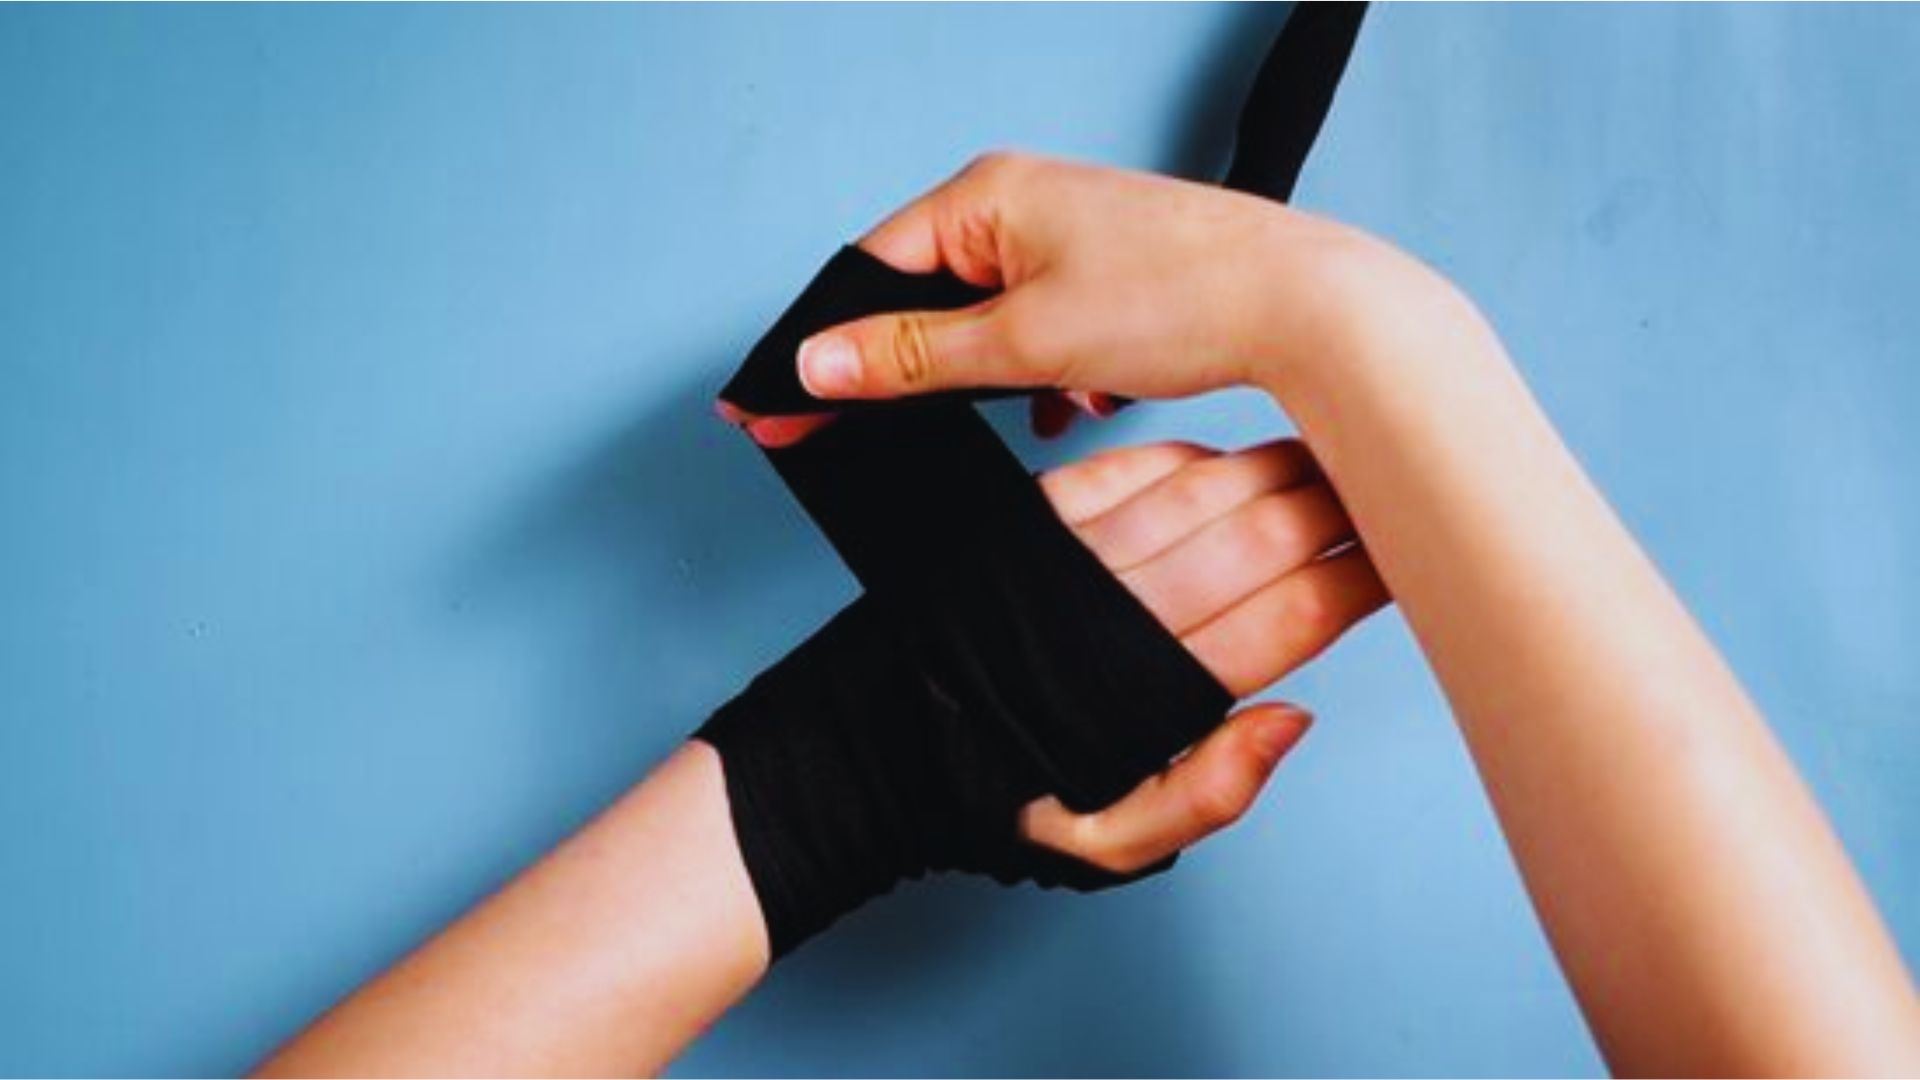
Step 4: Wrap Tightly but Safely
Start wrapping around the wrist. Go around once at about 60% tension to set the base layer. The second pass increased to about 80%.
Final pass or two, bring it to full tension. This gradual tightening method prevents over-compression on the first pass.
The wrap should feel snug and supportive. You should not feel tingling or numbness. If your fingers start to go cold or numb, it’s too tight.
Loosen it and rewrap.
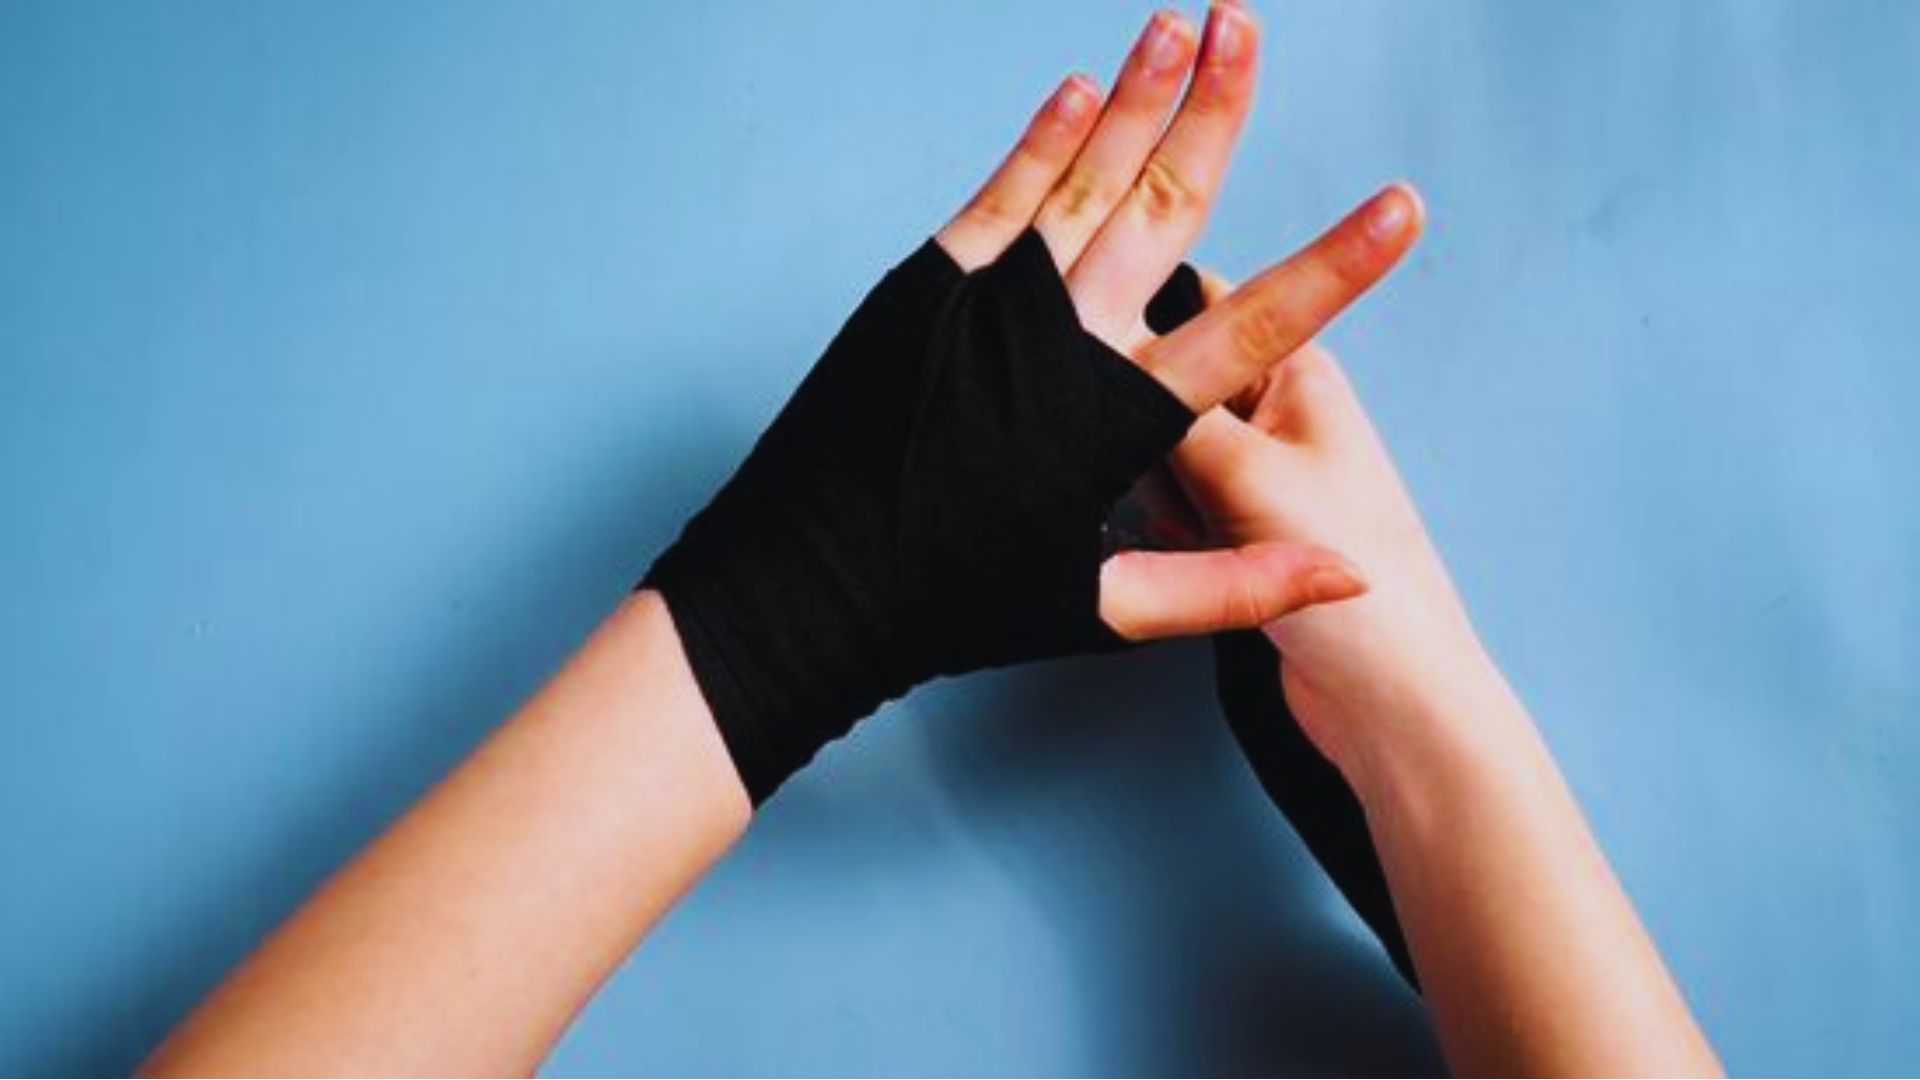
Step 5: Remove Thumb Loop

Once the wrap is secure, fasten the Velcro. Then pull your thumb out of the loop and tuck the loop under the wrap or to the side.
Leaving the thumb loop in during a lift can restrict movement and cause discomfort. Some lifters tuck it under the wrap layers.
Others let it hang. Either way, get it out of the lifting position before you touch the bar.
Step 6: Adjust for Specific Lifts
Not every lift needs the same tightness.
For bench press and overhead press, go tighter. You need maximum wrist stability during these movements.
For dynamic or multi-joint lifts like the clean and jerk, go looser. Your wrists need to move freely through the catch position.
A wrap that’s too stiff here will limit your range of motion and hurt your technique. Learn to adjust the tension based on what you’re doing that day.
Tips for Optimal Use
Small habits make your wraps last longer and work better.
- Re-wrap between heavy sets if the wrap loosens or shifts during a lift.
- Take wraps off between sets on lighter days to let blood flow freely and keep wrists strong.
- Don’t skip warm-up sets with bare wrists, build natural joint strength before relying on support.
- Wash your wraps regularly, sweat buildup weakens the fabric and Velcro over time.
- Practice wrapping before your session so you’re not fumbling with them under time pressure.
Conclusion
Learning how to wear wrist wraps made a real difference for me.
Once I got the placement and tension right, my pressing felt more stable and I stopped worrying about my wrists during heavy sets. It’s a small thing that adds up a lot over time.
Now it’s your turn. Try the step-by-step method next time you’re in the gym. See how it feels.
Did this help? Drop a comment below and let me know how your first wrap went.
Share this with a gym buddy who could use it too.
Frequently Asked Questions
How tight should wrist wraps be?
Snug but not cutting off circulation. If your fingers tingle or go numb, loosen them. Start at 60% tension and work up gradually.
Can beginners use wrist wraps?
Yes, but use them only for heavier sets. Let your wrists build natural strength first. Wraps are a tool, not a crutch.
How do I know if I’m wearing wrist wraps correctly?
Your wrist should feel stable and neutral. The wrap sits just above the wrist joint. No numbness, no sliding, and the thumb loop is tucked away.
How often should I wash my wrist wraps?
Wash them every few uses, especially after heavy sessions. Hand wash or use a laundry bag in the machine. Air dry to keep the fabric and Velcro in good shape.
Do wrist wraps work for all types of lifting?
They work best for pressing movements and heavy compound lifts. For Olympic lifts or movements needing full wrist mobility, use a looser wrap or skip them.