Back training can feel confusing, especially when you’re not sure which exercise actually works.
The chest supported T-bar row is one of those exercises that deserves more attention.
It builds a thick, strong back while keeping your lower back safe. And if you’ve ever struggled with regular rows hurting your spine, this one changes everything.
In this guide, I’ll walk you through everything. From machine setup to grip choices, muscles worked, and common mistakes people make without realizing.
I’ve been training for over a decade, and this exercise is still a staple in my back workouts.
What Is the Chest Supported T Bar Row

A solid starting point before you touch any machine.
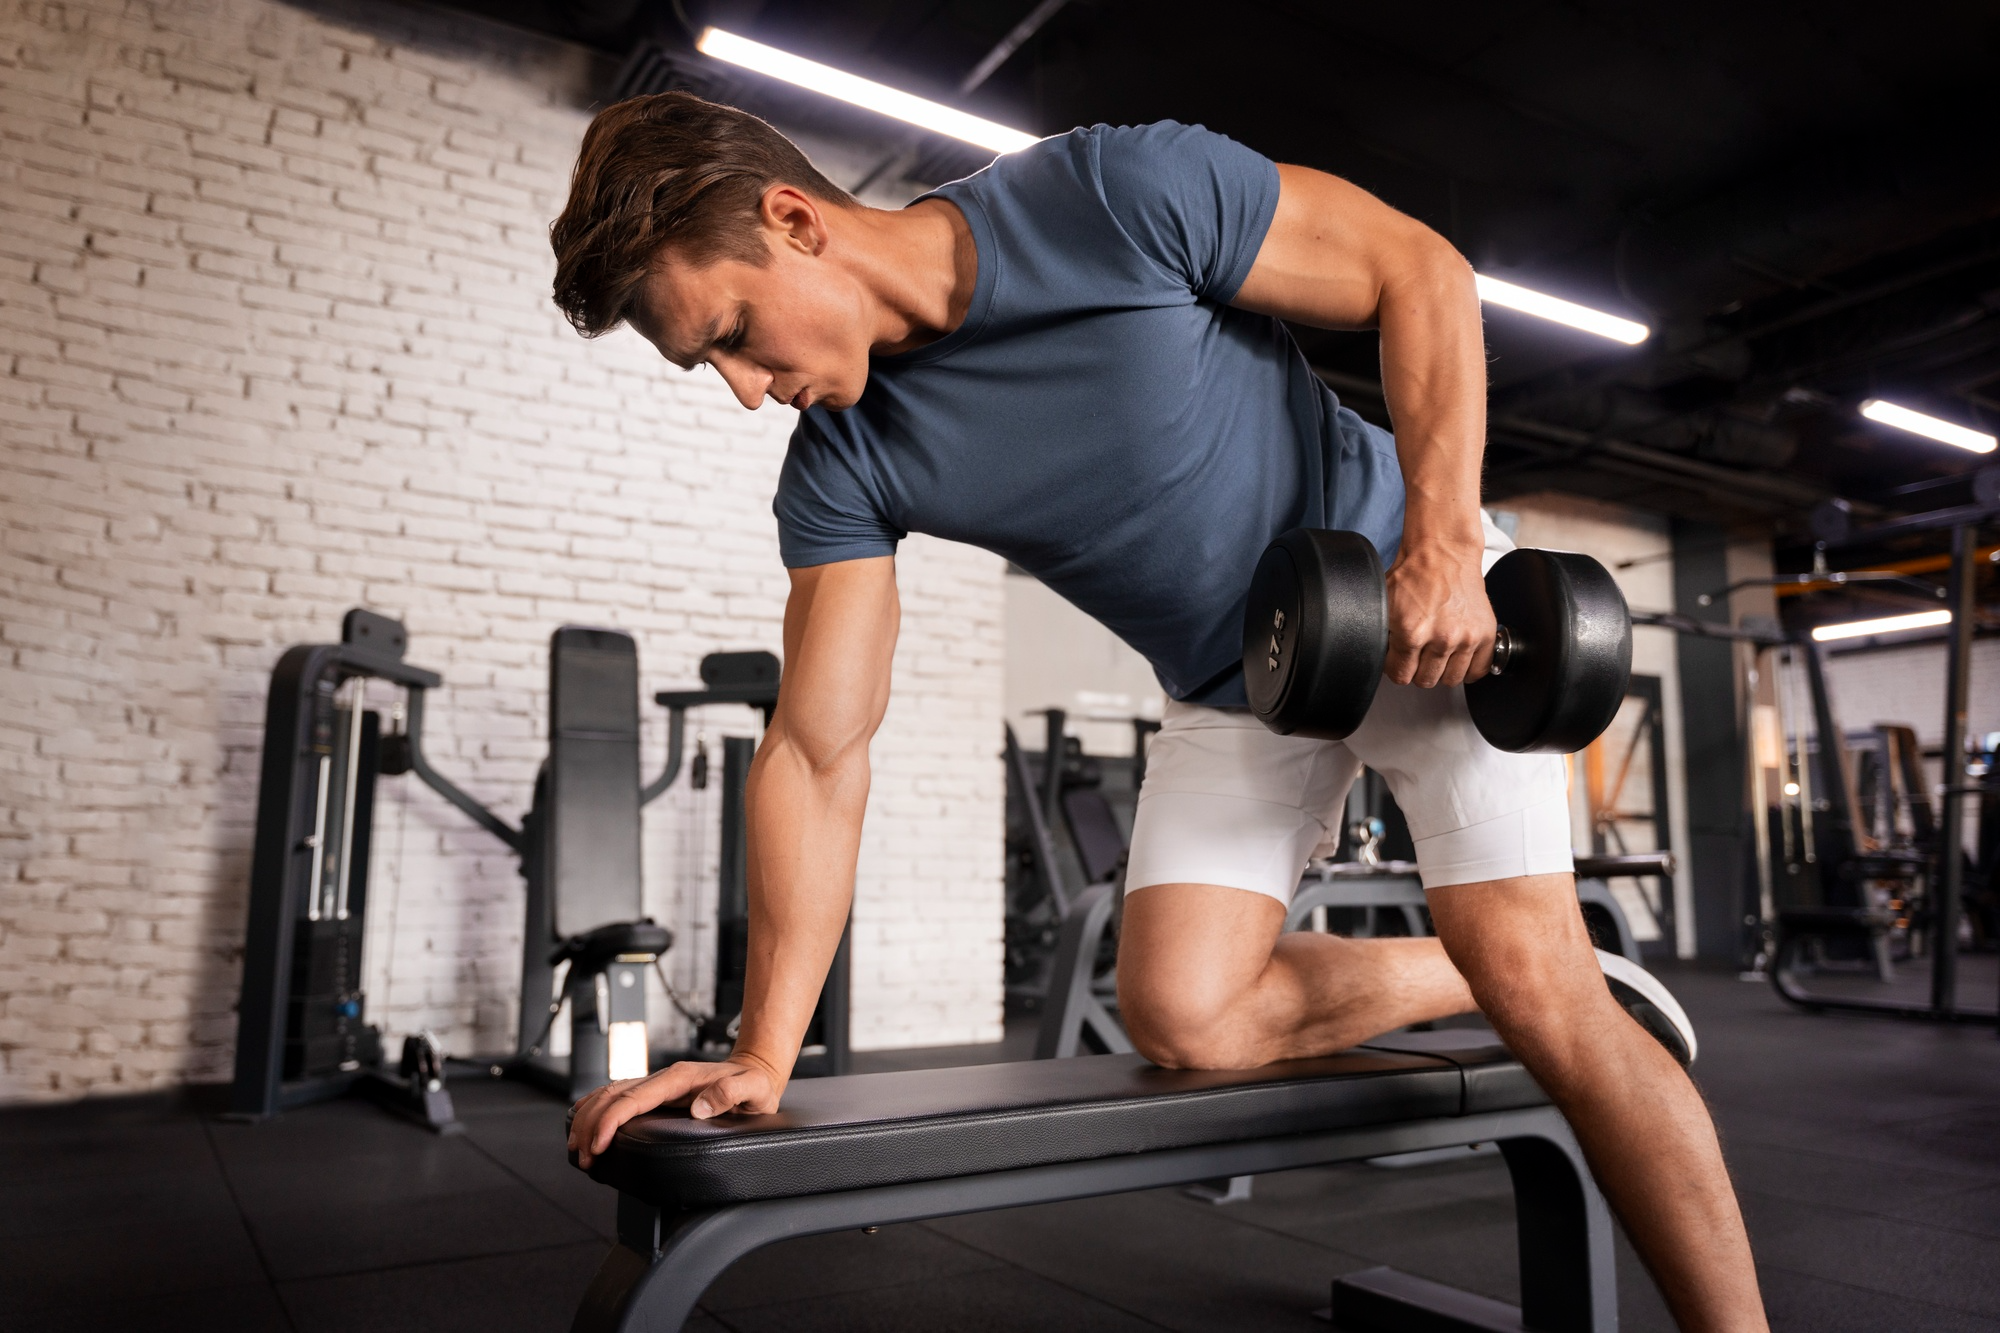
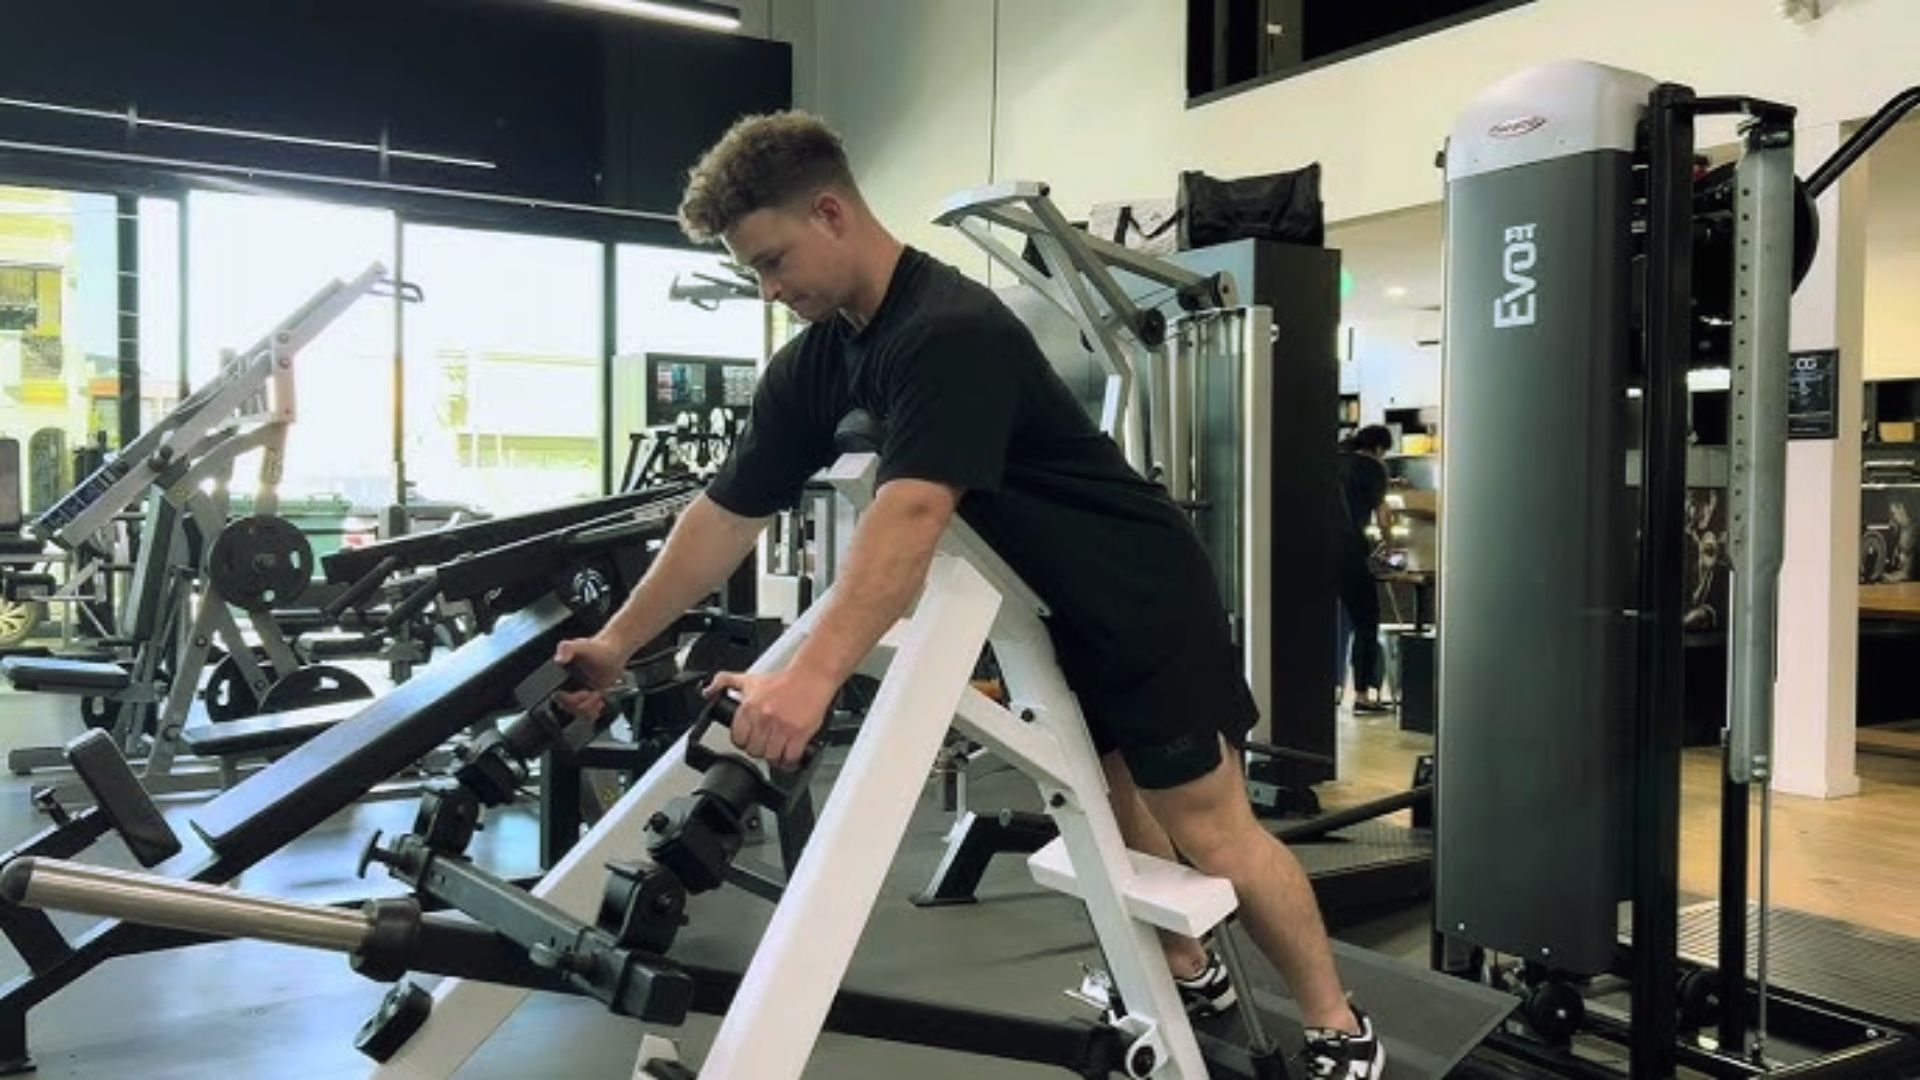
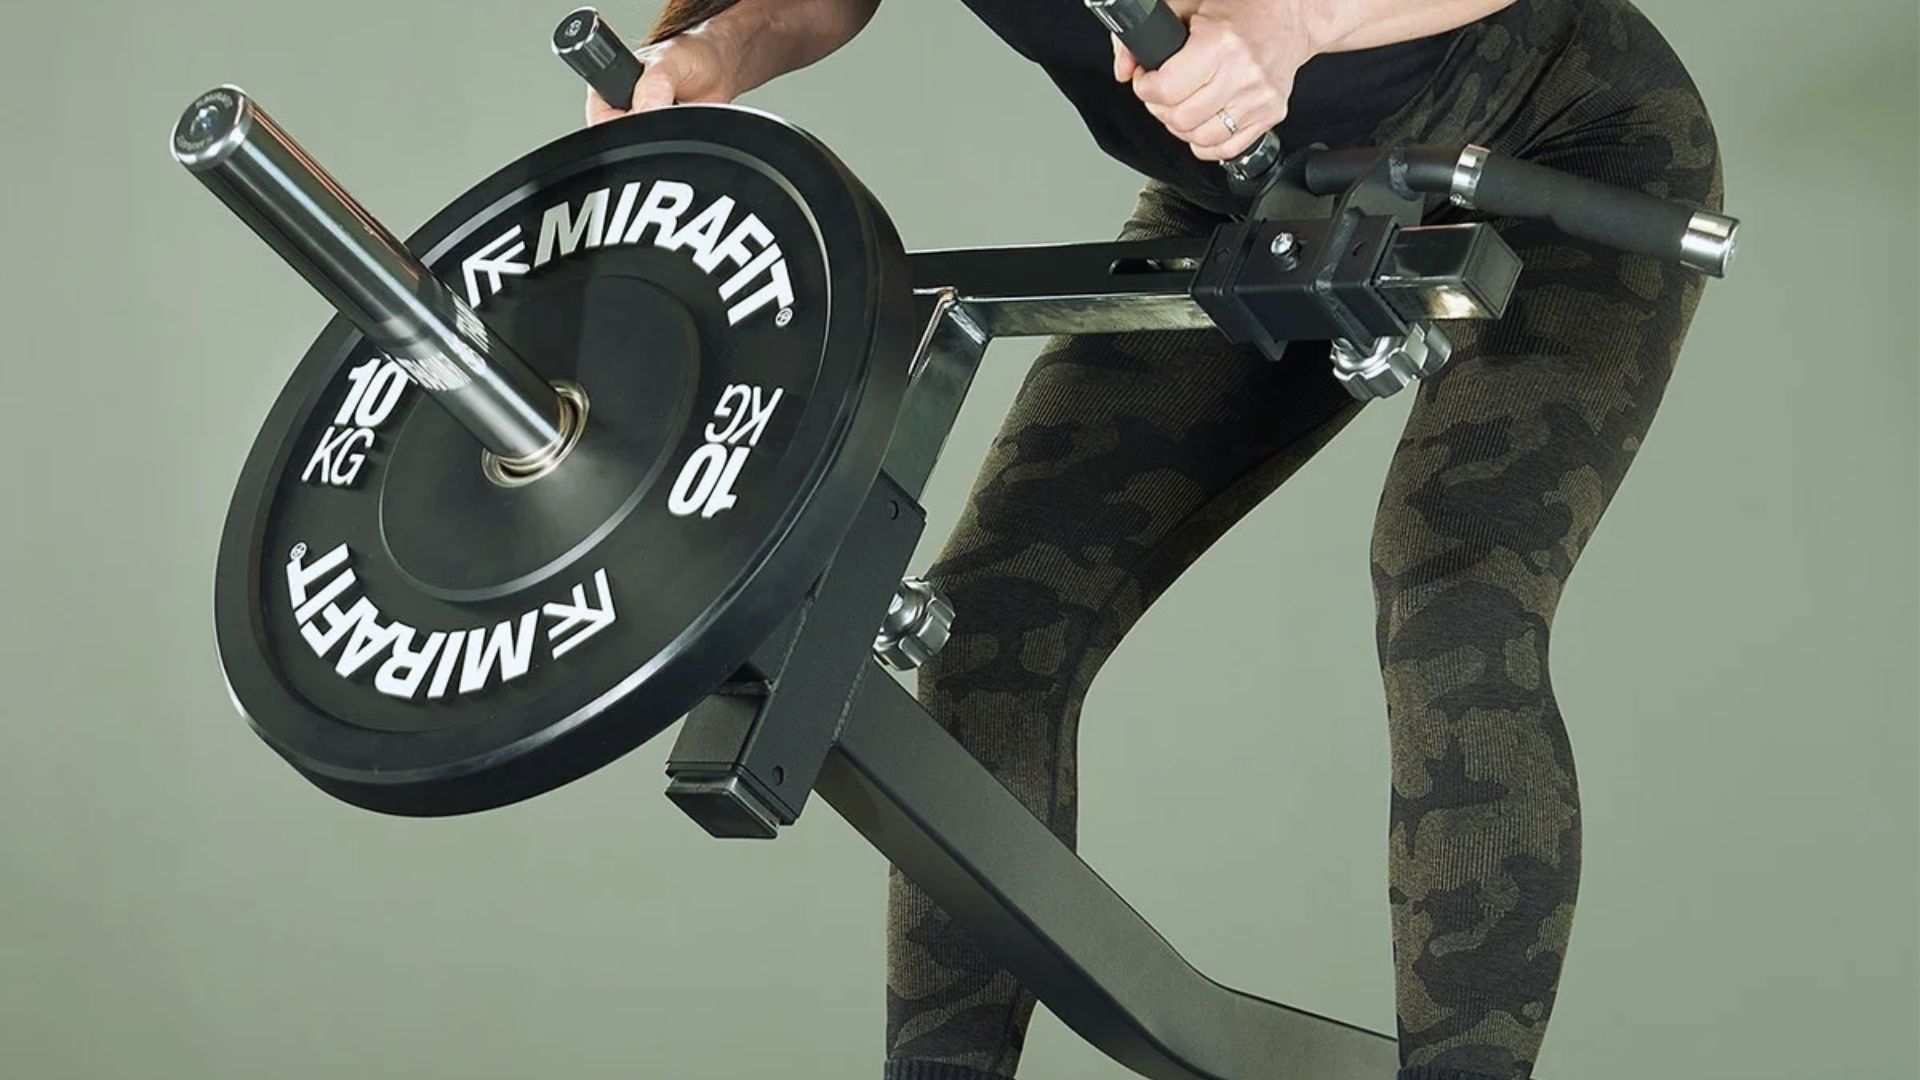
The chest supported T-bar row is a back exercise where you lie face down on a padded chest support and pull weight toward your torso.
Your chest stays on the pad the whole time, so your lower back stays out of it completely.
You adjust the chest pad to sit just below your collarbone, feet flat on the platform, handles within reach. Simple setup, big difference in how your back feels after.
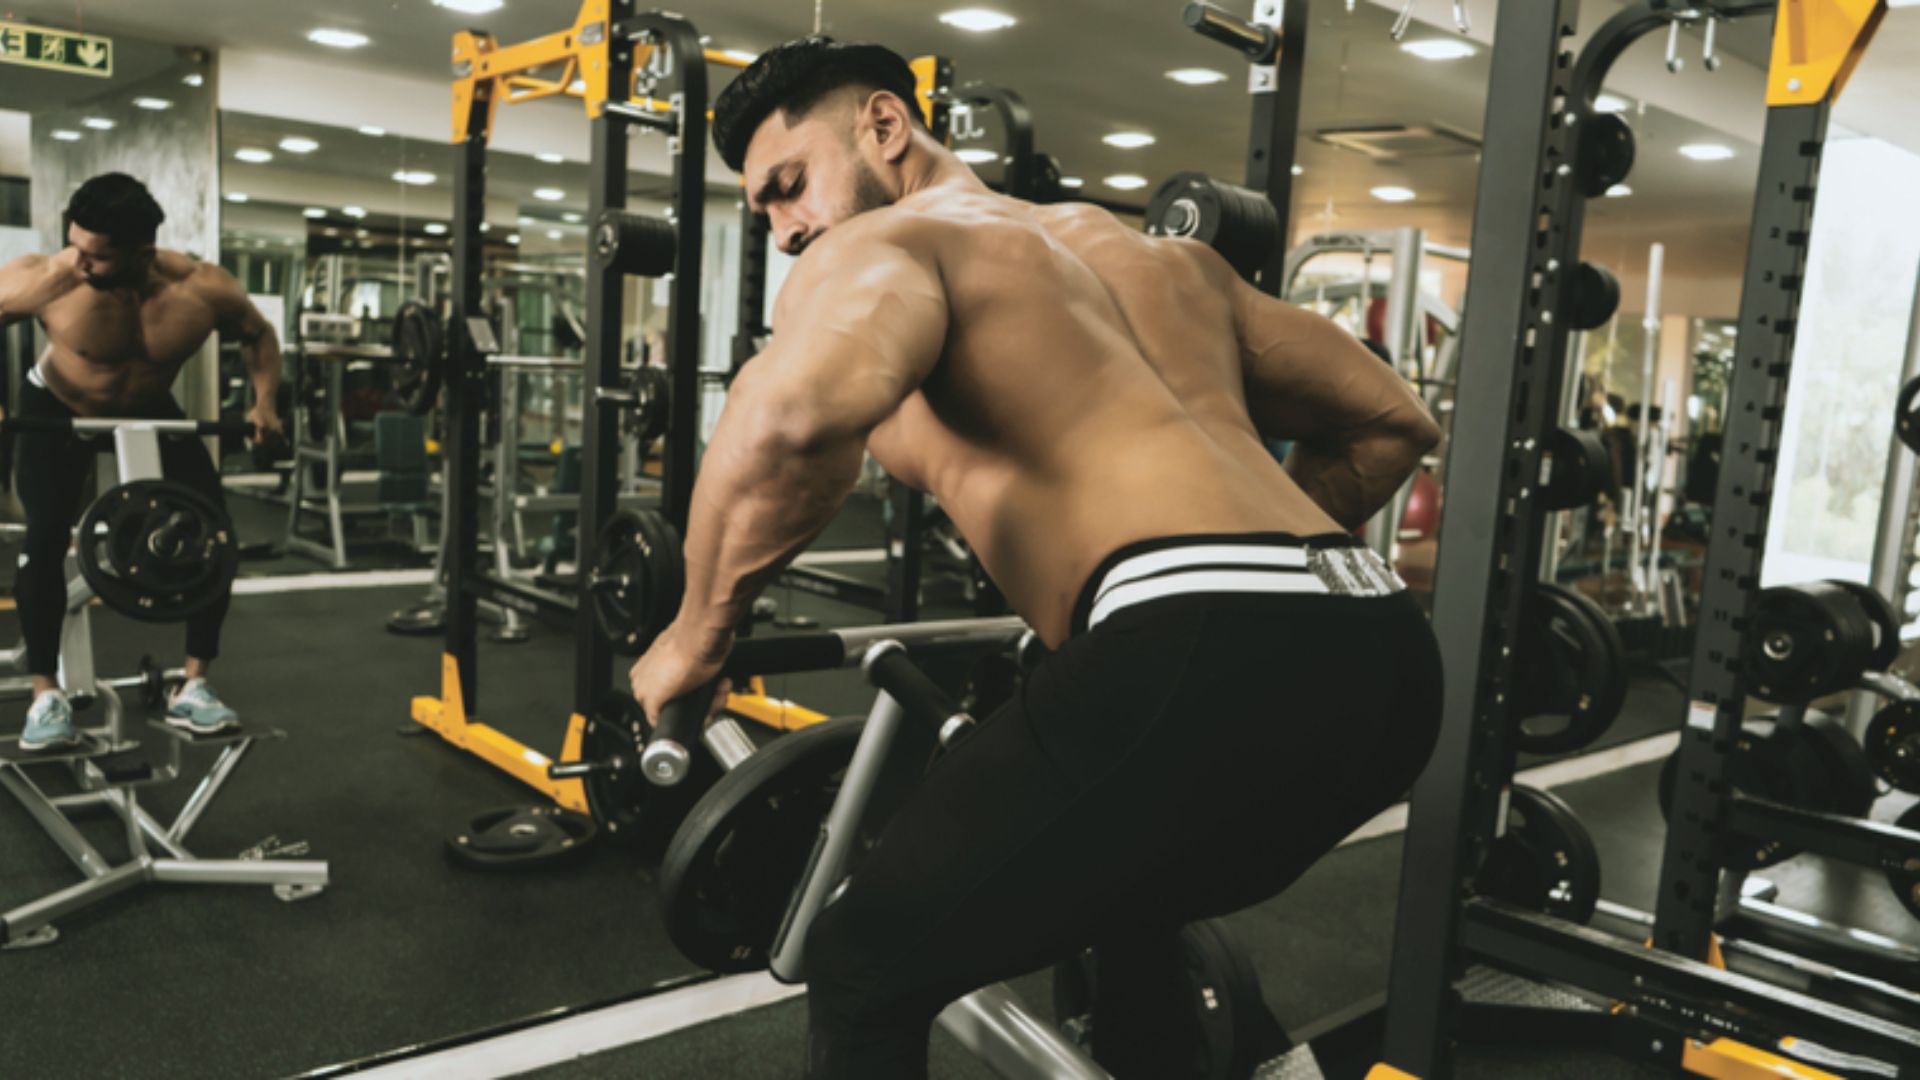
With traditional T-bar rows, you bend over and hold that position while pulling, which stresses your lower back.
Here, your body is supported from the start. That means your back muscles do the work, not your spine.
Chest Supported T Bar Row: Step-by-Step Tutorial
Follow each step carefully and your back will thank you.
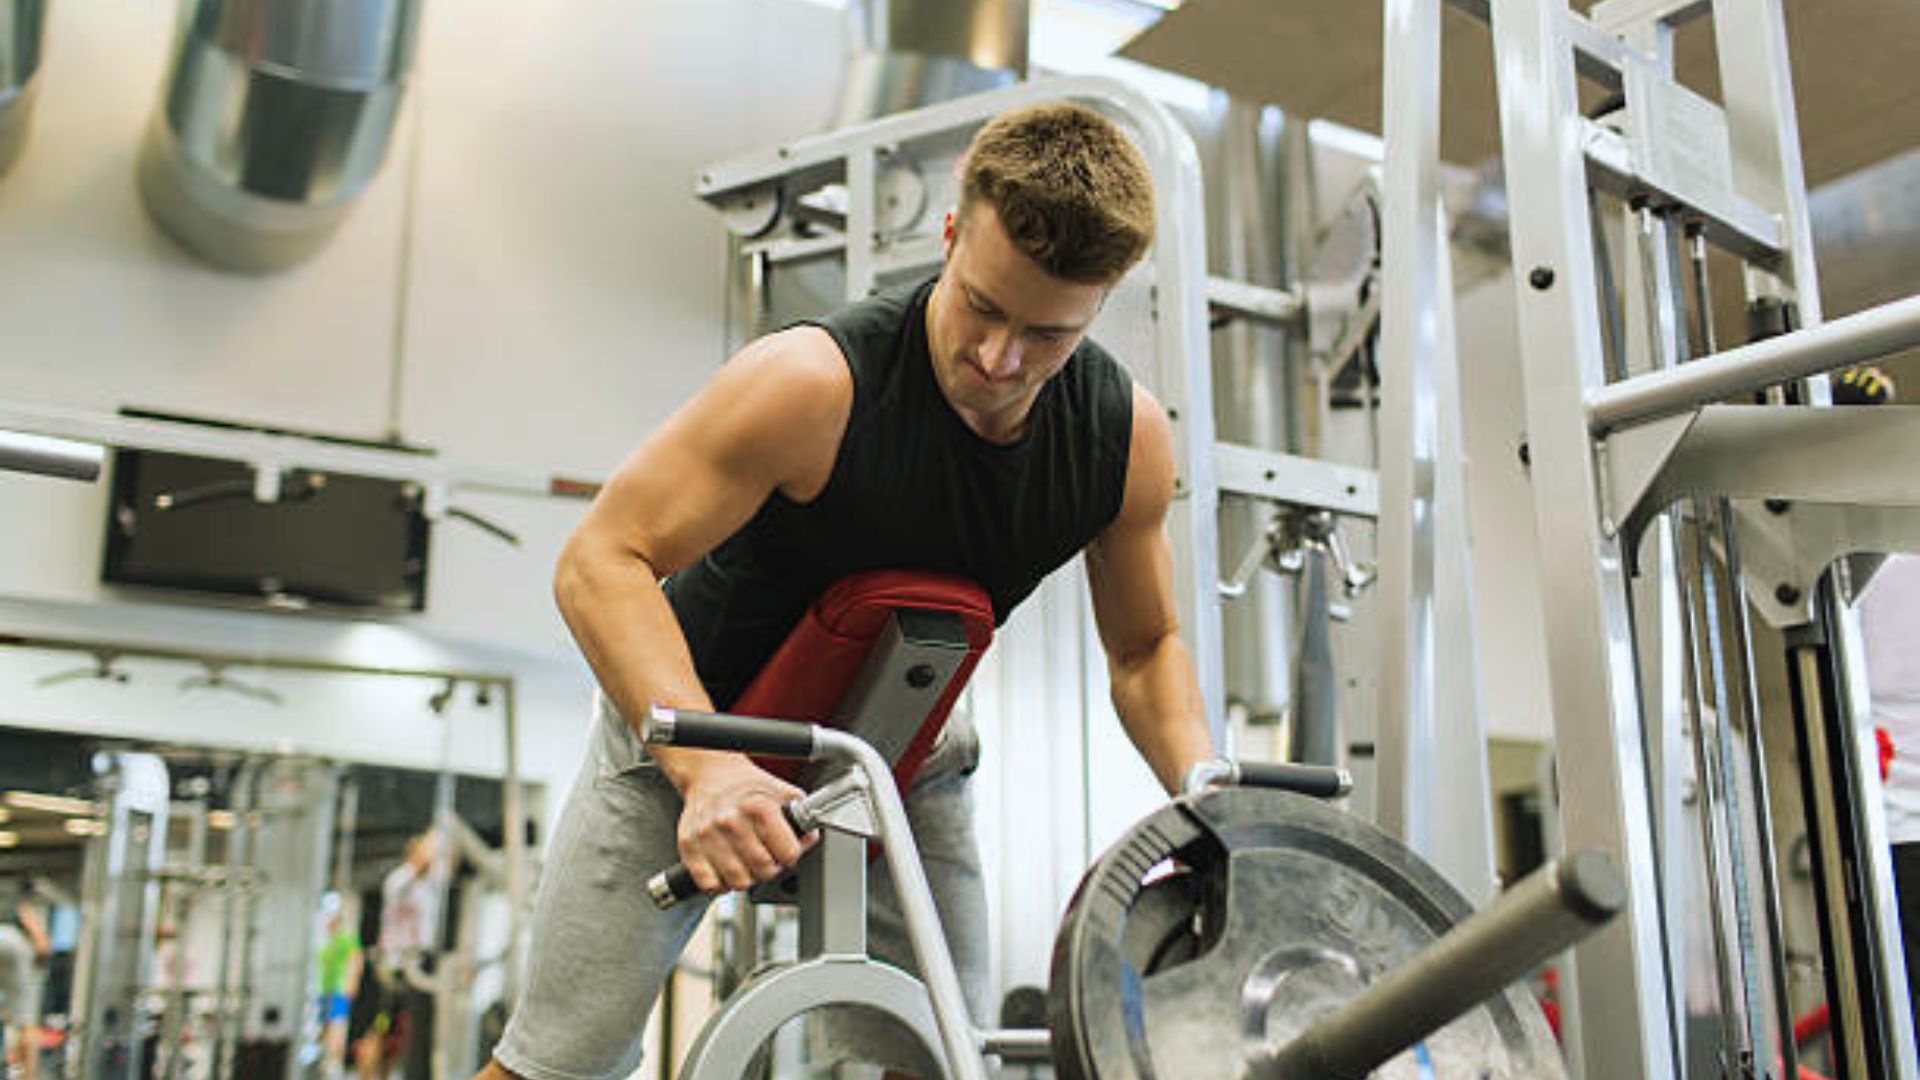
Step 1: Adjust the Machine Correctly

Set the chest pad to the right height before anything else. It should sit just below your chest, not too high, not too low.
If it’s too high, your neck gets cramped. Too low, and you lose stability. Get this right from the start.
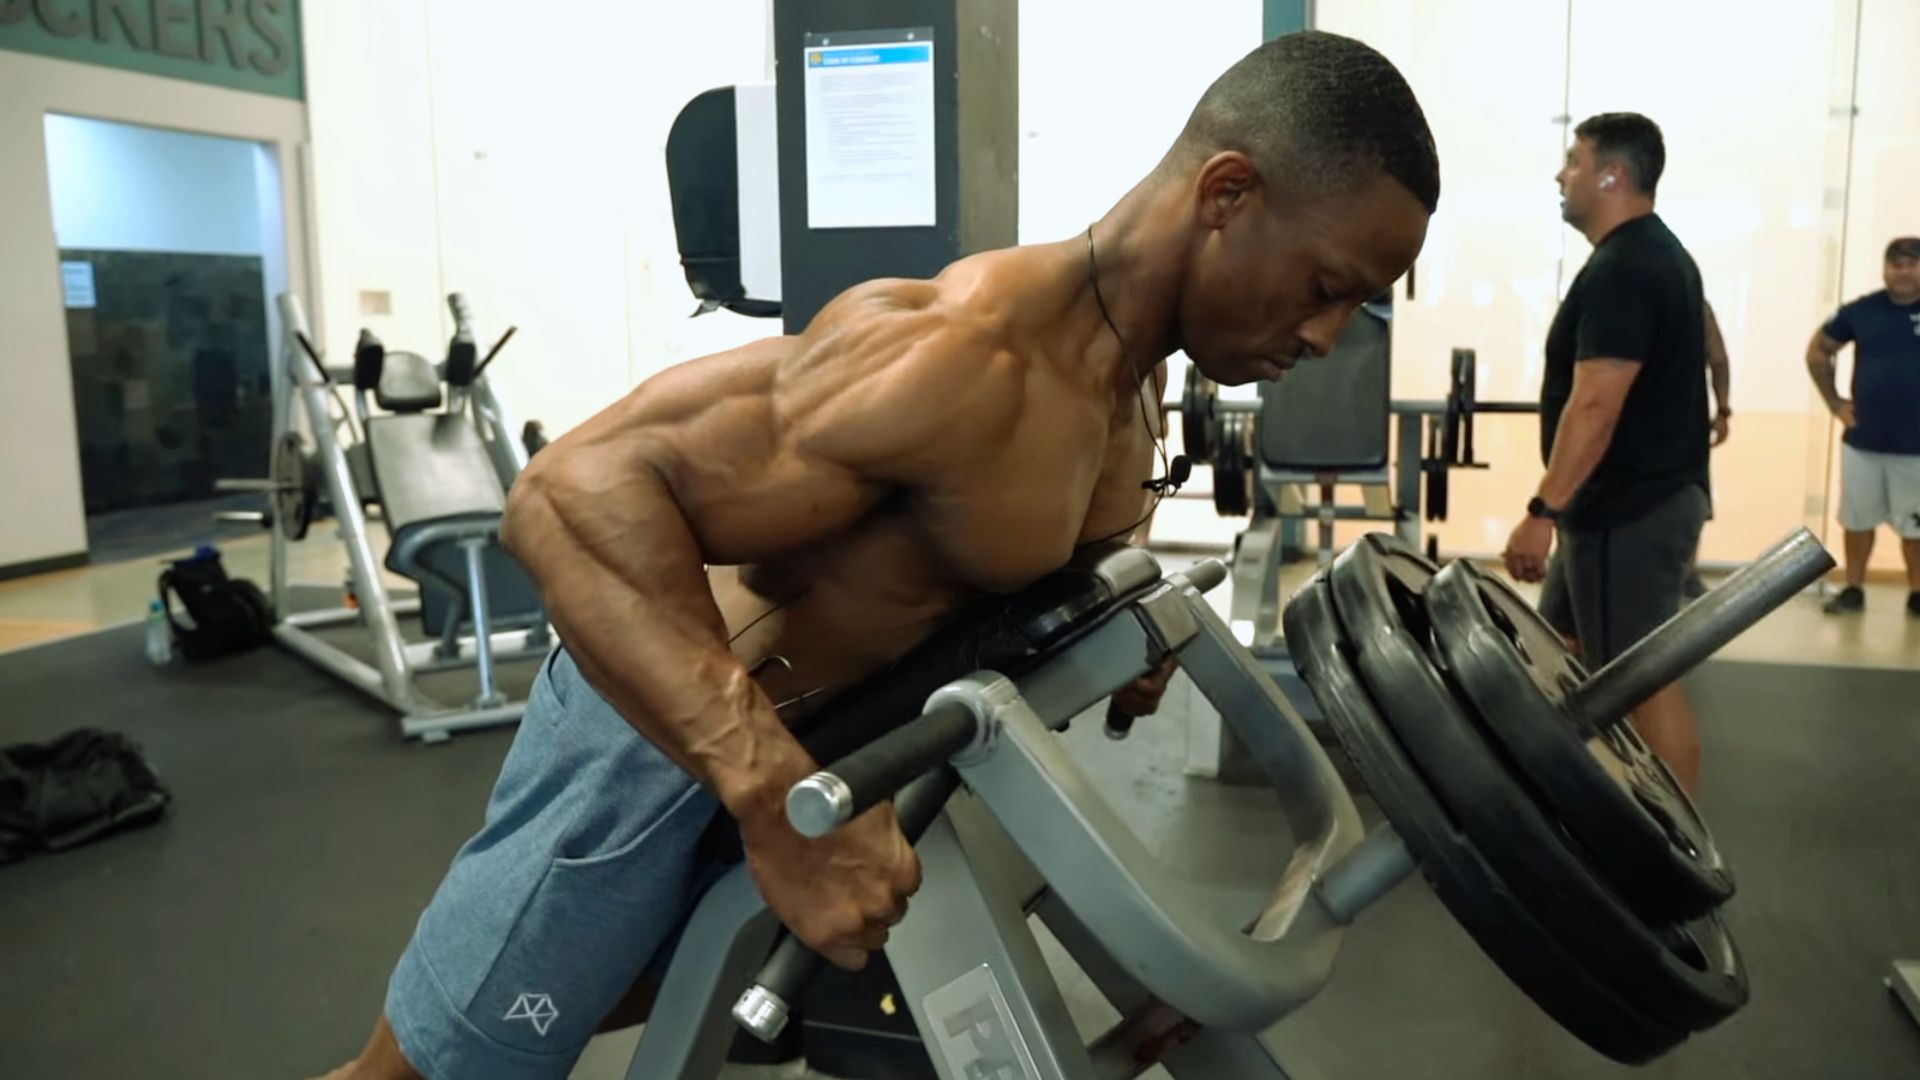
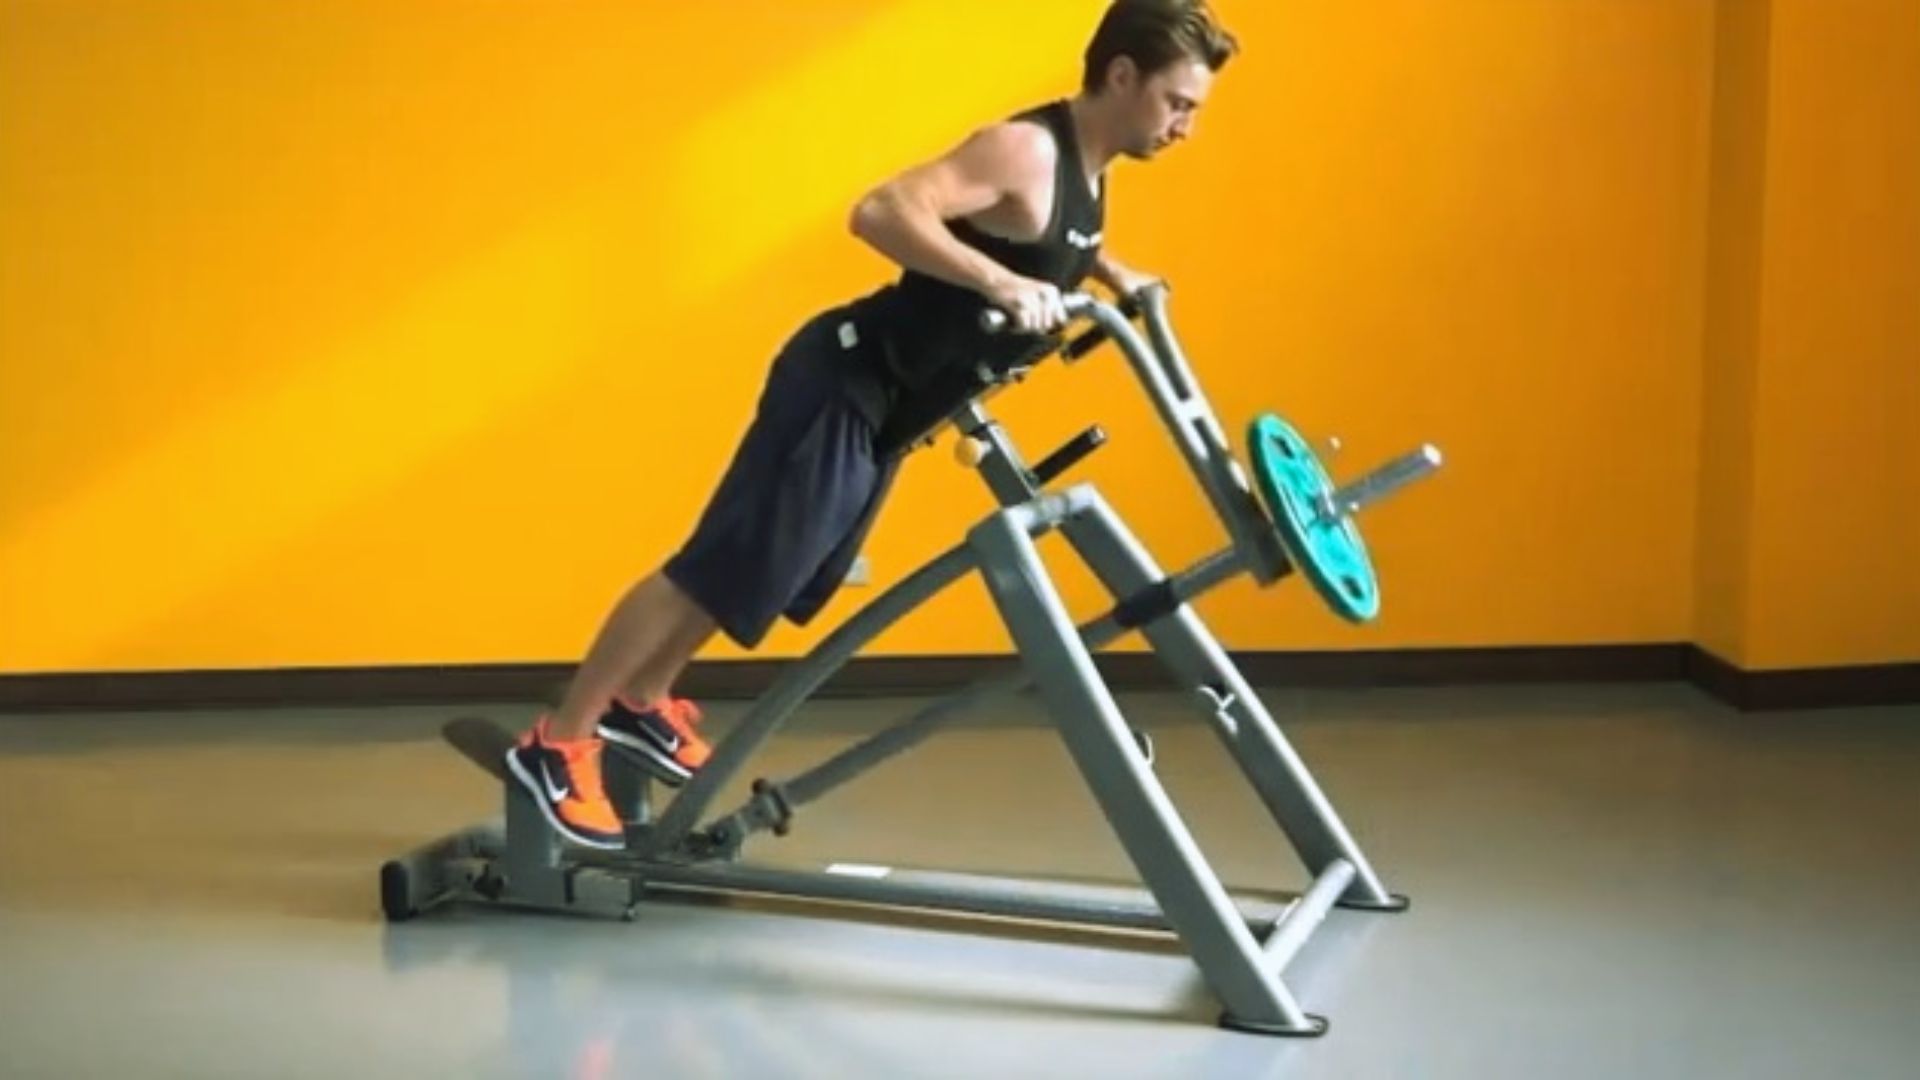
Step 2: Proper Starting Position
Lie face down on the pad. Keep your chest pressed firmly against it. Grip the handles with both hands, arms fully extended.
Your feet should be flat on the foot platform. Your spine should feel neutral, not arched or rounded.
Step 3: Grip Selection (Close vs Wide)
A close grip focuses more on the lower lats and gives a longer range of motion. A wide grip hits more of the upper back and rear delts.
Start with close grip if you’re newer to this exercise. Switch to wide grip once you feel confident with the movement.
Step 4: Pulling Phase (Concentric Movement)
Drive your elbows back and upward. Think about pulling your elbows toward your hips, not just pulling the weight up.
Keep your chest on the pad the whole time. Avoid shrugging your shoulders as you pull.
Step 5: Squeeze at the Top
Once your elbows reach the top, pause for one second. Squeeze your shoulder blades together hard.
This is where the real muscle activation happens. Most people rush past this part and lose half the benefit.
Step 6: Controlled Lowering (Eccentric Phase)
Lower the weight slowly back to the starting position. Take about two to three seconds on the way down.
The eccentric phase builds just as much muscle as the pull, so don’t drop the weight fast.
Chest Supported T Bar Row Variations
Once you’ve got the basics down, these variations keep things interesting.
Close-Grip Chest Supported T Bar Row

Using a close, neutral grip lengthens the range of motion and pulls the lats more deeply. This is a great default variation for most people and works well for building thickness through the mid-back.
Wide-Grip Chest Supported T Bar Row

A wider grip shifts the focus more toward the upper back, rear delts, and traps. You may not be able to move as much weight with a wide grip, but the muscle activation in your upper back is worth it.
Common Mistakes to Avoid
Small errors can quietly hold back your progress.
- Using too much weight too soon is the most common mistake. It forces you to use momentum and lose form fast.
- Not using a full range of motion means your lats never get a proper stretch at the bottom or a full squeeze at the top.
- Letting your shoulders roll forward at the top shortens the movement and can lead to shoulder discomfort over time.
- Overusing your arms instead of your back happens when you pull with your hands rather than your elbows. This limits back activation.
- Poor machine setup creates bad positioning from rep one. Always adjust the pad and handles before you start.
Chest Supported T Bar Row Benefits
This exercise earns its place in any back routine for good reason.
Reduced Lower Back Strain
Because you’re supported by the chest pad, your lower back doesn’t have to work to hold your body in position.
This makes it a great option if you have lower back sensitivity or are coming back from an injury.
Better Muscle Isolation
With your body stabilized, there’s nowhere for the work to go except your back muscles. This level of isolation is harder to get with free-weight rows where the whole body can compensate.
Improved Posture and Stability
Consistently training your rhomboids, traps, and rear delts builds the foundation for better posture. Over time, your shoulders sit back more naturally and your upper back feels more solid.
Increased Upper Body Strength
A stronger back carries over to almost every other upper body lift. Bench press, overhead press, pull-ups. They all get better when your back gets stronger.
Supports Muscle Growth (hypertrophy)
The controlled tempo and full range of motion make this exercise ideal for building muscle. It’s easy to get a good mind-muscle connection here, which is key for hypertrophy-focused training.
Chest Supported T Bar Row Form Tips
Good form is what separates results from injuries.
- Keep your chest pressed on the pad every single rep. If it lifts off, the weight is too heavy.
- Don’t crane your neck up. Keep your head in line with your spine and look slightly down.
- Pull through your elbows, not your hands. Think of your hands as hooks and let your back do the work.
- Keep the movement slow and controlled. No swinging, no bouncing, no rushing.
- Squeeze your shoulder blades together at the top and hold for a second before lowering.
Conclusion
I started doing chest supported T-bar rows after dealing with nagging lower back tightness from regular barbell rows.
Honestly, it was a turning point for my back training. The chest pad takes the pressure off your spine and lets your back muscles actually do the work.
If you’ve been skipping this one, now’s the time to add it in. Try it on your next back day and see how it feels.
Drop a comment below and let me know how it goes. Sharing this with a gym friend might help them too!
Frequently Asked Questions
Is chest supported T bar row good for beginners?
Yes, it is a great starting point for beginners. The chest pad provides support, which makes it easier to maintain form compared to free-weight rows.
What does chest supported T bar row work?
It primarily targets the lats, with strong involvement from the rhomboids, traps, rear delts, biceps, and forearms throughout the movement.
Can it replace barbell rows?
It can complement barbell rows effectively, but both serve slightly different purposes. Barbell rows build raw strength while this variation offers better isolation with less spinal stress.
How much weight should I use?
Beginners should start light, around 10 to 30 pounds depending on strength level, and focus on form first. Add weight gradually as your technique improves.
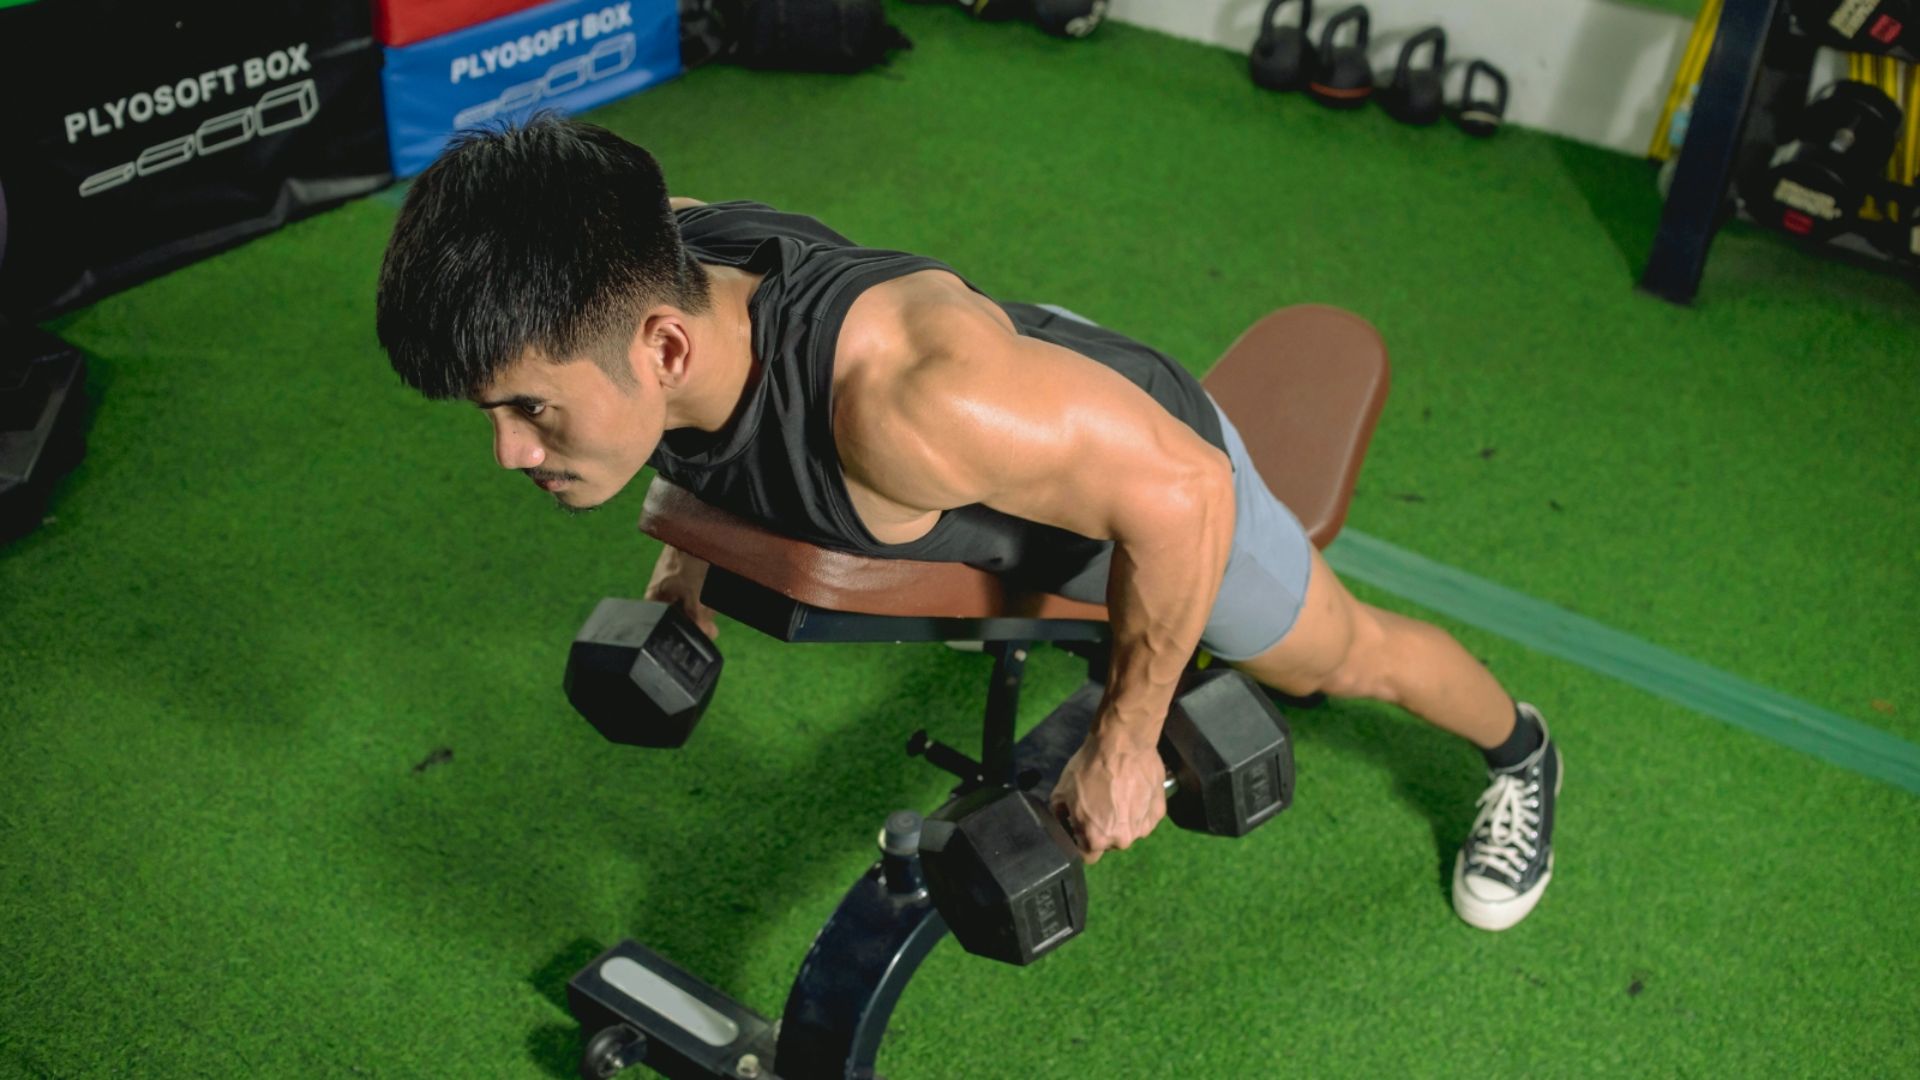
Are there good alternatives to chest supported T bar rows?
Yes. Seated cable rows, dumbbell rows, and machine rows are solid alternatives that offer similar back engagement with varying levels of support and stability.