Want stronger, leaner hips without spending hours at the gym? Hip drop exercises target stubborn fat and build the curves you’re after. They’re simple, effective, and you can do them anywhere.
This guide shows you exactly how to do hip drops the right way. You’ll learn proper form, common mistakes to avoid, and how to create a routine that actually works. Whether you’re a beginner or have some experience, you’ll find a plan that fits your level.
I’ve tested these exercises myself and helped others get real results. No magic promises or overnight transformations here. Just proven techniques backed by fitness science that strengthen your core, tone your obliques, and burn calories. You searched for a solution to shape your hips, and that’s exactly what you’re getting. Let’s cut through the confusion and get you started today.
Muscles Worked

Hip drop exercises target specific muscles you’ve probably never thought about. These aren’t the big, showy muscles you see in the mirror. They’re the deep stabilizers that keep your body working correctly and pain-free. Let me break down exactly which muscles you’re strengthening with every rep.
- Gluteus Medius: This muscle stabilizes your hips and pelvis during every step you take, and it’s crucial for any side-to-side movement or balance work.
- Quadratus Lumborum: Your QL muscle supports your lower back and prevents your pelvis from swaying awkwardly when you walk, stand, or move.
- Hip Abductors: These stabilizer muscles maintain proper hip alignment and mobility so your legs can move freely without compensation or pain.
Core Hip-Targeting Exercises
These nine exercises will transform your hips from weak to powerful. I’ve arranged them from beginner-friendly to more advanced so you can progress safely. Master the basics first, then challenge yourself with harder variations as you get stronger.
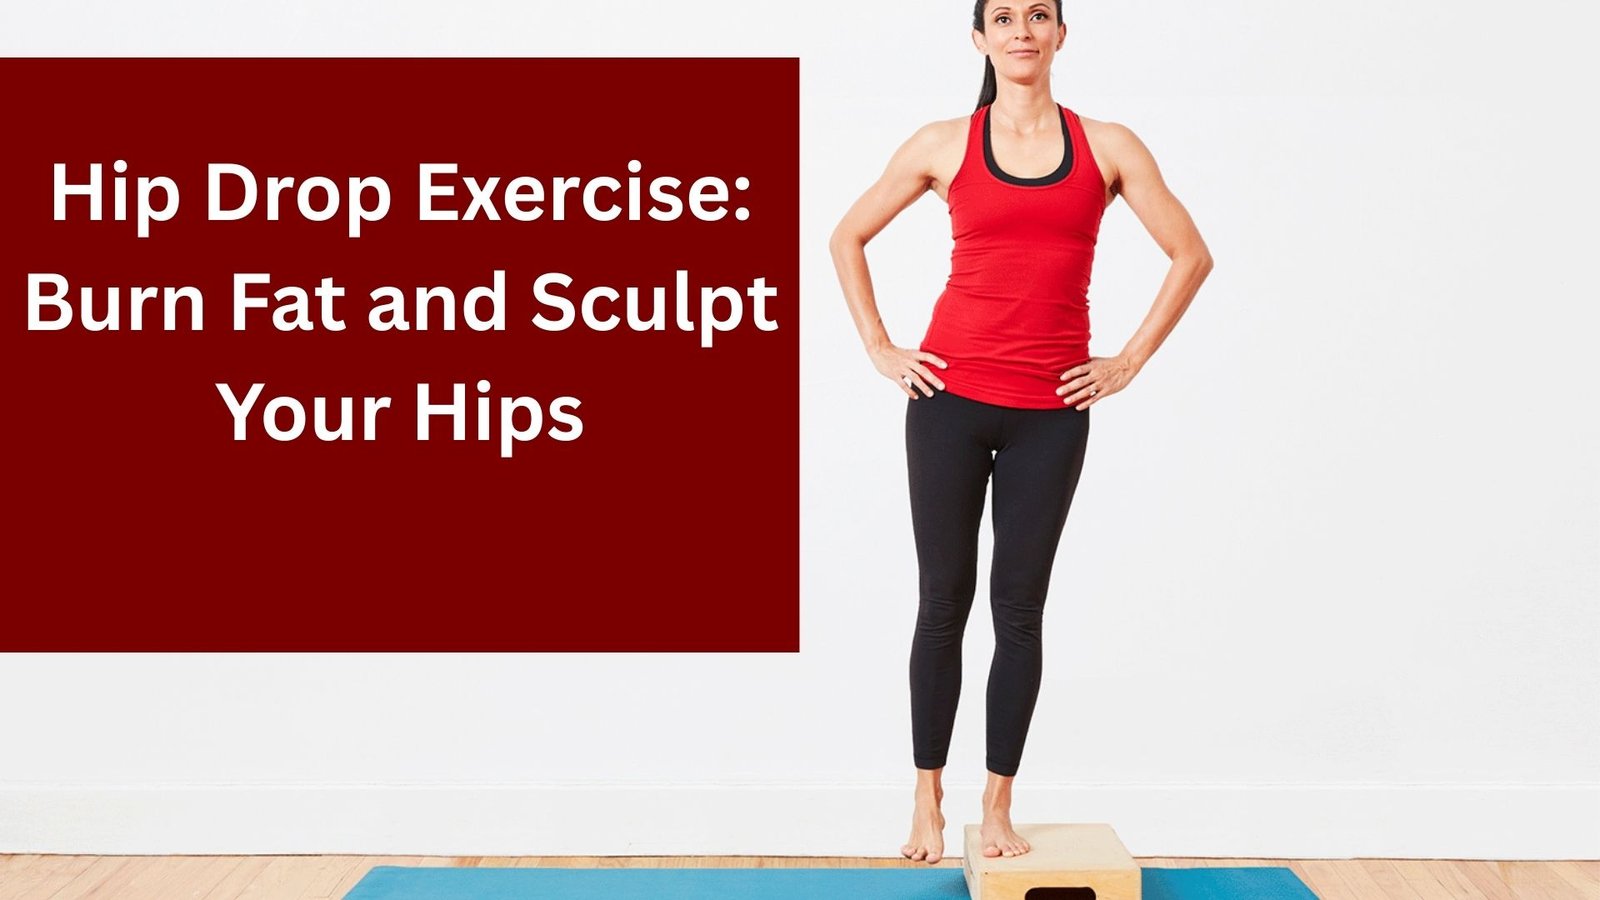
1. Hip Drop Exercise (Pelvic Drop)

This is the foundational hip drop movement. You’ll feel it working immediately in your outer hip and glutes. The key is moving slowly and keeping everything controlled, no rushing or bouncing.
- Stand on a step with one foot, hold a railing, keep your core tight, and lower your hanging leg by dropping the pelvis.s
- Engage your supporting leg’s hip muscles to raise the pelvis back to the o neutral position without twisting your torso.
- Repeat 10-15 reps per leg for 2-3 sets, using a mirror to check alignment throughout
I recommend moving slowly through each rep and never bending your supporting knee excessively. This exercise strengthens your gluteus medius and hip stabilizers while improving your pelvic control. Use a lower step when starting until you master the movement pattern.
2. Side-Lying Leg Raises

This classic exercise isolates your hip abductors perfectly. You’re lying down, so balance isn’t an issue. You can focus entirely on feeling the right muscles work. It’s harder than it looks when done correctly.
- Lie on one side with legs stacked, head supported, and keep your top leg completely straight.
- Lift your top leg slowly towards the ceiling, hold for 1-2 seconds at the peak.
- Lower slowly with control and repeat 12-15 reps per side for 2-3 sets
This strengthens your gluteus medius and hip abductors while improving overall hip stability. I tell clients to think about lifting from the heel, not the toes, to keep proper form. Add ankle weights once bodyweight becomes too easy.
3. Clamshells

Clamshells target the often-neglected glute medius. This small but mighty muscle controls your hip rotation and keeps your knees tracking correctly. Weak glute medius means knee pain. I’ve seen it a hundred times.
- Lie on your side with knees bent at 90 degrees and feet pressed together
- Lift your top knee as high as possible while keeping your feet touching, then pause at the top
- Lower slowly without letting knees touch and repeat 12-15 reps per side for 2-3 sets
This exercise activates your glute medius, improves pelvic control, and prevents knee valgus (knees caving inward). Add a resistance band around your thighs once bodyweight becomes too easy. Focus on feeling the burn in your outer hip.
4. Standing Side Leg Lifts

Simple but incredibly effective for outer hip strength. You can do these anywhere, while brushing your teeth, waiting for coffee, or watching TV. Balance improves quickly with consistent practice.
- Stand straight and hold a wall or chair, keeping your torso completely upright.
- Lift one leg straight out to the side without leaning or tilting your upper body.y
- Lower slowly with control and repeat 12-15 reps per side
This strengthens your outer hips, enhances balance, and complements the hip drop exercise perfectly. I suggest starting without weight, then holding a dumbbell in your opposite hand once you master the movement. Keep your lifted leg straight with toes pointing forward.
5. Step-Up with Hip Abduction

This combines leg strength with hip stability in one movement. It’s functional, meaning it mimics real-life activities like climbing stairs. Your glutes will be on fire after a few sets.
- Step onto a low bench with one foot firmly planted and drive through that he.el.
- Drive your opposite knee up and outward to engage your glutes and hip abductors powerfully. lly
- Step down slowly with control and repeat 10-12 reps per leg for 2-3 sets
This builds strength in your glutes, hips, and quads while improving functional movement and stability. Start with a lower step and gradually increase height as you get stronger. The outward knee drive is what activates your hip abductors maximally.
6. Standing Hip Drops on a Step

This variation adds resistance and challenges your balance more. You’re fighting gravity while stabilizing on one leg. It’s a progression from the basic hip drop that builds serious hip strength.
- Stand on a step with one foot near the edge, keeping your standing leg slightly bent.
- Lower your opposite leg off the edge, dip the hip downward in a controlled manner.
- Lift back up using your hip muscles and repeat with focused control throughout
This targets your hip abductors and stabilizers with greater intensity than the basic version. Hold a dumbbell in the hand opposite your standing leg for added resistance once bodyweight feels too easy. Move deliberately through each rep.
7. Glute Bridge Hip Drops

Now we’re adding core stability to hip strength. Your glutes and hamstrings work together while your core prevents your pelvis from rotating. It’s challenging but incredibly effective for building a strong posterior chain.
- Perform a standard glute bridge with feet planted, hips raised, and shoulders on the ground.d
- Lower one side of your hip toward the floor while keeping the other side elevated. ed
- Lift back up to level, maintain bridge position, and alternate sides with cont.rol
This targets your glutes, hamstrings, and core stabilizers simultaneously. Maintain proper pelvis alignment throughout to avoid straining your lower back. Quality over speed always wins. Squeeze your glutes hard at the top of each rep.
8. Side Plank Hip Drops

This exercise crushes your obliques and hips at the same time. I won’t lie, it’s tough. But the results are worth it. Your entire side body gets stronger and more defined.
- Start in a side plank on your forearm with feet stacked and body in a straight line.
- Lower your hip toward the floor in a slow, controlled motion without collapsing.g
- Lift back up to the starting plank position and repeat for 8-10 reps per side.
Keep your top leg extended for the full challenge, or bend your bottom knee for an easier modification. This targets your obliques, glutes, and core stability powerfully. Don’t let your shoulder sink. Keep it strong and stable.
9. Step-Down Hip Drops

This final exercise combines everything you’ve learned. You need balance, hip strength, and control. It’s functional training that directly improves how you move in daily life and sports.
- Stand on a bench with both feet, shift weight completely to one leg
- Step down with your opposite leg while dipping the hip downward in a controlled manner
- Step back up using your standing leg’s hip and glute strength, repeat 10-12 reps per leg
This targets your glutes, quads, and hip stabilizers through a full range of motion. Move slowly for maximum control and stability. Rushing leads to sloppy form and wasted effort. Start with a lower box and progress higher as you master the movement.
Benefits of Hip-Targeting Exercises
Hip-targeting exercises deliver results you can see and feel. I’m talking about real changes in how your body looks, moves, and performs. These exercises target stubborn areas while building strength that protects you from injury. Here’s what you’ll gain from consistent hip training.
- Burn Fat: Hip exercises engage multiple muscle groups simultaneously, which torch calories and sculpt your outer thighs and hips into defined, lean curves.
- Strengthen Stabilizers: Your glutes and hip stabilizers get significantly stronger, improving your posture and pelvic alignment while reducing pain in your hips, knees, and lower back.
- Boost Performance: Athletic movements like running, walking, and squatting become more powerful and efficient as your hips generate better force and control.
Conclusion
You now have everything you need to start the hip drop exercise and see real changes in your body. The techniques are straightforward, the form tips will keep you safe, and the routines fit into any schedule. No more guessing or wasting time on moves that don’t work.
Your hip-sculpting journey starts today. Stick with it for a few weeks, and you’ll notice stronger obliques, better balance, and a more defined waistline. Remember to focus on form over speed, and listen to your body as you progress.
Try your first hip drop exercise session this week and see how it feels. Got questions or want to share your progress? Drop a comment below. And if this guide helped you, pass it along to someone else who’s ready to strengthen their core and shape their hips.
Frequently asked questions
What is a hip drop exercise?
A hip drop exercise involves lowering one hip toward the ground while keeping the other elevated, usually performed from a side plank or standing position. This movement targets your obliques, glutes, and core muscles. It’s a controlled motion that strengthens your sides and improves hip stability while burning calories.
Do hip drop exercises really burn fat?
Yes, hip drop exercises help burn fat when combined with a balanced diet and regular cardio. They engage multiple muscle groups, which increases calorie burn. While you can’t spot-reduce fat, consistent hip drops build lean muscle that boosts your metabolism and creates a more sculpted appearance over time.
How often should I do hip drop exercises?
Perform hip drop exercises 2-3 times per week for best results. Start with 2-3 sets of 10-15 reps per side. Give your muscles 48 hours to recover between sessions. As you get stronger, gradually increase repetitions or add resistance for continued progress and better sculpting.
Are hip drop exercises suitable for beginners?
Absolutely. Hip drop exercises are beginner-friendly and easily modified. Start with smaller movements and fewer reps. Use a wall or chair for support if needed. Focus on proper form before increasing difficulty. As your strength improves, you can progress to more challenging variations without equipment or assistance.
What muscles do hip drop exercises work?
Hip drop exercises primarily target your obliques (side abs), glutes, and hip stabilizer muscles. They also engage your core, lower back, and shoulders for balance. This multi-muscle activation makes them efficient for building strength, improving posture, and creating defined curves along your waistline and hips.