Tight quads are more common than you think. Sitting for long hours, heavy leg days, or skipping recovery can all leave your quads stiff and sore.
This guide covers everything you need to know about foam rolling quads. You will learn the right technique, the best routine, and how to avoid common mistakes.
We will also cover the benefits for mobility and knee health, along with tips for beginners and advanced users.
By the end, you will have a clear plan to add foam rolling to your routine.
What Is Foam Rolling Quads
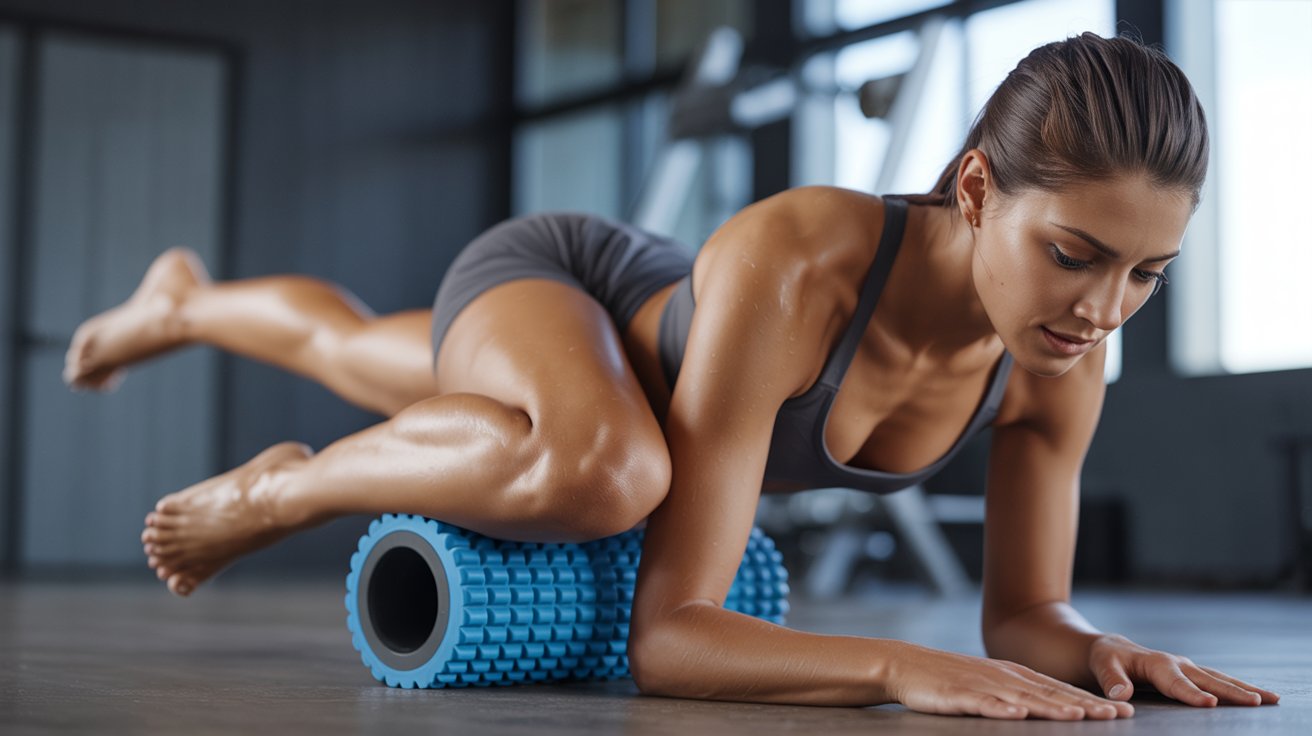
Foam rolling quads is a simple recovery method that helps release tightness and improve how your legs feel and move.
You use a cylindrical foam roller to apply pressure along the front of your thighs. Your body weight does the work, mimicking a deep tissue massage. No special equipment is needed.
The roller targets both muscle tissue and the surrounding fascia, loosening stiff areas and improving movement.
Quads get tight from sitting, hard workouts, and poor recovery. Over time, this leads to knots, which are tender areas of contracted muscle that affect how your legs perform.
Foam rolling is a form of myofascial release. It increases blood flow, helps muscles relax, and speeds up recovery between sessions.
Foam Rolling Quads Routine (Beginner to Advanced)

Having a set routine helps you stay consistent and see real results over time.
Beginner Routine (1 to 2 Minutes)
Start slow and get your body used to the pressure.
If you are new to foam rolling, keep it simple. Roll both quads slowly for 30 to 60 seconds each. Focus on getting comfortable with the movement before adding more time or pressure.
Intermediate Routine (3 to 5 Minutes)
Build time and add targeted work on tight areas.
At this level, you can spend more time on each quad and begin working on trigger points. Roll slowly, pause on sore spots, and try different angles to target more muscle fibers.
This routine works well after a workout or on rest days.
Advanced Routine with Trigger Point Focus
Use precise pressure and longer holds for deeper muscle release.
Advanced foam rolling means spending 5 or more minutes on your quads with intentional trigger point work. You can combine single leg rolling, angled rolling, and active release techniques.
This level is great for athletes or anyone dealing with chronic quad tightness.
How to Do Foam Rolling Quads (Step-by-Step Guide)
Learning the right technique makes foam rolling safer and more effective.
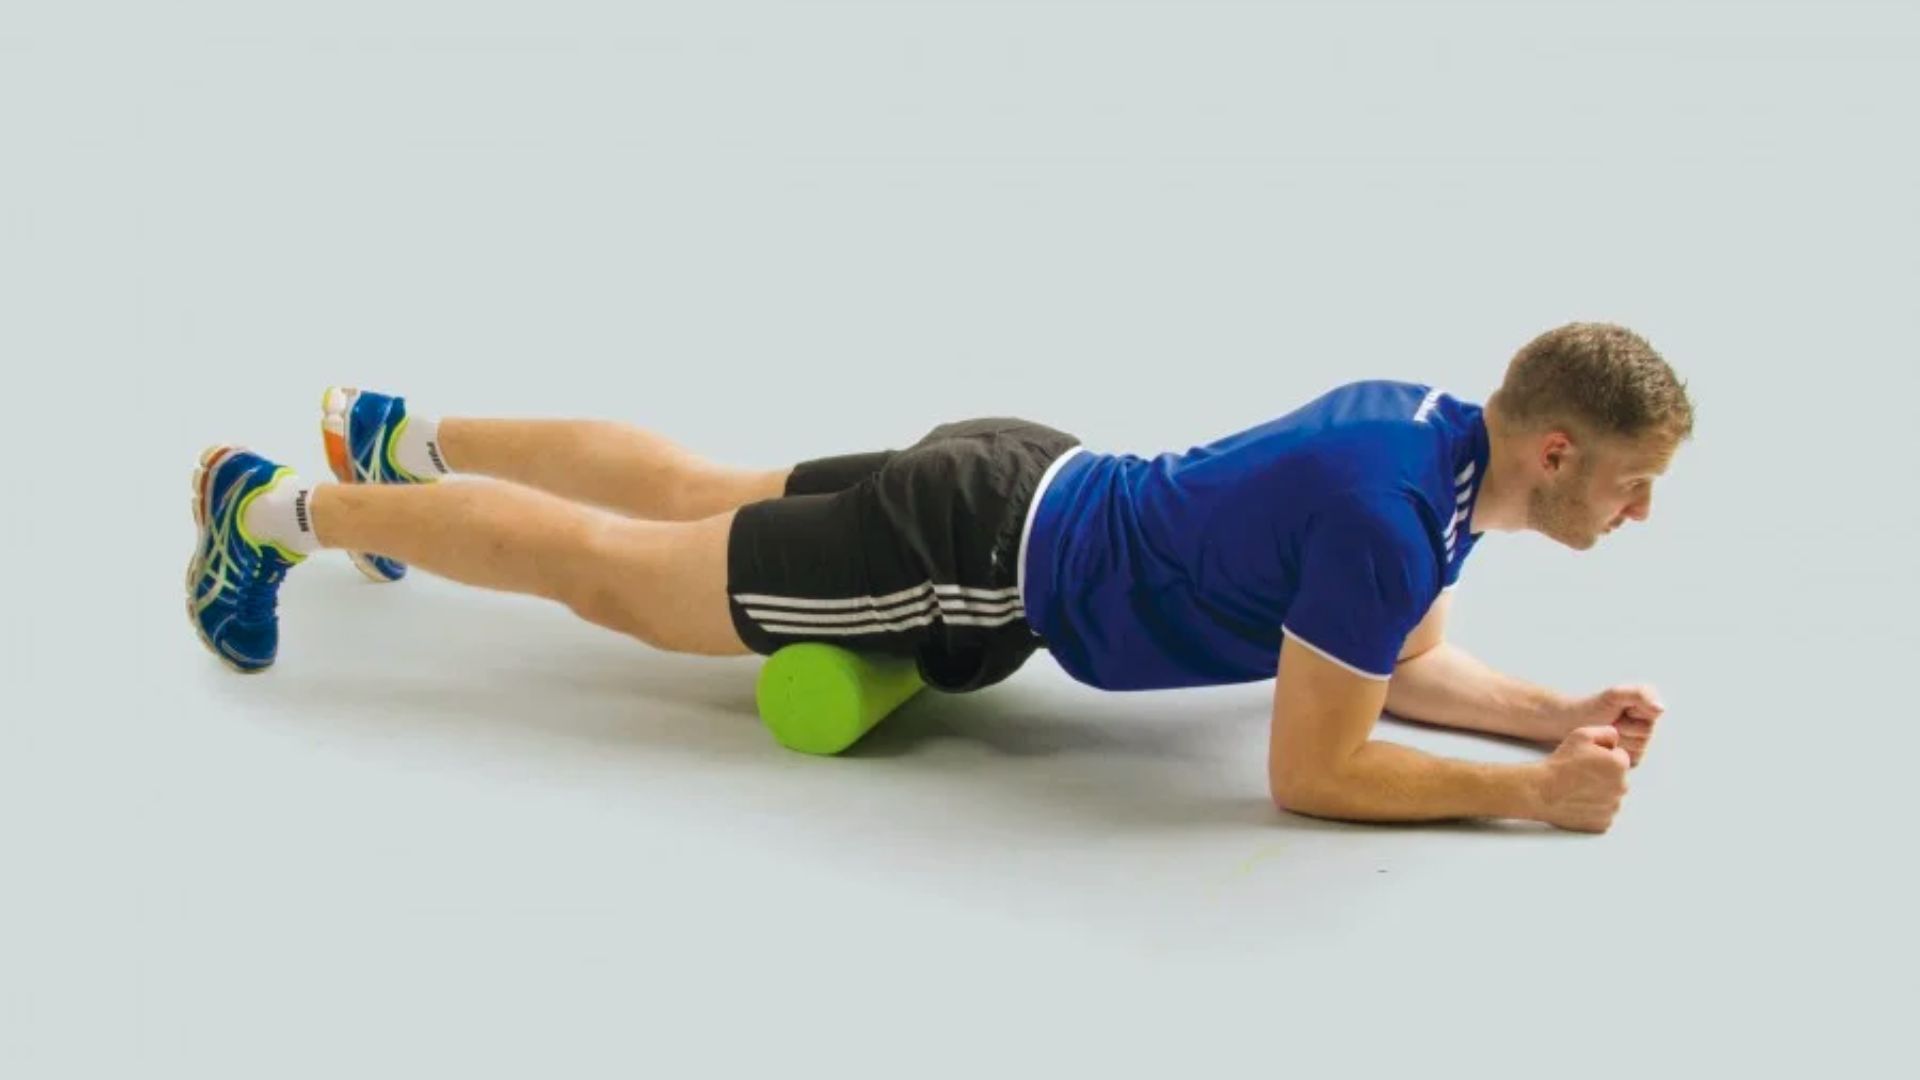
Step 1: Get Into the Correct Starting Position
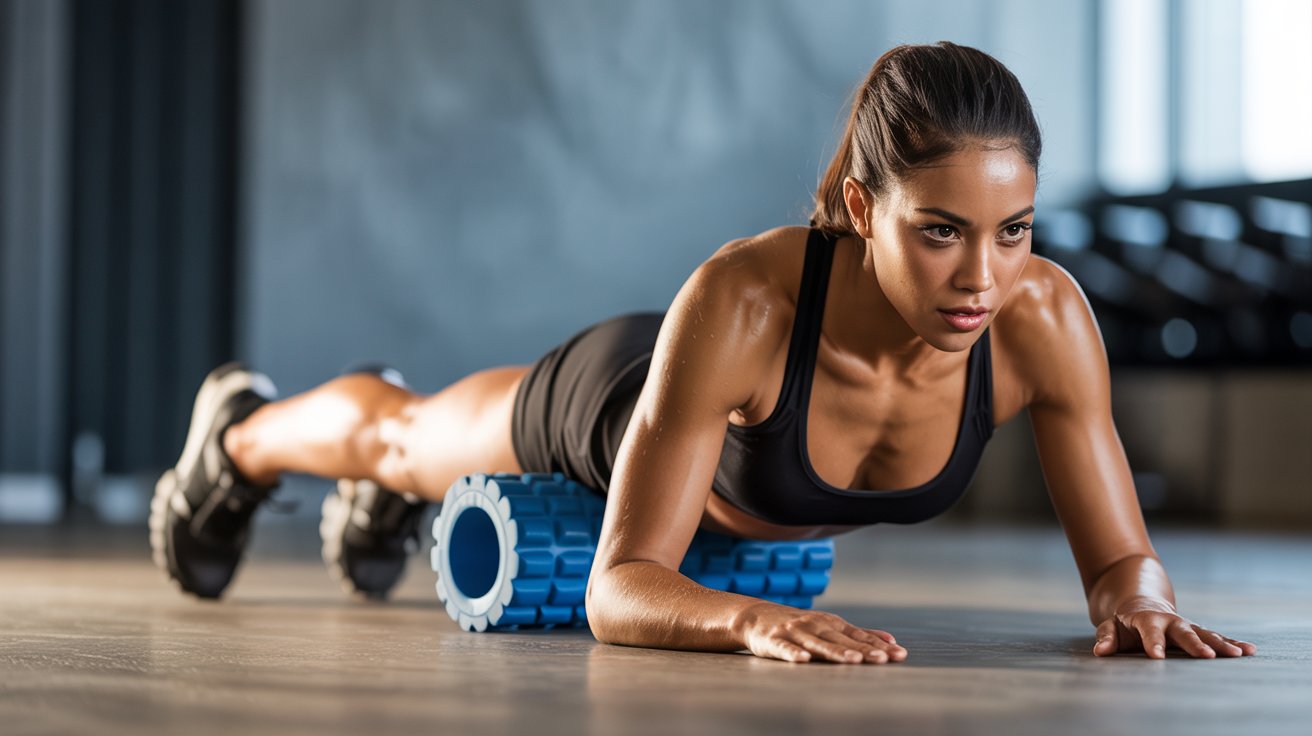
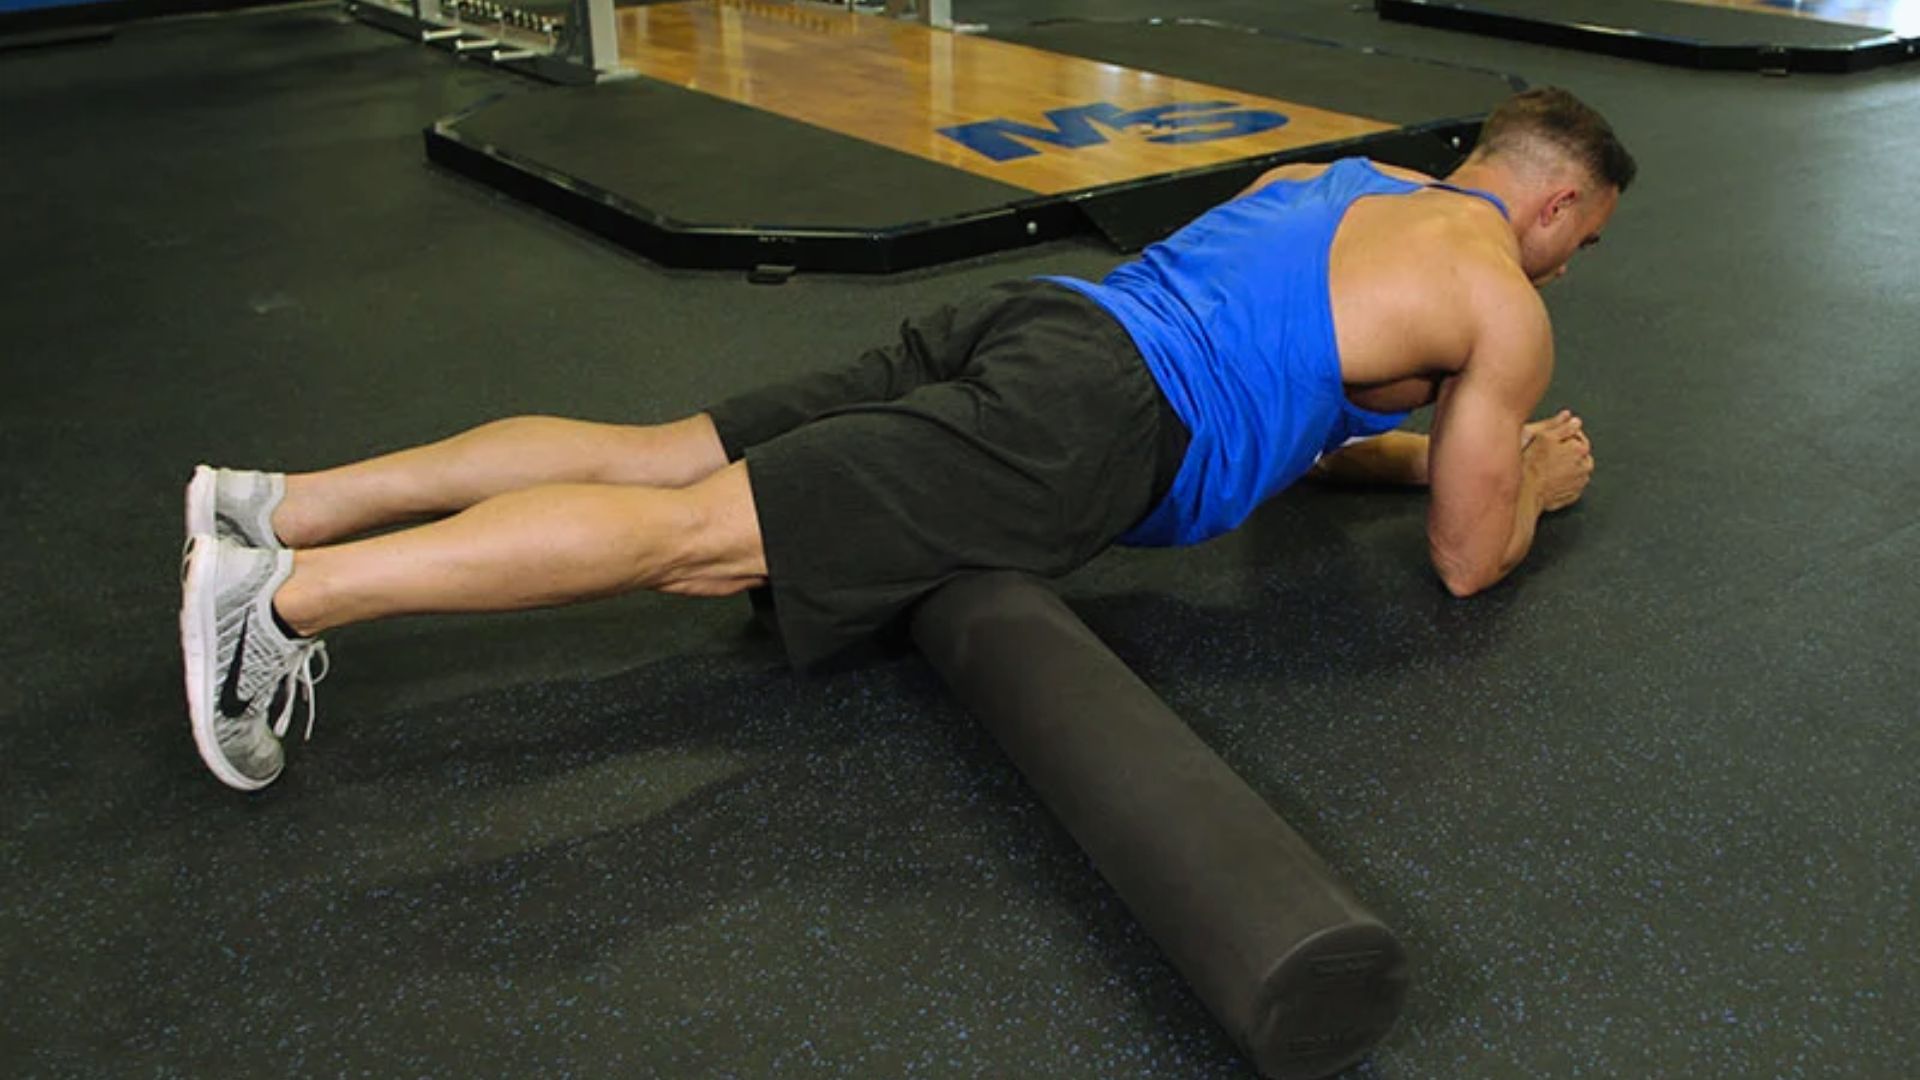
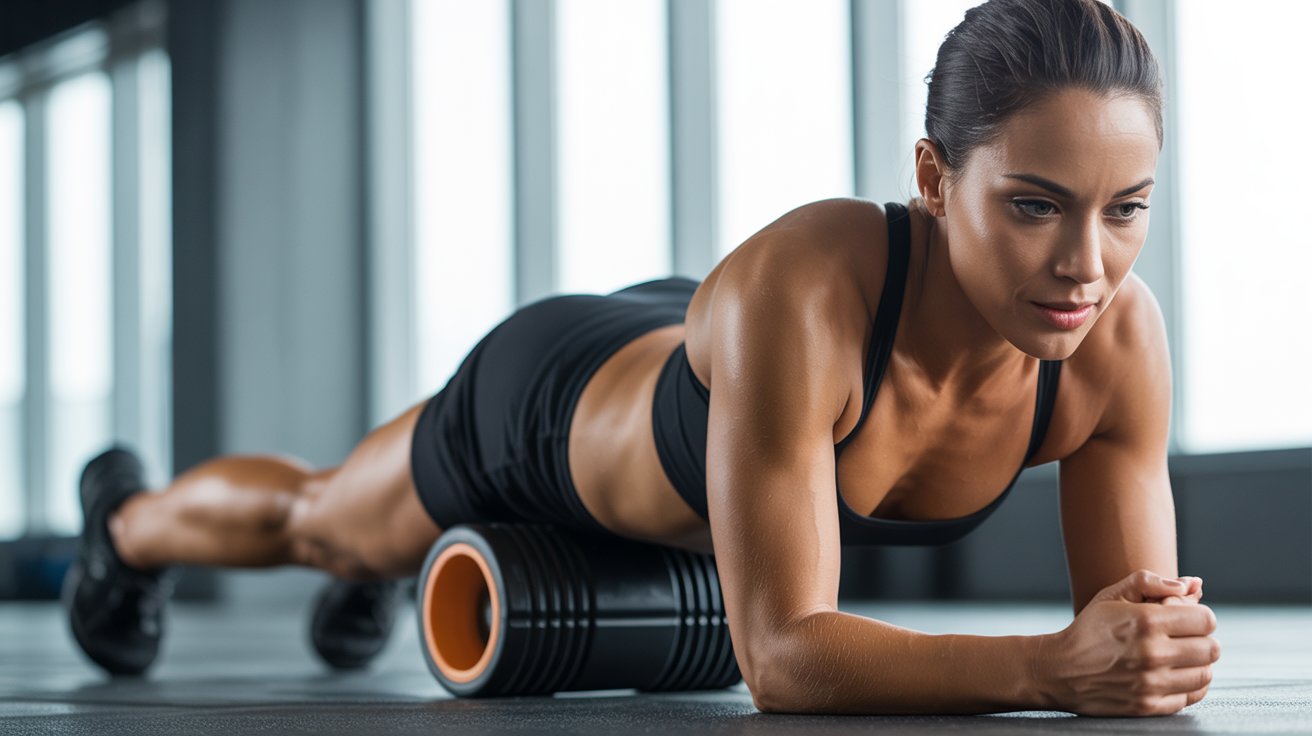
Start by lying face down with the foam roller placed under your thighs.
Place your forearms flat on the floor to support your upper body. Keep your core engaged and your spine in a neutral position. Your body should form a straight line from your head to your feet.
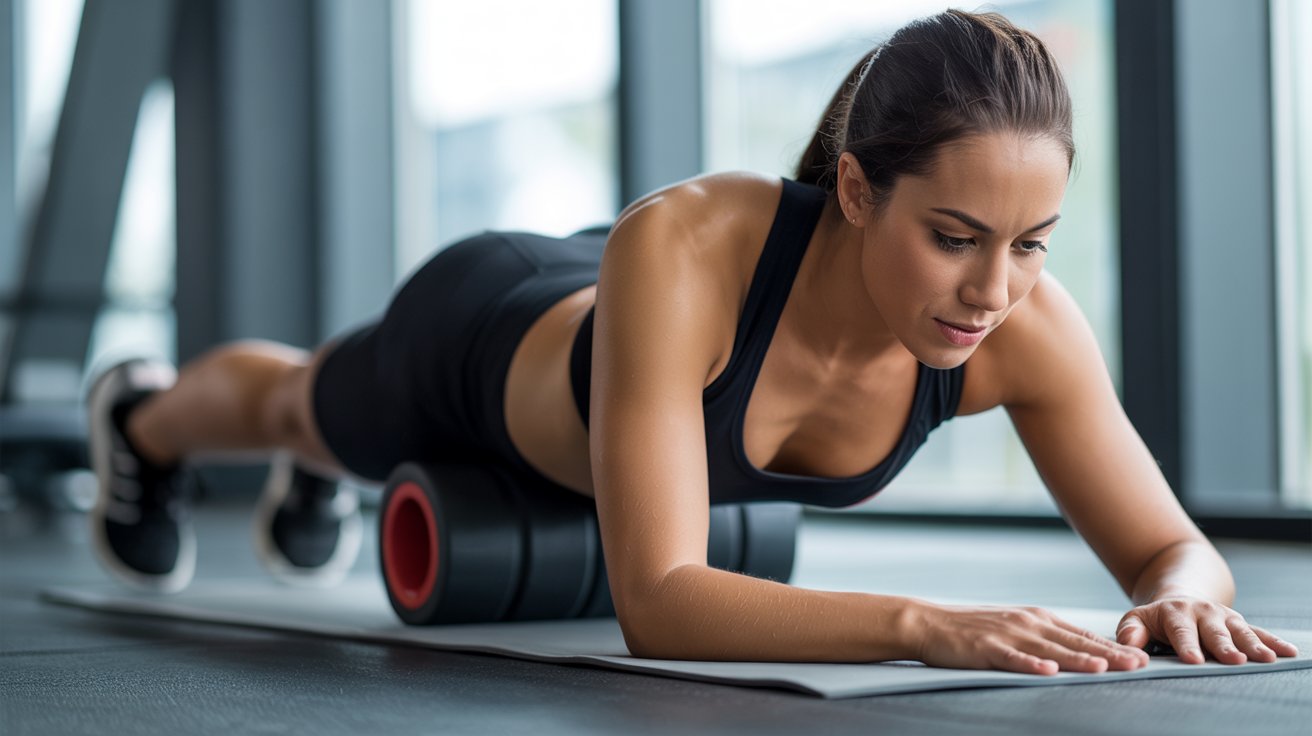
Step 2: Begin a Slow Rolling Movement

Move your body slowly so the foam roller travels from your hips down toward your knees.
Use your forearms to guide the movement. Roll at a slow and steady pace. Avoid rushing through this step. The slower you roll, the more pressure you apply to the muscle tissue.
Step 3: Know How Close to Roll Toward the Knee

Stop the roller just above the kneecap, not on or below it.
The foam roller should only work on the muscle belly of the quad. As you approach the knee, the tissue becomes thinner and more sensitive. Rolling too close to the knee joint can cause discomfort and even irritation.
Step 4: Keep a Safe Distance Above the Knee

Always stay at least two to three inches above the kneecap when rolling.
Rolling directly over the patella or knee joint puts unnecessary pressure on cartilage and soft tissue. Stay on the meaty part of the quad muscle for the best results and the safest experience.
Step 5: Control Pressure and Breathe Through Tight Spots
Adjusting your body weight controls how much pressure you apply to the muscle.
If you want lighter pressure, keep more weight on your forearms. For deeper pressure, shift your weight onto the roller. When you hit a tight spot, take a slow deep breath and try to relax into it. Do not hold your breath.
Step 6: Pause on Trigger Points
When you find a sore or tight area, hold still on that spot for 20 to 30 seconds.
This is called working a trigger point. Instead of rolling back and forth quickly, stop and let the pressure do the work. You may feel the tension slowly release as you breathe through it. This is completely normal.
Foam Rolling for Various Body Parts
Foam rolling is not just for quads. A full-body approach can improve overall mobility, reduce soreness, and help prevent injuries. Here’s how you can use a foam roller on different muscle groups:
Hamstrings (Back of Thighs)
Sit on the floor with the foam roller under your thighs. Support yourself with your hands behind you and roll from your glutes down to just above your knees.
This helps reduce stiffness from sitting and improves flexibility.
Calves (Lower Legs)

Place the roller under your calves and lift your hips slightly off the ground. Roll from your ankles to just below your knees.
This is especially helpful for runners and people who stand for long periods.
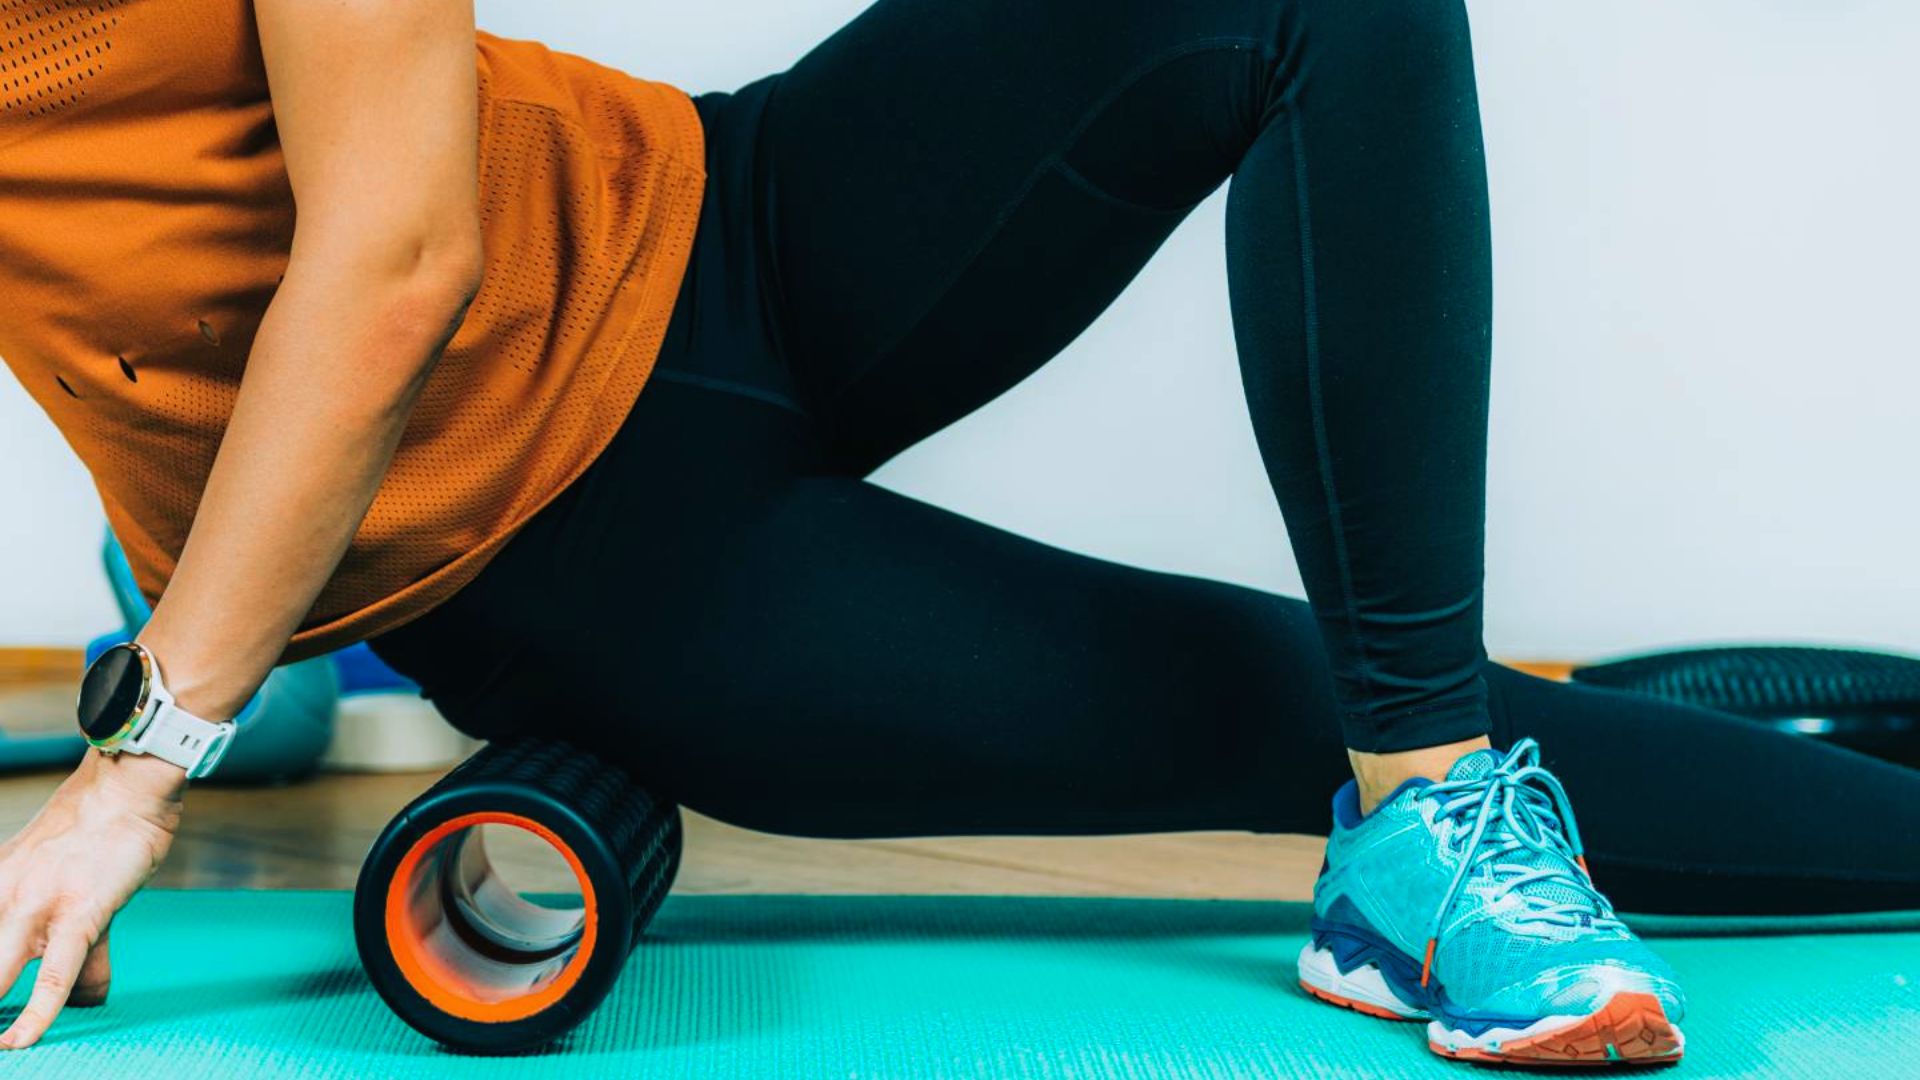
Glutes (Butt Muscles)

Sit on the foam roller and cross one ankle over the opposite knee. Lean slightly toward the crossed leg and roll slowly.
This targets deep hip muscles and can relieve lower back tension.
IT Band (Outer Thigh)
Lie on your side with the roller under your outer thigh. Roll slowly from your hip down to just above your knee.
This area can be sensitive, so go slow and control the pressure.
Upper Back (Thoracic Spine)

Lie on your back with the roller under your upper back. Support your head with your hands and roll from your mid-back to your shoulders. Avoid rolling directly on your lower back.
Lats (Side of Upper Back)

Lie on your side with the roller under your armpit area. Extend your arm overhead and roll along the side of your upper body. This helps improve shoulder mobility.
Foam Rolling Quads Exercise Variations
Mixing up your technique keeps the routine effective and targets different parts of the muscle.
Both Legs Quad Roll
Rolling both legs at the same time is great for beginners and lighter pressure work.
This variation distributes your body weight across both thighs. It is a good starting point if the roller feels too intense on a single leg.
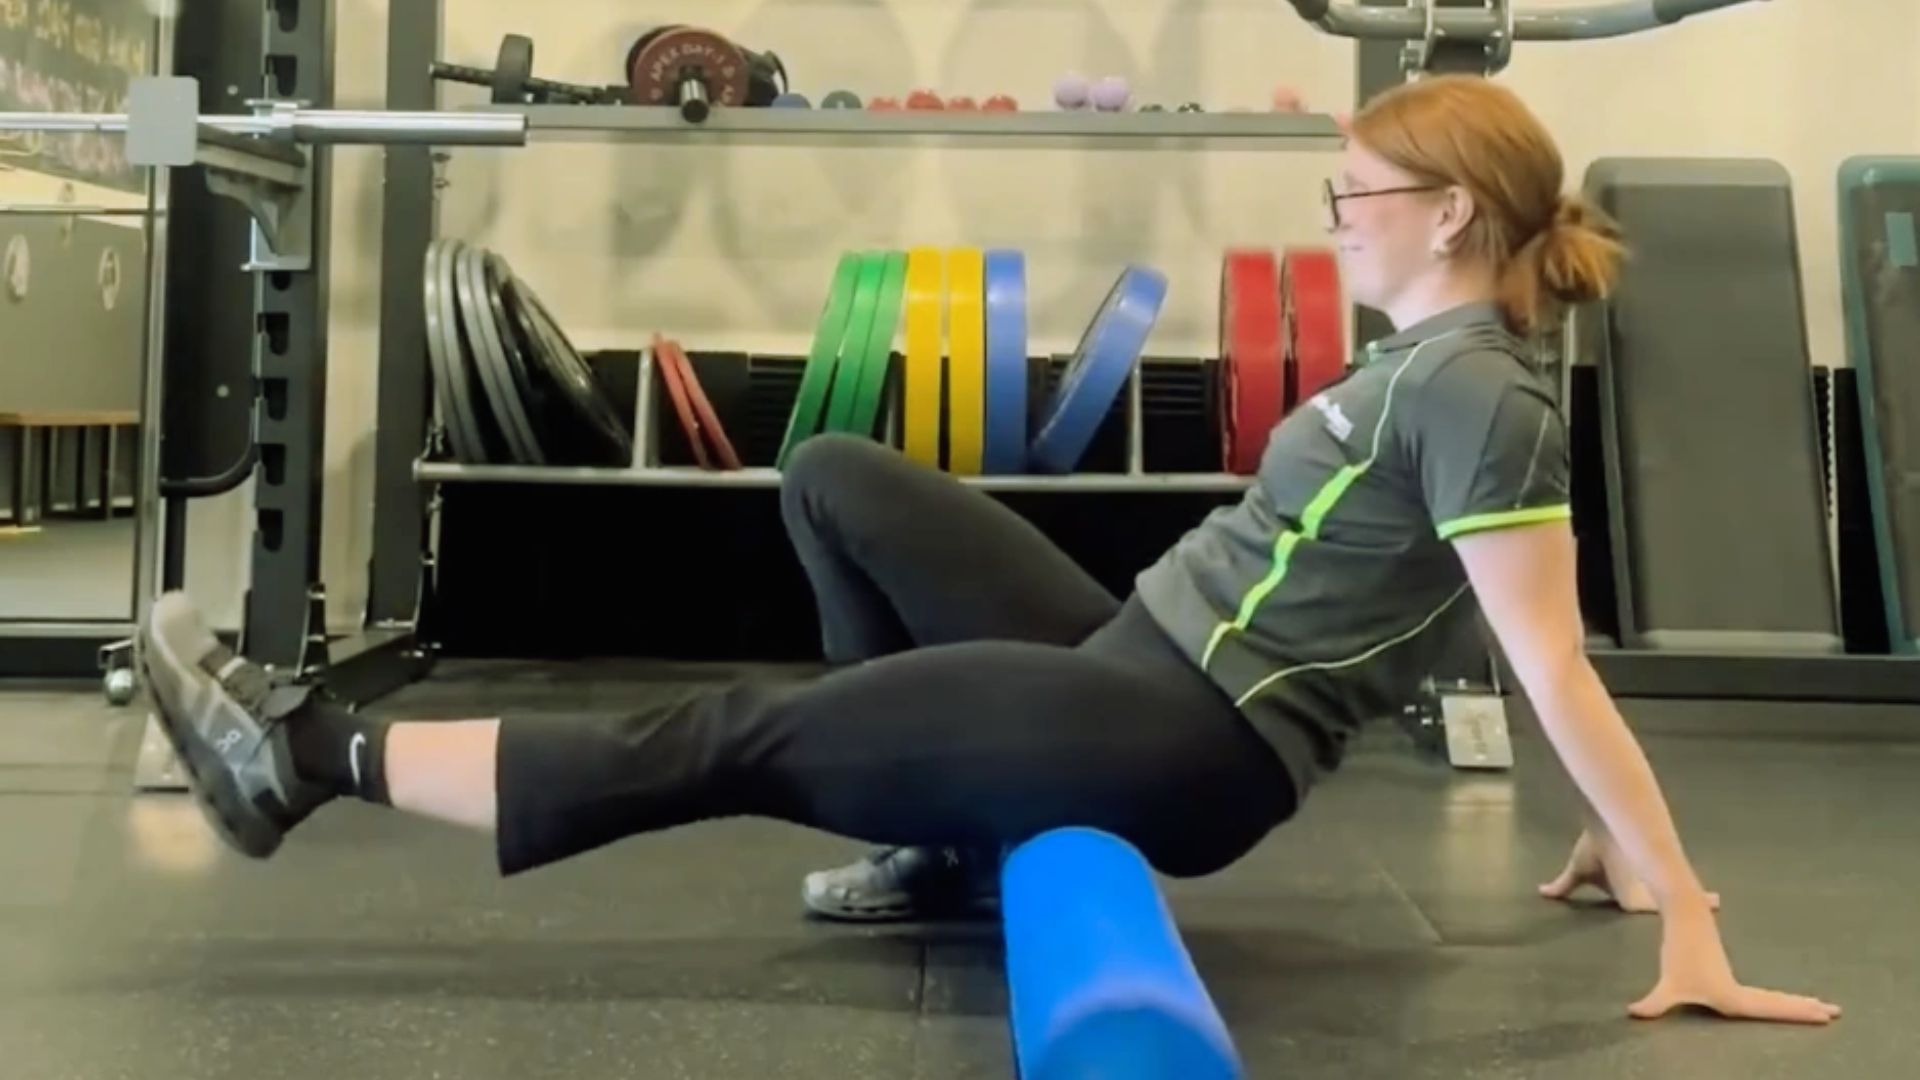
Single Leg Quad Roll for Deeper Pressure

Crossing one leg over the other focuses all your body weight on one quad.
This is a more intense version that works well once you are comfortable with the basics. It allows you to target tight areas more precisely.
Angled Quad Roll for Inner and Outer Thighs

Rotating your leg inward or outward lets you hit different sections of the quad muscle.
Rolling with your toes pointed slightly in targets the outer quad. Pointing them slightly out targets the inner quad. Both angles are worth including in your routine.
IT Band Focus Rolling

Shifting slightly to the outer thigh targets the IT band, which runs along the side of the leg.
The IT band is a common trouble spot for runners. Rolling the outer thigh with the foam roller can help reduce tightness in this area.
Active Release Technique for Quads
This method combines foam rolling with gentle knee flexion for a deeper release.
While holding pressure on a tight spot, slowly bend and straighten your knee. This movement stretches the muscle while the roller applies pressure, creating a deeper release effect.
Common Mistakes to Avoid
Small errors in technique can make foam rolling less effective or even uncomfortable.
- Rolling too fast reduces the effectiveness of each pass and prevents proper release
- Applying too much pressure too soon can cause bruising and increase soreness
- Rolling directly over the knee or patella puts harmful pressure on the joint
- Ignoring sharp or intense pain can make an existing injury worse
- Not pausing on tight spots means missing the key benefit of trigger point work
Tips to Get Better Results
Simple adjustments to your foam rolling habit can lead to much better results over time.
- Roll slowly and with full control over every movement
- Focus your attention on tight or sore areas rather than rushing through
- Combine foam rolling with stretching for better flexibility gains
- Drink enough water before and after rolling to support muscle recovery
- Stay consistent and roll regularly for lasting improvement in mobility
Conclusion
Foam rolling quads is one of the simplest things you can add to your routine, and the results are worth it.
I started foam rolling after dealing with constant knee discomfort from long runs. Honestly, I did not expect much.
But after a few weeks of rolling my quads consistently, the tightness eased up, and my knees felt better during workouts. It takes only a few minutes, and your legs will thank you for it.
Start small, stay consistent, and pay attention to how your body responds. If this helped you, drop a comment below or share it with someone who deals with tight quads.
Frequently Asked Questions
How Far Above the Knee Should You Foam Roll Quads?
Stay at least two to three inches above the kneecap. Rolling closer puts unwanted pressure on the patella and can cause irritation.
Why Does Foam Rolling Quads Feel Painful?
It usually means you have found a tight knot in the muscle. This is normal as long as the pain is manageable. Stop if it feels sharp or intense.
Is It Normal to Feel Bumps Near the Knee?
Yes, these are the bony ends of the thigh bone. It is completely normal. If it feels uncomfortable, shift the roller slightly higher.
Can Foam Rolling Quads Help With Knee Pain?
Yes, it reduces the pull on the kneecap and can ease knee discomfort over time. Pair it with stretching for better results.
How Often Should You Foam Roll Quads?
Three to five times per week works well for most people. You can roll daily if your quads feel especially tight, just keep the pressure moderate.