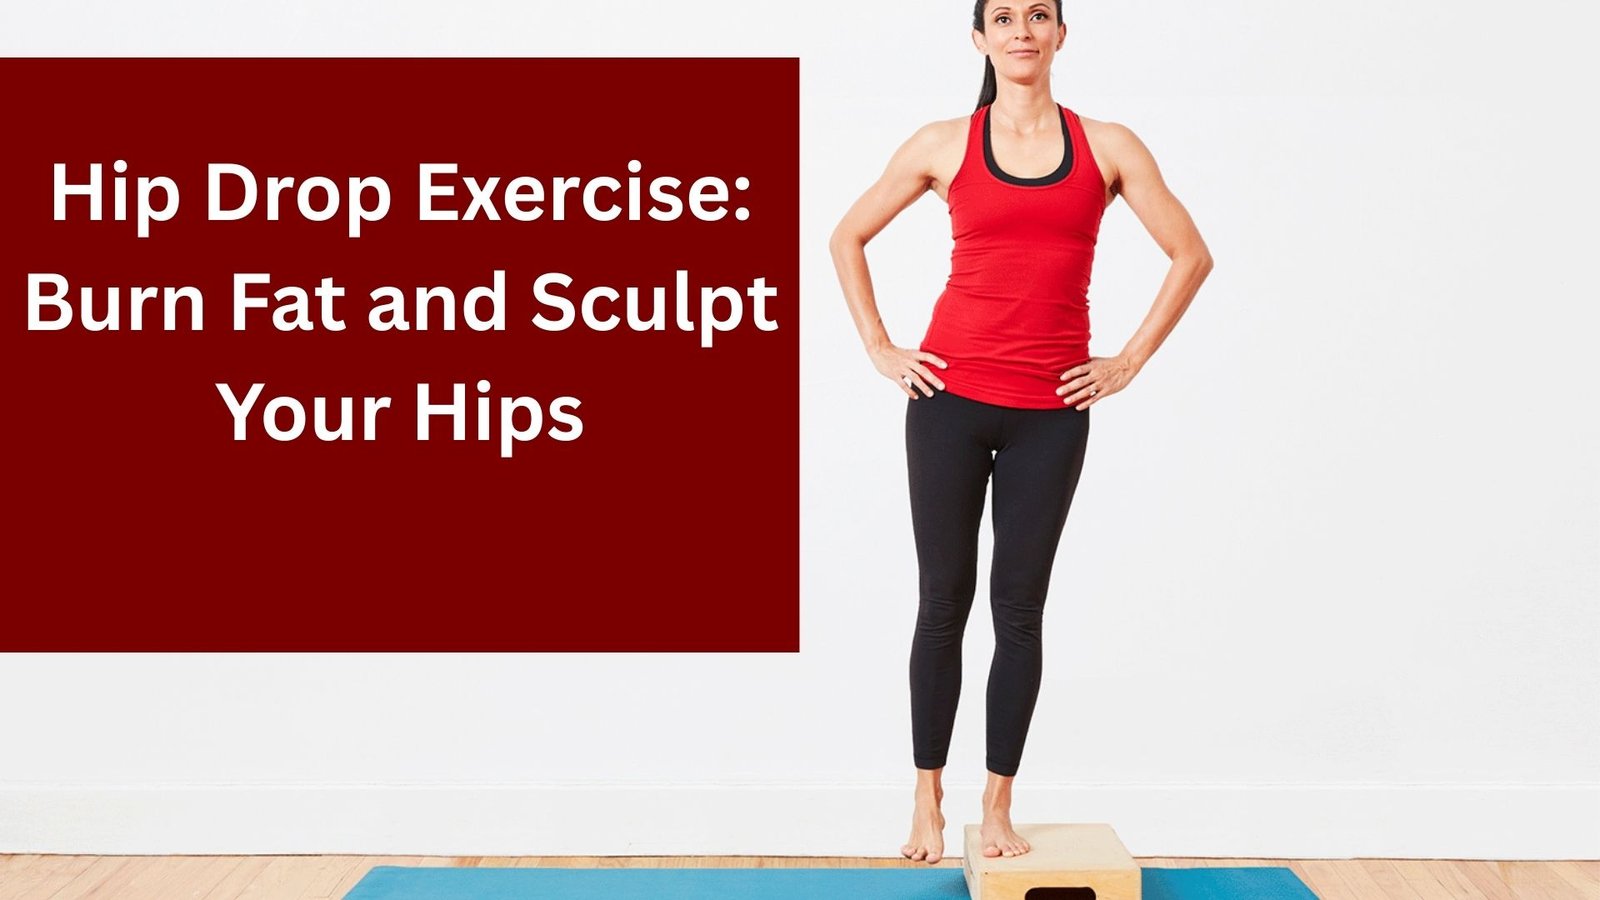
Your hips are holding you back. Weak hip muscles slow down your squats, deadlifts, and sprints. They can even cause knee and back pain.
This article shows you three simple hip exercises that build serious strength. I’m talking about moves that target all three major hip actions, including flexion, extension, and abduction. You’ll learn the exact form, rep ranges, and why each exercise works. No fancy equipment needed, just you and maybe a resistance band.
I’ve spent years training clients and testing what actually works. These aren’t random movements I found online. They’re proven exercises backed by sports science and real results. I’ll give you the truth, not hype. By the end of this post, you’ll have a clear plan to strengthen your hips and see faster gains in your main lifts. Let’s fix those weak hips together.
Understanding Key Hip Muscles Involved
Your hips aren’t just one muscle. They’re a team of different muscle groups working together. I want you to understand which muscles do what. This helps you know why each exercise matters for real strength gains.
- Deep rotators: These small muscles, like the piriformis and obturator internus, sit deep in your hip. They keep your hip stable when you stand on one leg and stop your knee from caving in during squats.
- Hip flexors: The iliopsoas and rectus femoris lift your knee, but tight flexors tilt your pelvis forward. This throws off your balance and weakens other muscles, so you need to work your hips in all directions.
- Gluteal powerhouses: Your glute medius stops your hip from dropping during single-leg movements, while your glute max handles all the power. Strong glutes mean better balance, no knee pain, and serious strength in deadlifts and sprints.
What Is the 3 Way Hip Exercise?
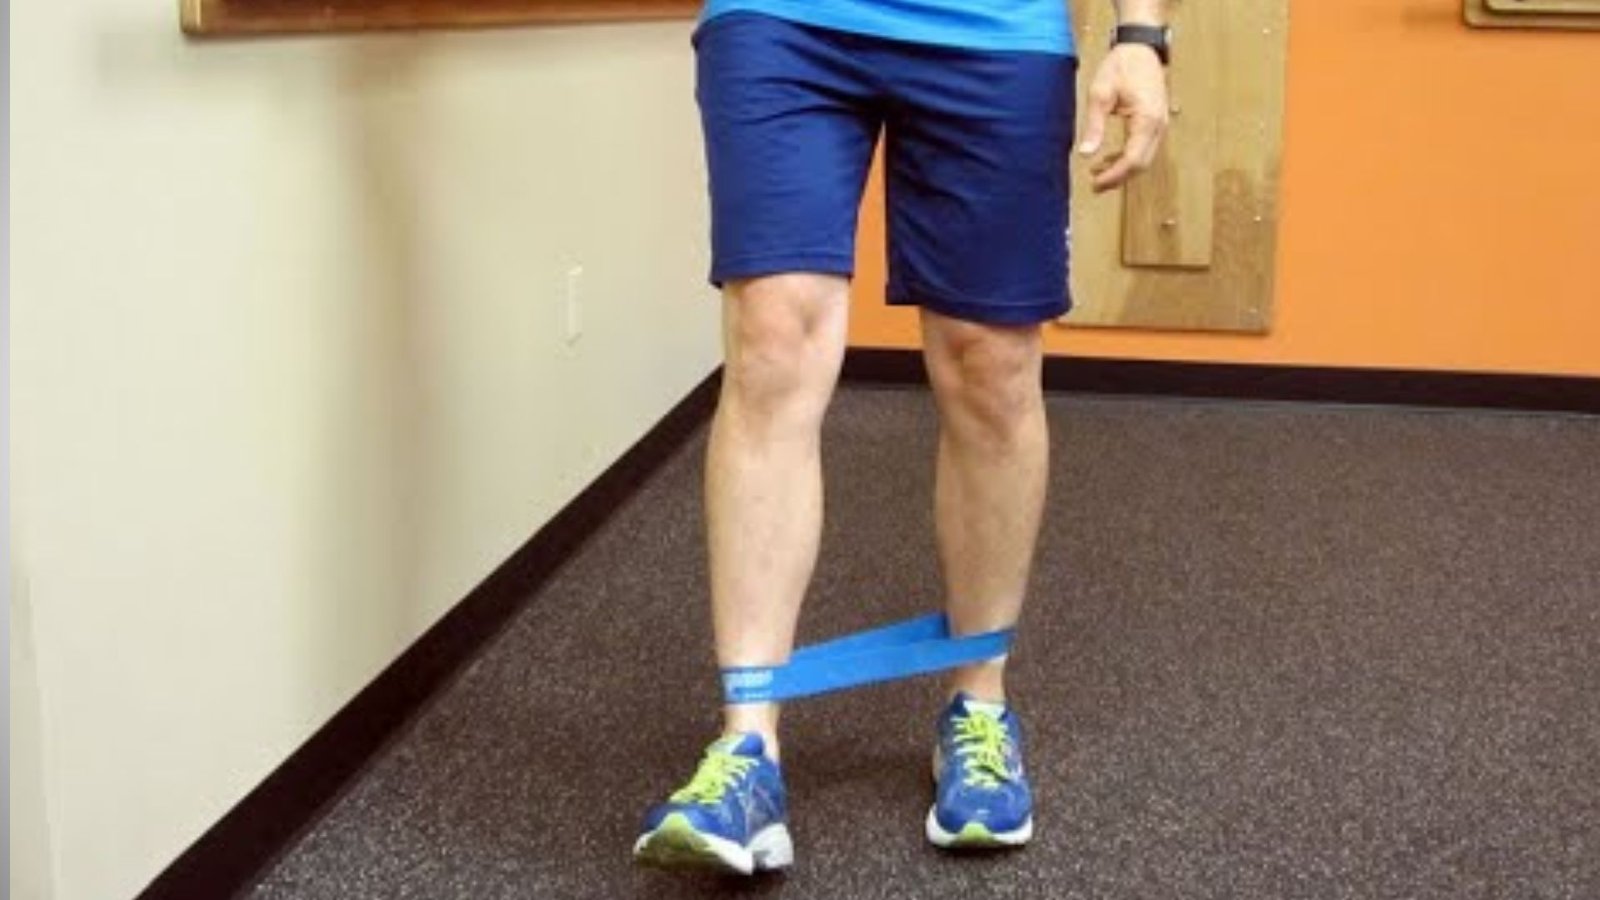
The 3 Way Hip Exercise is a standing leg lift in three directions. You lift your leg forward, to the side, and backward. One simple move that hits all your hip muscles. Athletes use it for warm-ups. Physical therapists use it for rehab. I use it because it works fast.
Here’s what makes this effective. Each direction targets different hip stabilizers. Forward lifts work your hip flexors. Side lifts fire up your glute medius. Backward lifts activate your glute max and hamstrings. You’re training every angle your hip moves in real life.
Your stance leg does serious wor,k too. It has to balance and stabilize while your other leg moves. This builds functional strength, the kind you actually use when you walk, run, or lift heavy. Your body learns proper movement patterns because both legs are working hard.
How to Perform the 3 Way Hip Exercise (Step-by-Step Guide)
I’m going to walk you through each step. Form matters more than speed here. Get the setup right, and the rest falls into place.
Step 1: Set Up for Success
Stand with your feet hip-width apart. Keep your hips level and your spine neutral. Pull your belly button in slightly to engage your core. Hold a wall or railing if you need balance support. There’s nothing wrong with that.
Check your stance knee, keep it soft and slightly bent, never locked. Point your stance foot toward your 3rd or 4th toe, not straight forward. All movement should come from your hip joint, not your ankle or back. This starting position sets up everything else.
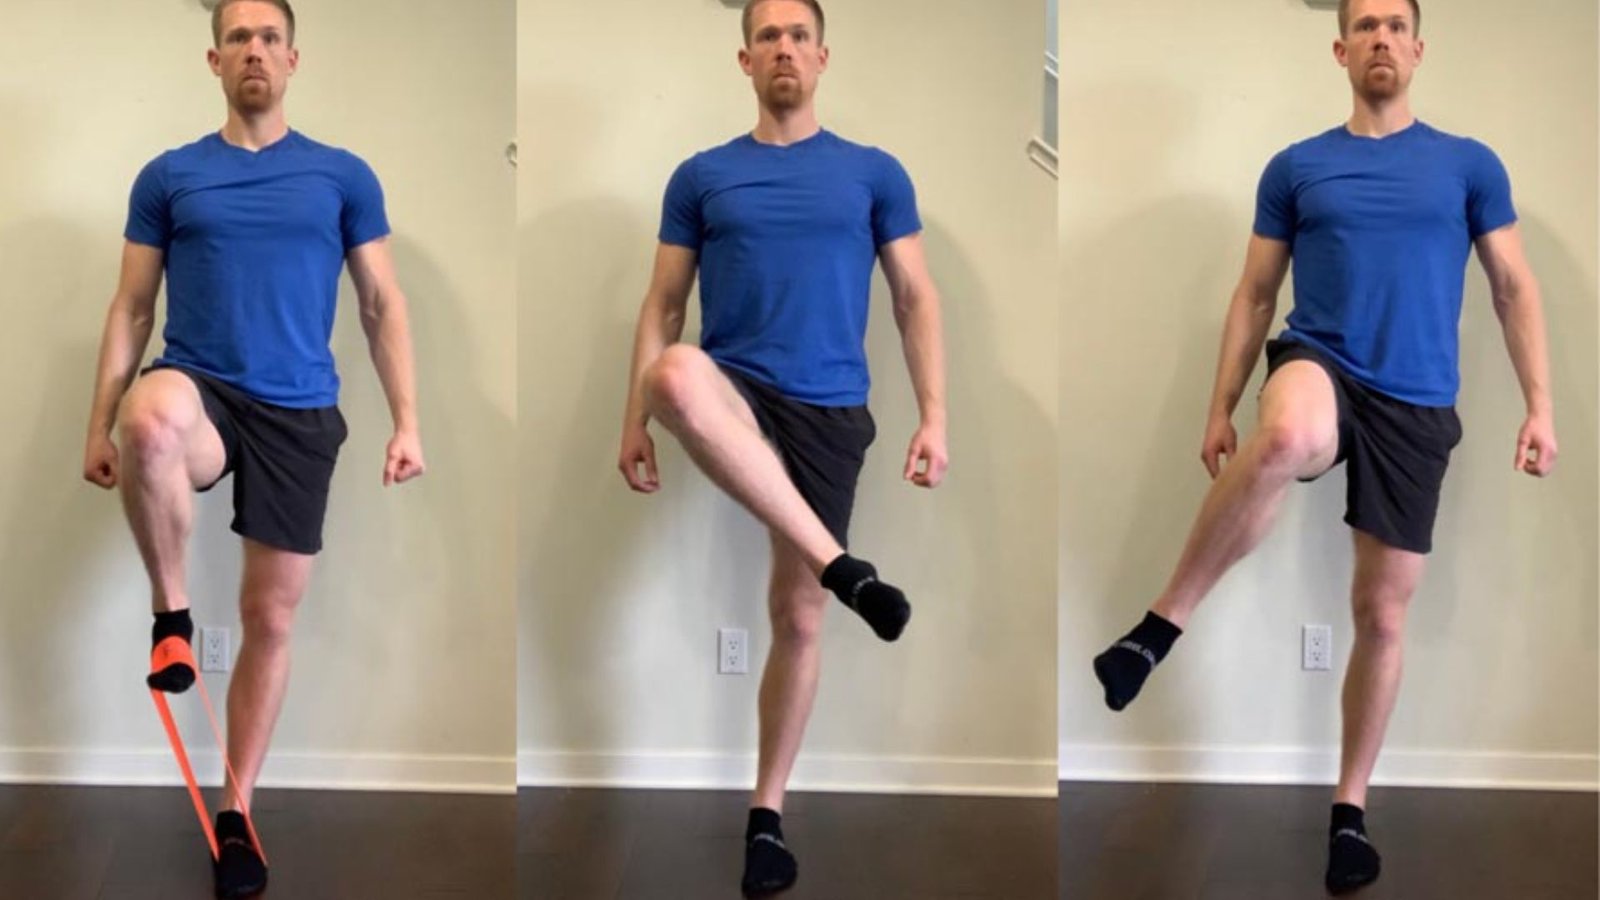
Step 2: Front Leg Raise
Lift your working leg straight forward with your knee straight but not locked. Don’t lean backward to compensate. Raise your leg as high as you can without losing form, hold for one second at the top, then lower with control.
This move hits your hip flexors hard. You’ll feel your lower abs working to keep you stable. Your stance leg fights to keep you balanced. No swinging or dropping, smooth and controlled wins every time.
Step 3: Side Leg Raise
Move the same leg out to the side while keeping your torso completely upright. Keep your toes pointing forward, not turned out. Don’t hike your hip up toward your shoulder. Let your hip do all the lifting.
Hold for one second at the top before returning to the center. This direction targets your glute medius, the muscle that stops your hip from dropping when you walk or run. Keep your core tight to prevent tilting sideways. Weak glute medius causes knee pain and poor balance.
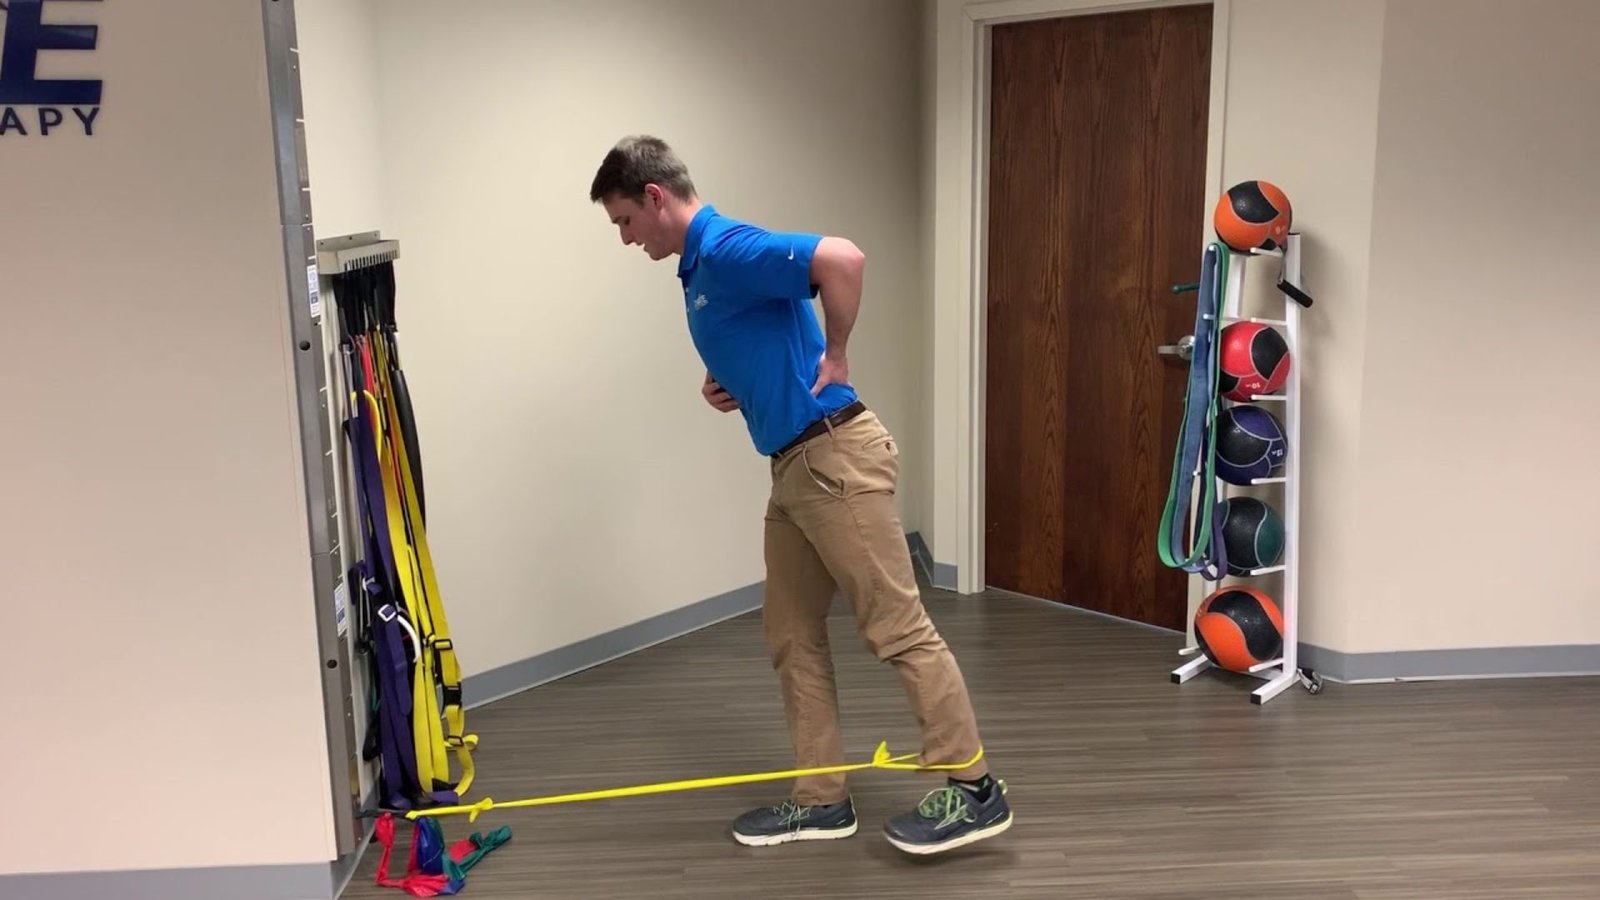
Step 4: Back Leg Raise
Extend your leg straight back behind you and squeeze your glute as you lift. Keep your back flat, no arching. Think about pushing through your heel, not lifting your foot high.
Hold one second, then bring it back to the starting position. Your glute max handles this movement. Don’t tilt your pelvis forward to get more height. Small, controlled movement beats sloppy big movement every single time.
Step 5: Sets, Reps, and Frequency

Start with 2 rounds of 5 reps in each direction. That’s 5 front, 5 side, 5 back per leg. Build up to 3 rounds of 10 reps as you get stronger. Do this 3-4 times per week for real strength gains.
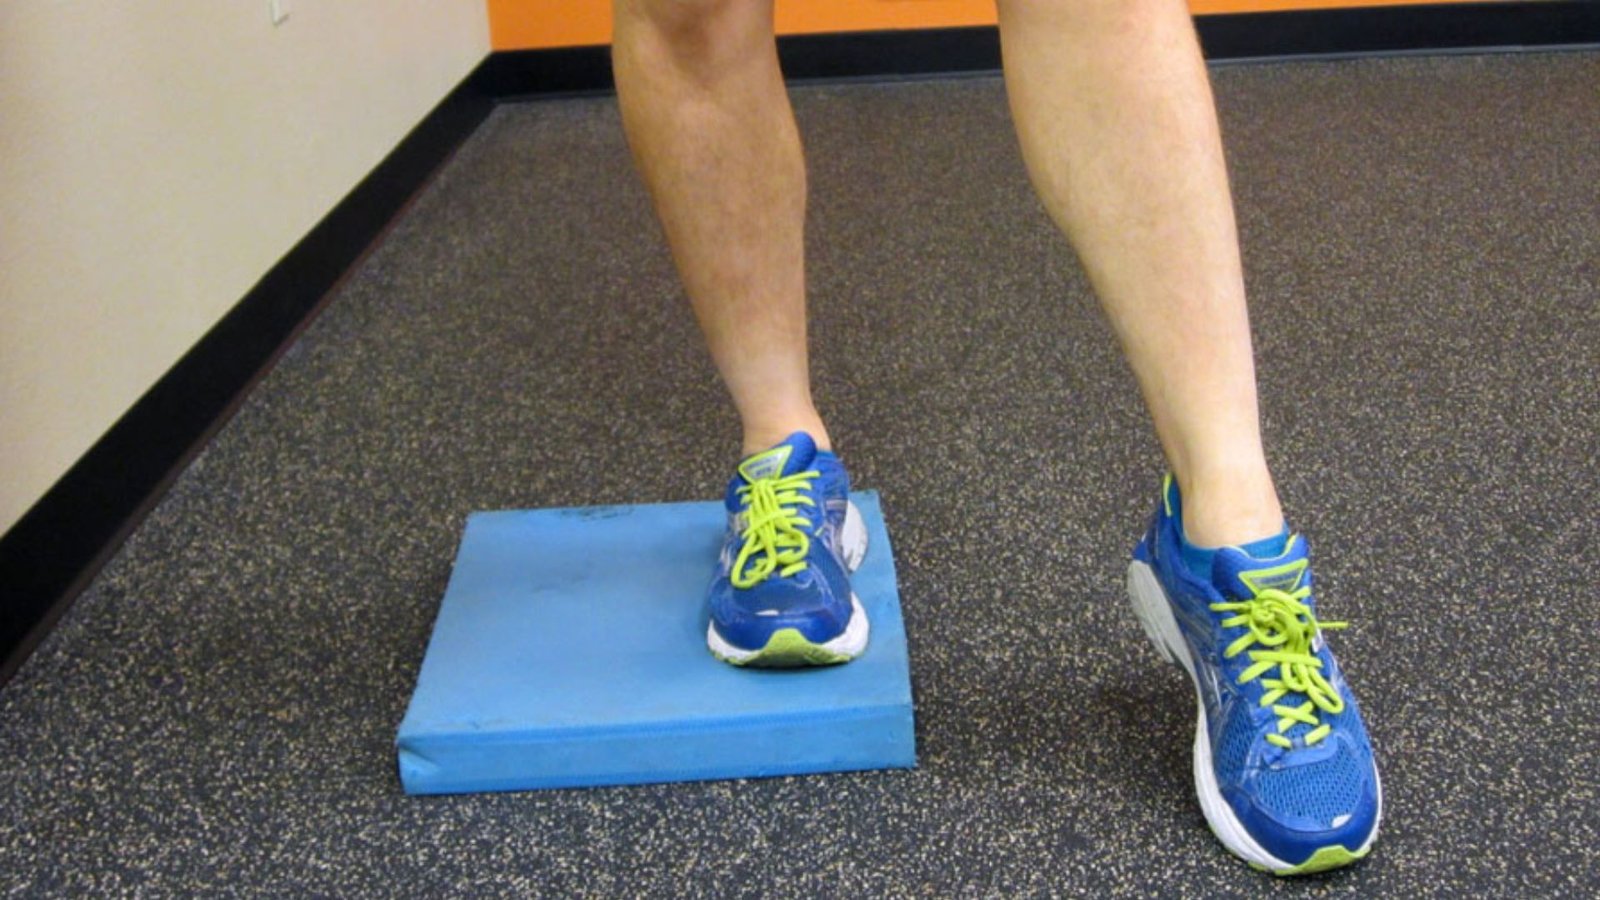
Rest one day between sessions. Your hips need recovery time to build strength. Add a resistance band around your ankles when bodyweight gets easy. Use a balance pad under your stance foot or ankle weights for advanced difficulty. Track your reps so you know when to level up.
Form Tips to Maximize Strength Gains
Good form turns a simple exercise into a strength builder. I see people rushing through reps or using bad technique all the time. Slow down and focus on quality. These tips will help you get the most out of every rep.
- Controlled movement: Keep each lift and lower slow and deliberate, no swinging or using momentum. This ensures your muscles actually do the work instead of letting gravity and speed cheat for you.
- Common mistakes: Never lock your knee straight, lean your torso to fake height, or rotate from your ankle instead of your hip. Also, watch your lower back during the rear raise. Arching it to lift higher defeats the purpose and risks injury.
- Progression options: Add a mini-band around your ankles for resistance, stand on a foam pad for balance challenge, or hold each position for 2-3 seconds instead of one. Pick one method at a time and master it before adding another layer of difficulty.
Complementary Mobility Work for Even Better Results
Strength without mobility is incomplete. Tight hips limit how well your muscles can work. I recommend adding simple mobility work before you do the 3 Way Hip Exercise. It takes 2 minutes and makes a huge difference.
- Flexor tightness: Tight hip flexors tilt your pelvis forward and turn off your glutes. Loosening them up before strength work improves your range of motion and lets your glutes fire properly during each lift.
- Lunge positions: Do three kneeling lunge variations, neutral with a side bend, wide stance with toes out and side bend, then wide stance with toes in and side bend. Hold each position for 3 deep breaths to open up the front of your hip completely.
- Mobility first: Always do this hip flexor release before your strength exercises, not after. Mobile hips mean better form, stronger muscle activation, and faster gains in your main lifts.
Benefits of the 3 Way Hip Exercise
This exercise does more than just build muscle. It fixes movement problems that cause pain and weakness. I’ve seen people improve their squats, runs, and even daily walking with consistent hip work. Here’s what you get from doing this right.
- Strength boost: Your glutes fire harder, and your hip control improves dramatically. Better balance and coordination follow naturally, plus you build single-leg strength that runners and athletes need for performance.
- Injury protection: Strong, stable hips prevent your knee from caving inward during squats and stop foot overpronation when you run. This reduces your risk of knee pain, IT band syndrome, and hip bursitis, common problems from weak hips.
- Movement quality: Your walking gait gets smoother, your posture improves, and daily activities feel easier. Hip stiffness decreases, and low back strain drops because your hips finally move the way they should.
Conclusion
You now have your 3 Way Hip Exercise plan to build stronger hips fast. These three movements, hip flexion, extension, and abduction, cover everything your hips need. Do them twice a week, focus on good form, and watch your main lifts improve.
Strong hips mean better squats, safer deadlifts, and less pain. You’ve got the exercises, the rep ranges, and the reasons why they work. Start today with just one or two sets of each movement. Your body will thank you.
Got questions about form or how to fit these into your routine? Drop a comment below. I read every one, and I’m here to help. And if this helped you, share it with a gym buddy who needs stronger too.
Frequently asked questions
What is the 3 Way Hip Exercise routine?
It’s three exercises that target different hip movements: flexion (lifting your knee), extension (pushing your leg back), and abduction (moving your leg to the side). Together, they strengthen all major hip muscles for better performance and fewer injuries.
How often should I do the 3 Way Hip Exercise?
Do these exercises 2-3 times per week. Give your hips at least one day of rest between sessions. Each workout takes only 10-15 minutes. You can do them before your main lifting or on separate days.
Can beginners do the 3 Way Hip Exercise safely?
Yes. These exercises work for all fitness levels. Beginners should start with bodyweight only and focus on form. Add resistance bands or weights once you can do 15 reps easily with perfect technique.
How long before I see results from the 3 Way Hip Exercise?
Most people notice better hip stability in 2-3 weeks. Strength gains in your main lifts usually show up within 4-6 weeks of consistent training. Stick with it and track your progress.
Do I need equipment for the 3 Way Hip Exercise?
Not really. You can start with just your bodyweight. A resistance band helps add challenge as you get stronger. Some people use ankle weights later, but they’re optional.