Learning the tuck planche hold takes time, but it’s worth the effort. This guide breaks down everything you need to master this foundational calisthenics skill.
I’ll show you the exact steps to progress safely from basic leans to holding a full tuck planche. You’ll learn which muscles to target, common mistakes that slow people down, and how to train without hurting yourself.
I’ve spent years working on planche variations, and I know the struggle of building straight-arm strength from scratch.
This article covers proper progressions, training frequency, hold times, and practical tips that actually work. By the end, you’ll have a clear plan to build your tuck planche hold the right way.
What Is a Tuck Planche Hold?

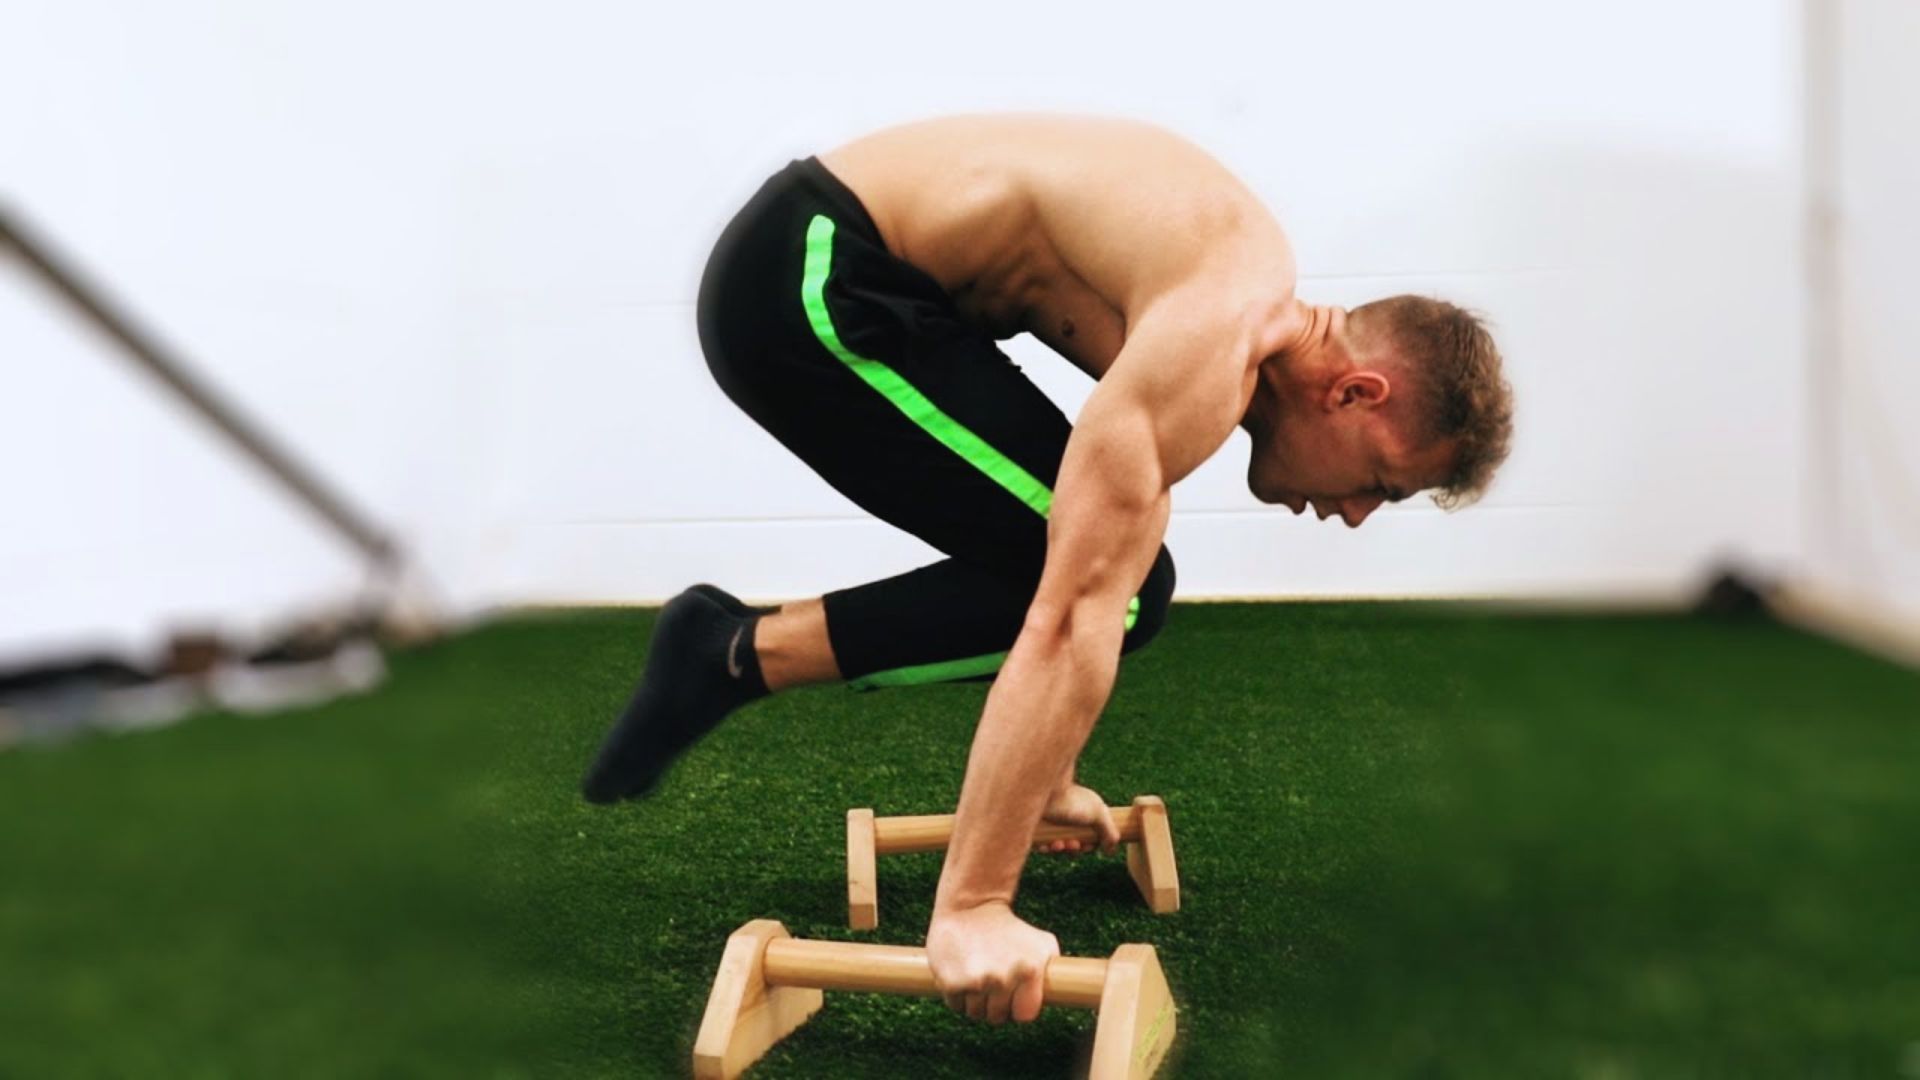
The tuck planche hold is a horizontal bodyweight position where you balance on your hands with knees pulled tight to your chest.
Your arms stay completely straight while your body hovers parallel to the ground. This move requires serious shoulder strength and core control.
Starting with the tuck planche builds the foundation for advanced planche variations. The tucked position reduces the load compared to straddle or full planche positions.
It teaches you proper scapular positioning and shoulder mechanics. Mastering this hold prevents injury and prepares your body for harder progressions.
Muscles Used in the Tuck Planche Hold
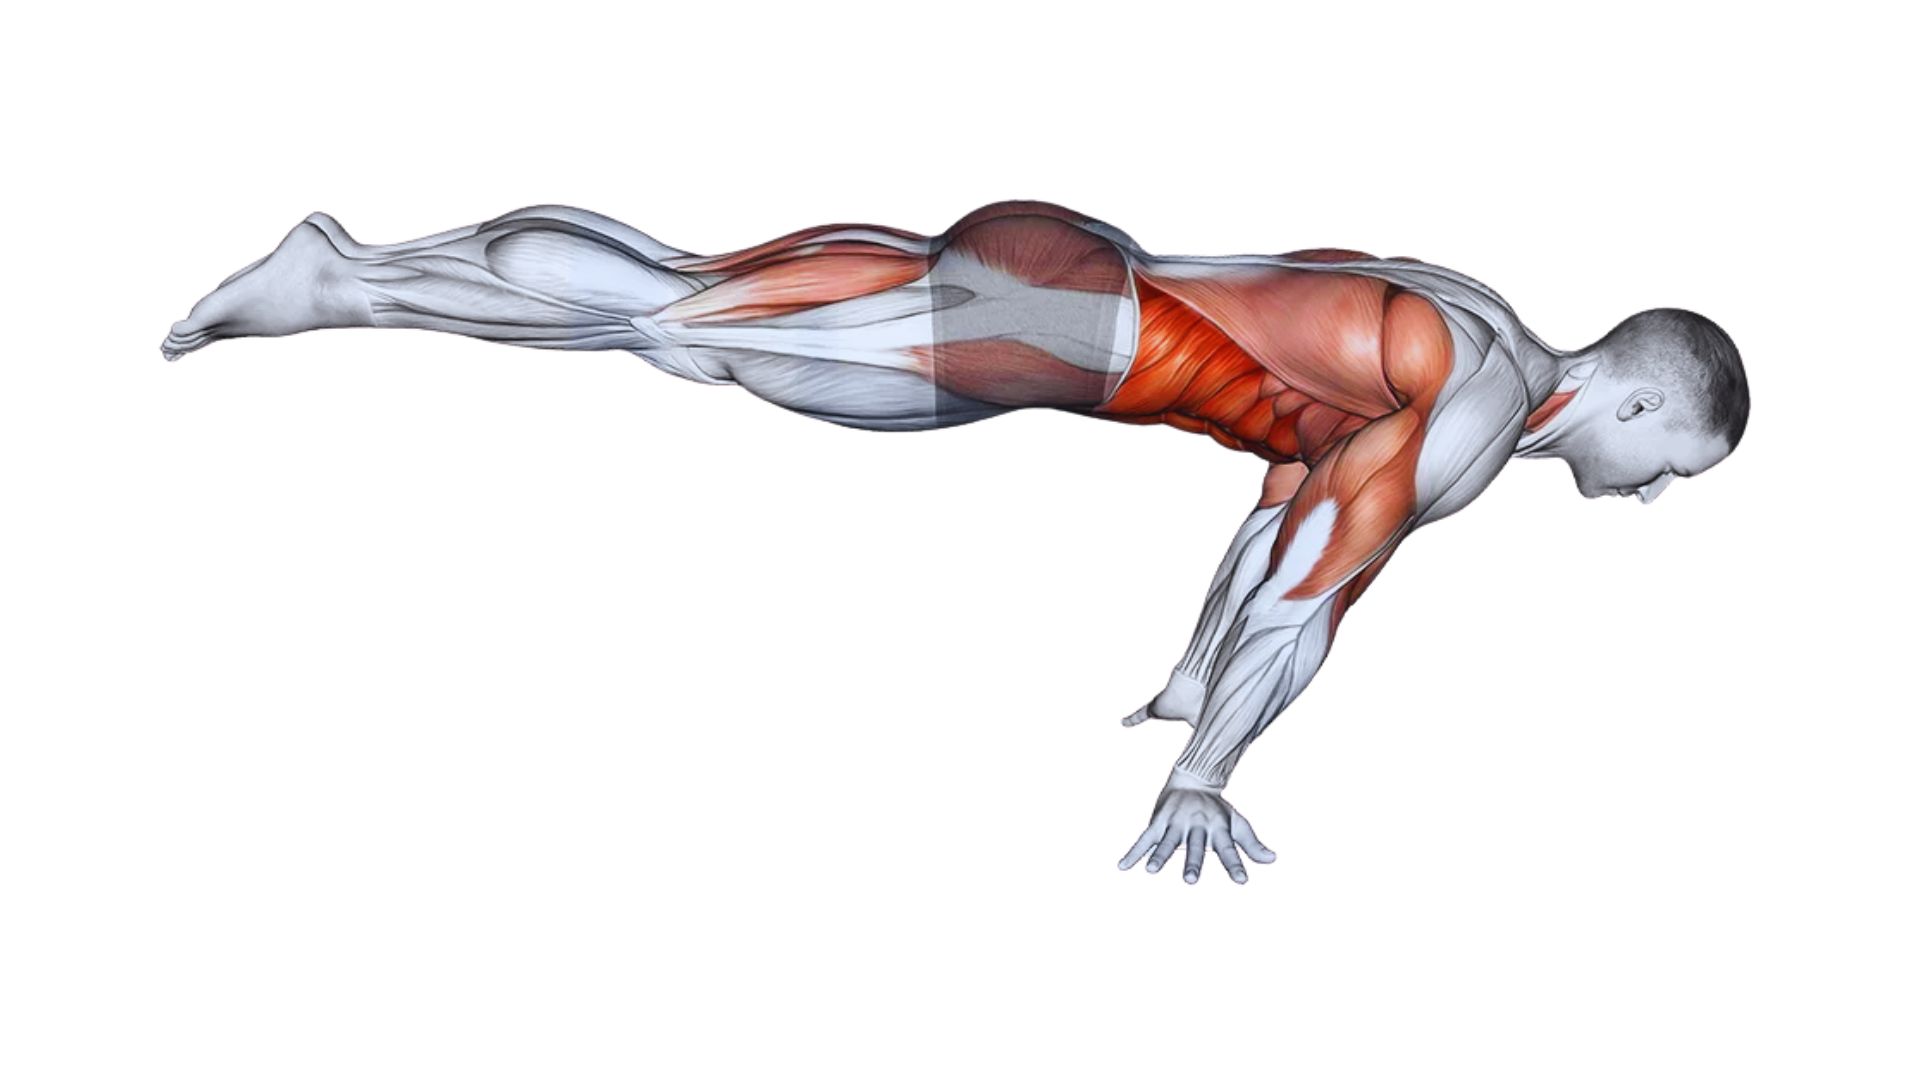
The tuck planche activates multiple muscle groups working together to maintain the horizontal position and body control.
Shoulders and Straight-Arm Strength
Your anterior deltoids carry most of the load during the hold. They work constantly to keep your shoulders pushed forward and your body raised.
The rotator cuff muscles stabilize the shoulder joint under intense pressure. Building strength here takes consistent practice with straight-arm exercises.
Core and Hip Flexors
Your abs and hip flexors work hard to keep your knees tucked and your lower back from sagging. The rectus abdominis prevents your hips from dropping.
Hip flexors pull your knees toward your chest and maintain the compact position. Weak core strength shows up quickly in this hold.
Chest, Triceps, and Upper Back
The pectorals help push your shoulders forward and maintain the lean. Your triceps lock your elbows and keep your arms straight under load.
The serratus anterior protracts your scapula and creates a strong base. Your lats and upper back muscles stabilize your torso throughout the hold.
Step-by-Step Tuck Planche Hold Progression
Follow these five steps to build your tuck planche hold safely and effectively.
Step 1: Planche Lean
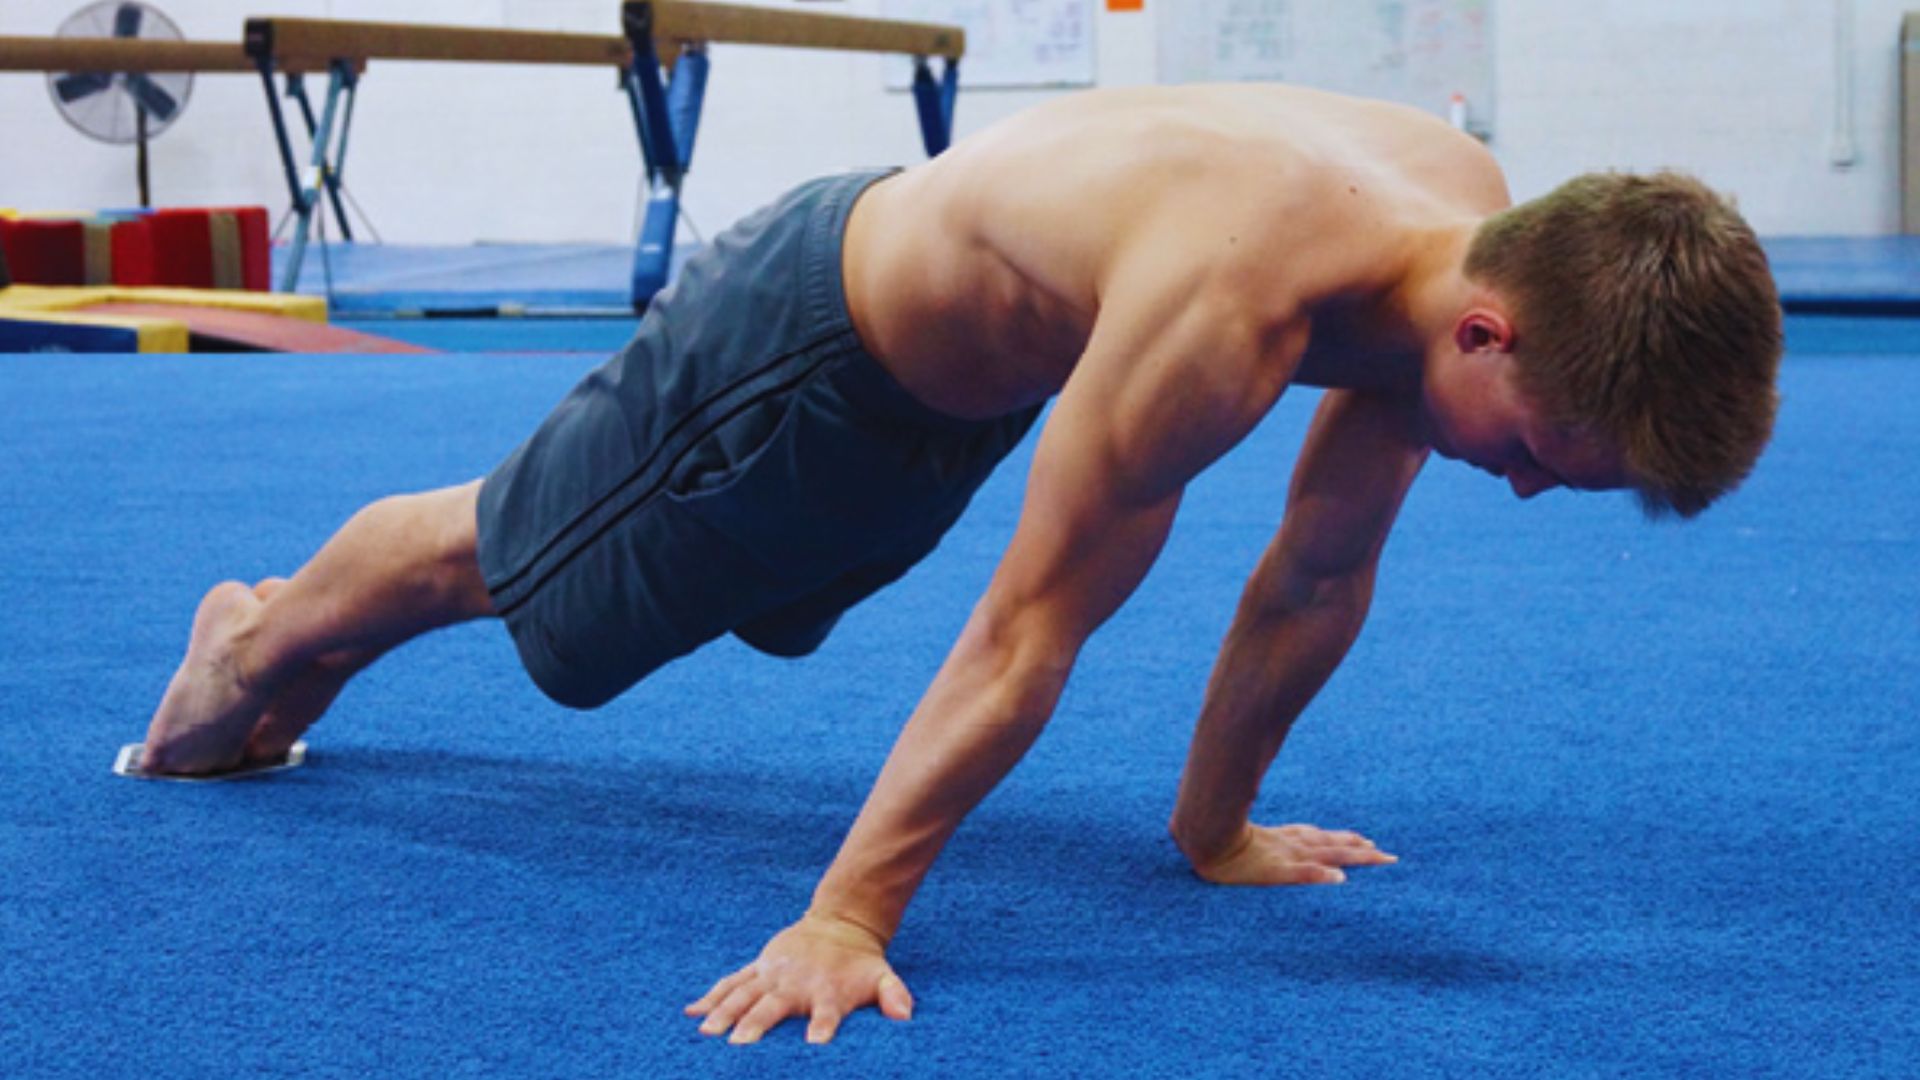
Place your hands flat on the ground, shoulder-width apart, with fingers pointing forward. Keep your arms completely straight and position your shoulders directly over your wrists.
Slowly shift your weight forward so your shoulders move past your wrists while your feet stay on the ground.
Lock your elbows and never let them bend. Round your upper back slightly and pull your belly button toward your spine.
Start with small leans and gradually increase the angle over several weeks.
Step 2: Frog Stand
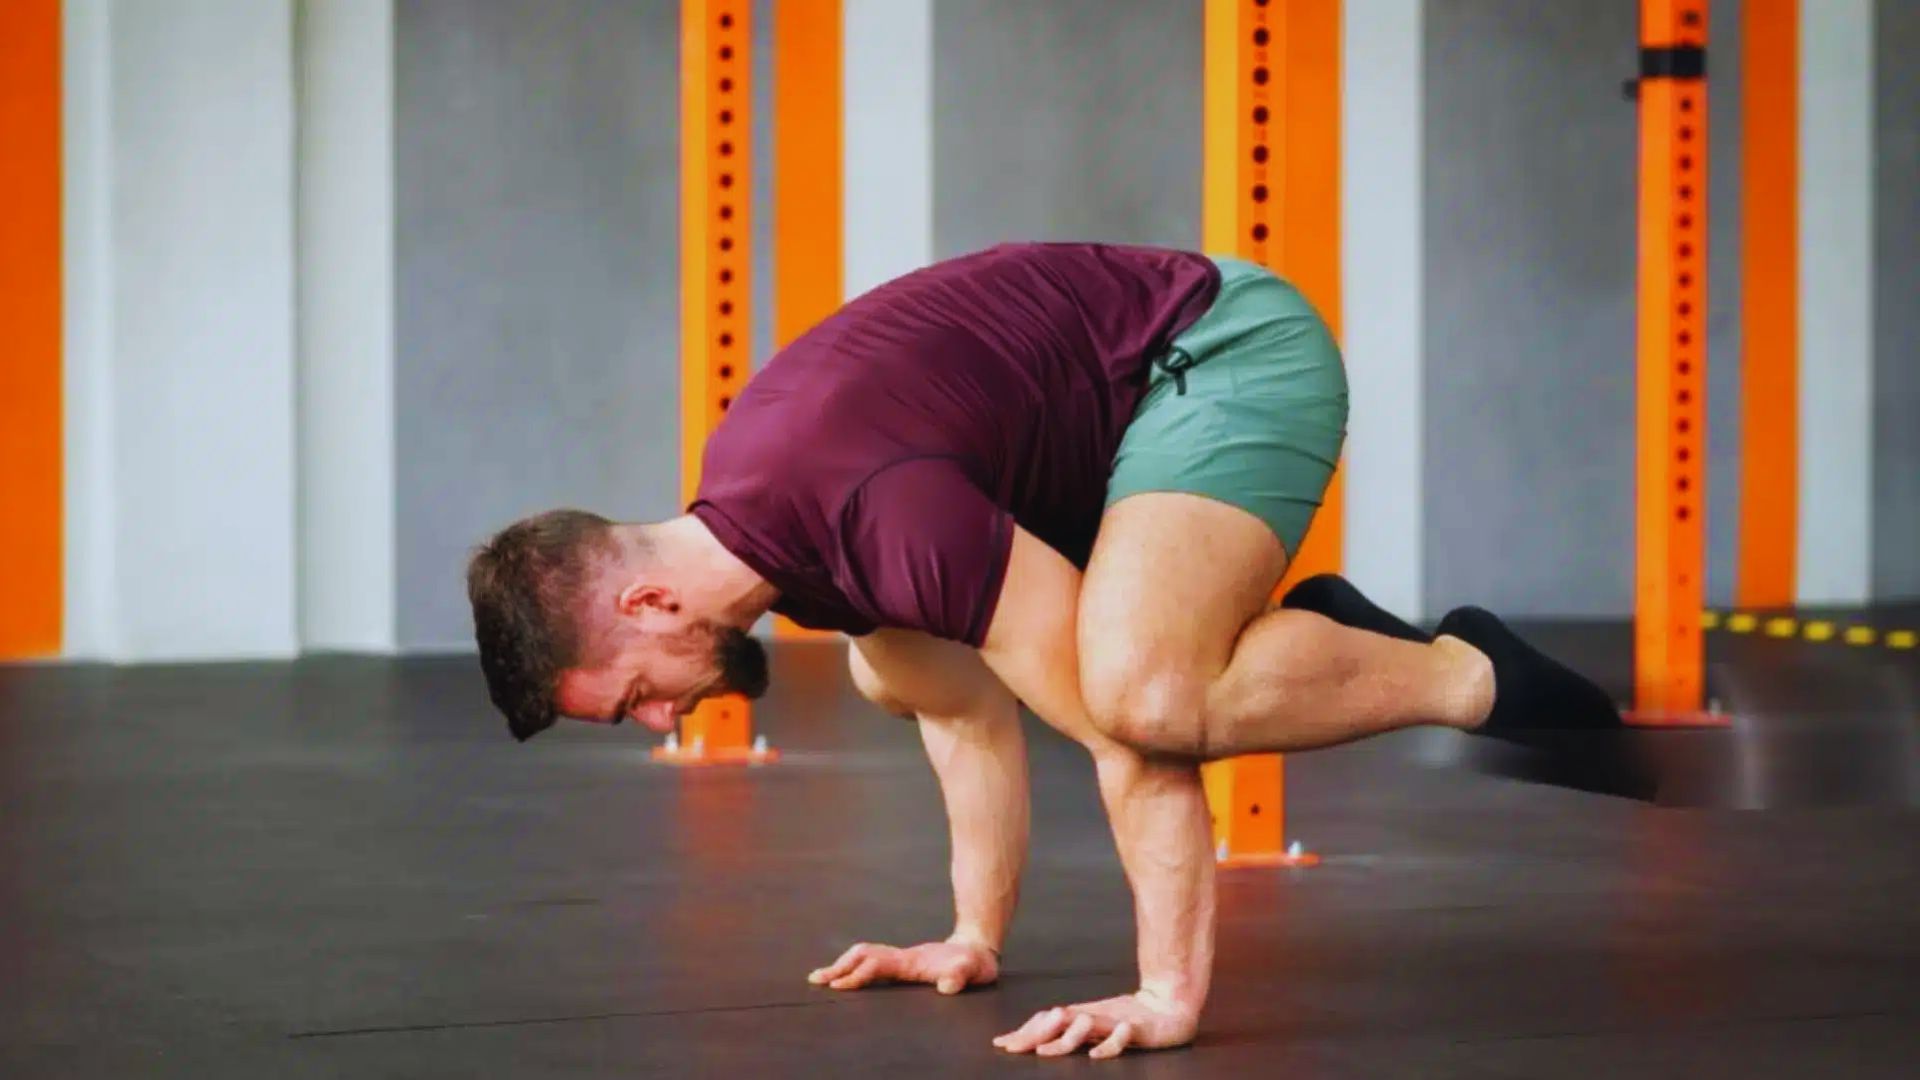
Rest your knees on your elbows or the backs of your upper arms. Keep your knees high, close to your armpits. Lean forward until your feet lift off the ground naturally.
Transfer your weight slowly from your feet to your hands. Look slightly forward, not down at the ground.
Practice the frog stand daily and work up to 30-second holds before moving forward.
Step 3: Straight Arm Frog Stand
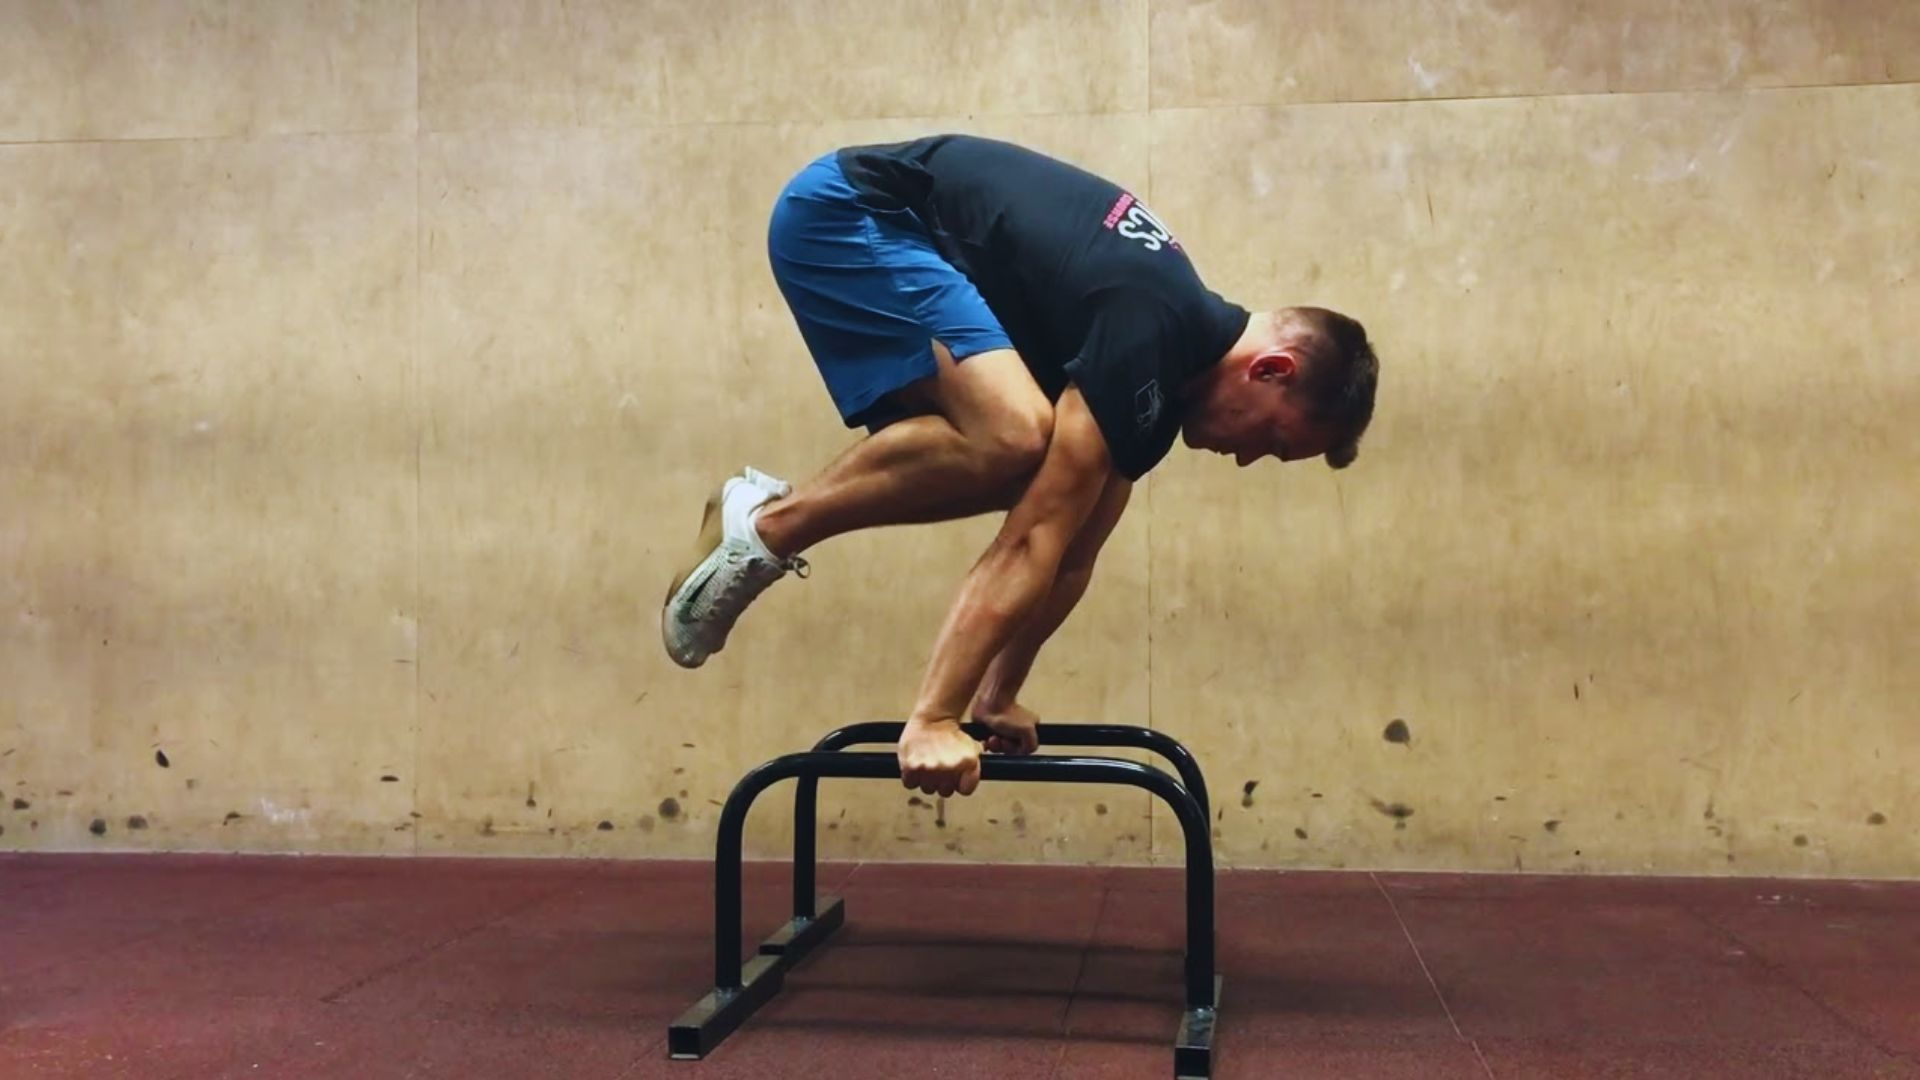
Straighten your arms completely while maintaining the frog stand position. This increases the load on your shoulders dramatically.
Push your shoulder blades apart and forward to create a rounded upper back position. Depress your shoulders down, away from your ears.
Start with 5-second holds and add 1-2 seconds per week to your maximum hold time.
Step 4: Assisted Tuck Planche Hold

Attach a resistance band to a pull-up bar and loop it under your hips or chest to reduce bodyweight load.
Parallettes raise your hands off the ground and give more clearance. Pull your knees tight to your chest while keeping your arms locked.
Practice getting into the hold smoothly from a planche lean and lower yourself back down with control.
Step 5: Tuck Planche Hold
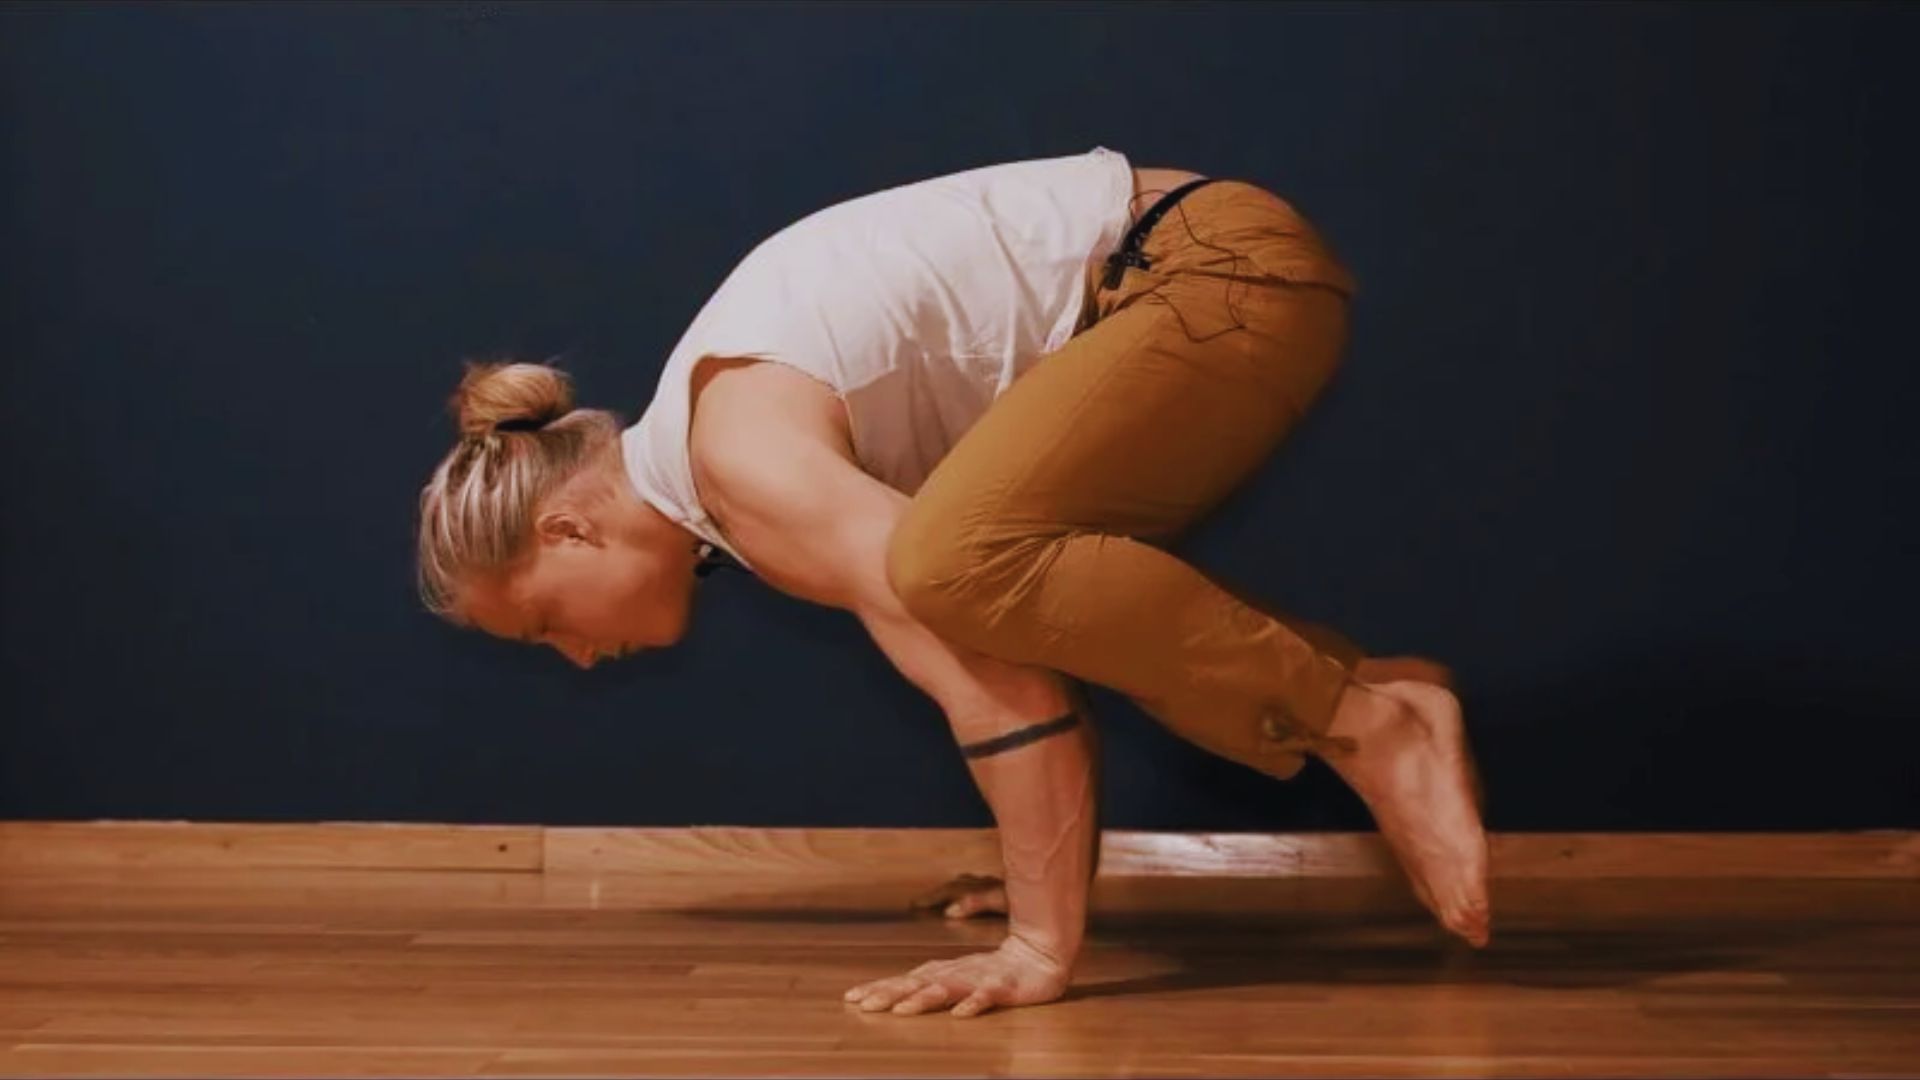
Bring your knees as close to your chest as possible with shins horizontal or slightly below. Your shoulders need to stay well in front of your wrists.
This forward lean creates the planche position. Take small, controlled breaths while holding the position.
Keep every muscle engaged and maintain consistent pressure against the ground throughout each breath.
Common Tuck Planche Hold Mistakes to Avoid
Avoid these errors to progress safely and build real strength in your tuck planche training.
- Bent arms and locked elbows. Many beginners let their elbows bend to make the hold feel easier. Lock your elbows completely from the moment you enter the hold.
- Lack of scapular protraction. Letting your shoulder blades retract together weakens your position. Push your shoulder blades apart and round your upper back to protect your shoulders.
- Letting the feet touch the ground. Touching your toes down for support turns the hold into a lean. Keep your feet raised the entire time.
- Rushing progressions too early. Moving to the next step before you’re ready causes frustration and injury. Master each progression with 20-30 second holds before advancing.
- Poor hip position. Lifting your hips too high or letting them sag changes the exercise difficulty and reduces effectiveness for building planche strength.
How Long Should You Hold a Tuck Planche?
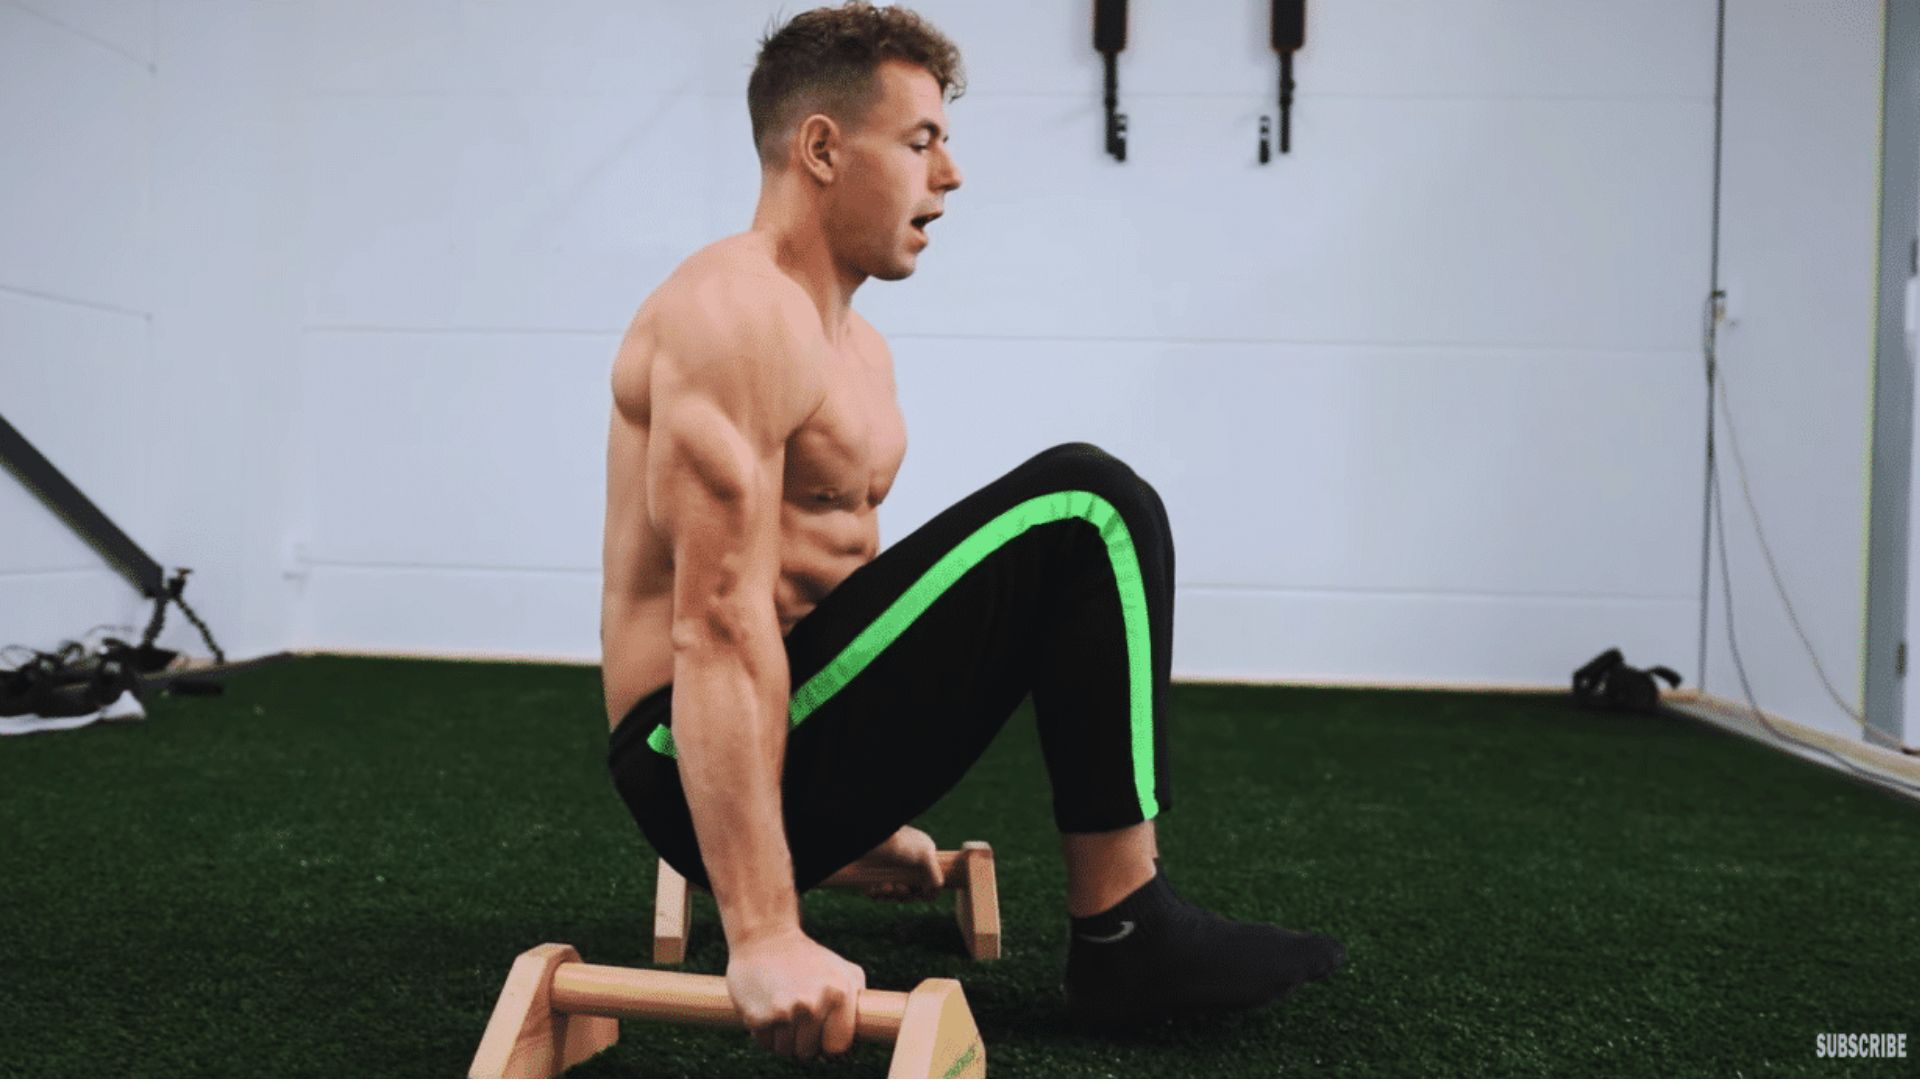
Aim for 10-15 second holds when you first achieve the tuck planche. Three to five sets of this duration builds solid strength. Quality matters more than duration at this stage. Perfect form for 10 seconds beats sloppy form for 20 seconds.
Add 2-3 seconds to your maximum hold time each week. Once you can hold for 30 seconds consistently, consider progressing to advanced tuck or straddle variations. Listen to your body and don’t force increases. Some weeks you won’t add any time, and that’s normal.
Training Tips to Improve Your Tuck Planche Hold
Smart training habits make the difference between steady progress and plateaus that last for months.
- Balance static and dynamic work. Do 60% static holds and 40% dynamic exercises like planche leans for complete development.
- Train 3-4 times per week maximum. Your shoulders and elbows need recovery time between sessions to avoid tendon inflammation.
- Alternate between parallettes and floor. Parallettes reduce wrist strain while floor training builds more practical strength and body awareness.
- Progress gradually with hold times. Add 2-3 seconds to your hold time each week rather than jumping to harder progressions too quickly.
- Focus on scapular strength. Strong shoulder blade muscles prevent sagging and maintain proper planche positioning throughout each hold.
Conclusion
The tuck planche hold rewards those who train smart and stay patient. I remember my first 5-second hold after months of work, and the feeling was incredible.
Focus on clean form over flashy hold times. Your shoulders will thank you later. Train consistently, respect the progressions, and trust the process.
Start with planche leans this week and see where your dedication takes you. Drop a comment below and share which progression you’re working on right now. Let’s build strength together.
Frequently asked questions
Can beginners learn the tuck planche hold?
Yes, complete beginners can learn this skill with proper progressions. Start with planche leans and frog stands, and expect 3-6 months of consistent training.
How often should I train the tuck planche hold?
Train 3-4 times per week with rest days in between. Your connective tissues need recovery time to adapt and strengthen.
Is wrist pain normal during planche training?
Mild discomfort is common as your wrists adapt to the load. Sharp pain means you need to back off and use wrist preparation exercises.
What should I master before moving past the tuck planche?
Hold a clean tuck planche for 30 seconds before progressing. Build comfort with planche push-ups and lean variations first.
How do I know if my form is correct?
Record yourself from the side to check your body alignment. Your shoulders should be well past your wrists with straight arms and knees tight to your chest.