
Want to build stronger hamstrings at home? Nordic curls without equipment are one of the best bodyweight exercises you can do. This guide will show you exactly how to perform them safely using only what you have at home. No gym needed.
I’ve been doing these for years, and they changed how my legs feel during running and lifting. You’ll learn the proper form, common mistakes to avoid, and how to progress at your own pace. We’ll cover everything from finding a safe anchor to preventing injury.
This article includes step-by-step instructions, beginner tips, and progressions that actually work. Let’s get started.
What Are Nordic Curls and Why Are They So Effective?

Nordic curls are a bodyweight exercise that targets your hamstrings. You kneel on the ground, anchor your feet, and lower your body forward in a controlled way.
The movement is simple. Start in a tall kneeling position with your feet locked in place. Slowly lean forward, keeping your body straight from knees to head. Your hamstrings control the lowering phase. When you can’t hold yourself anymore, catch yourself with your hands.
Your hamstrings get stronger at longer muscle lengths. This protects you during sprinting and sudden movements. Strong hamstrings also support your knee joint and reduce stress on your ACL.
Athletes who do Nordic curls regularly run faster and change direction more safely. Best of all, you don’t need a gym or fancy equipment. Just a stable anchor point like a couch, bed, or workout partner.
Muscles Worked During Nordic Curls
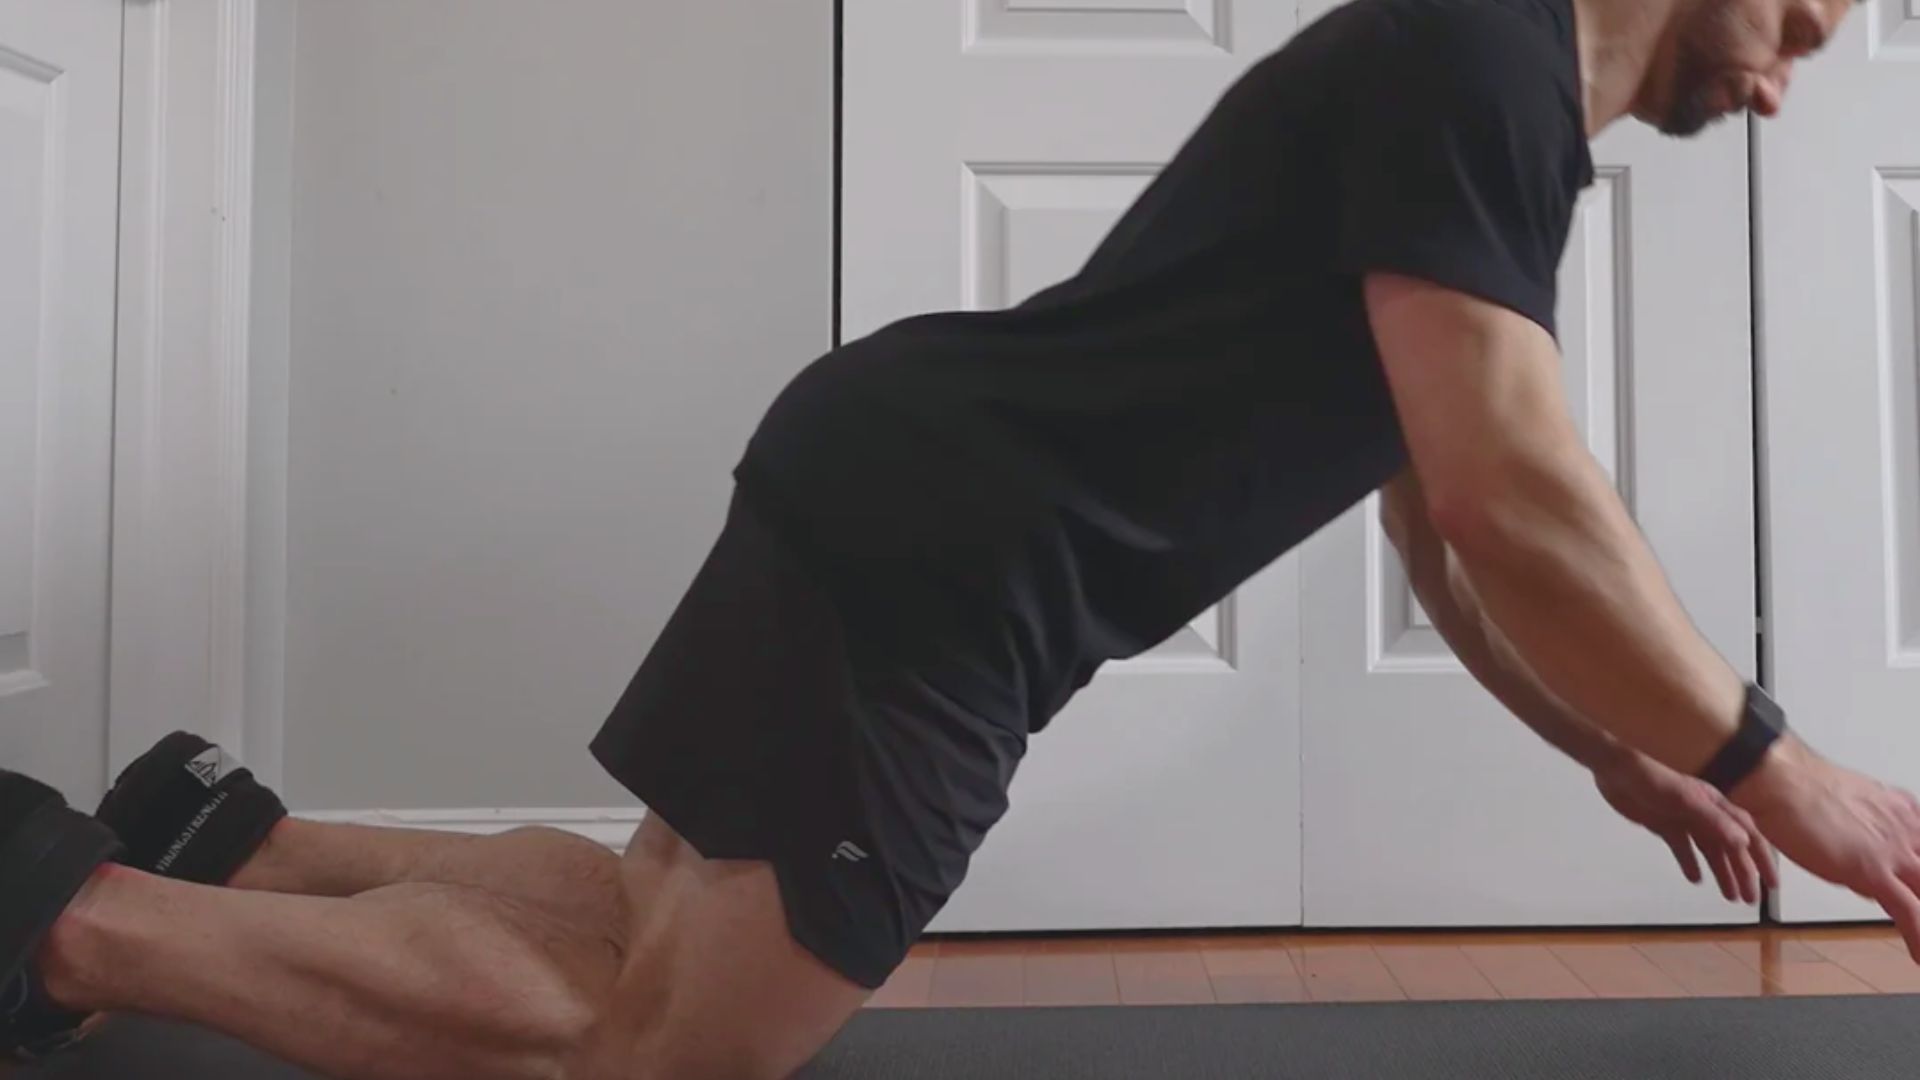
Nordic curls target your hamstrings primarily, but your entire posterior chain activates to control the movement. Understanding which muscles work helps you focus on proper form.
Primary Muscles Targeted
Your hamstrings are the main workers. They include three muscles. The biceps femoris, semitendinosus, and semimembranosus. All three work together during the eccentric phase.
As you lower yourself, your hamstrings lengthen while staying under tension. This builds strength in a stretched position, which is rare in most workouts and highly effective for injury prevention.
Supporting Muscles Involved
Your glutes keep your hips extended throughout the movement. Your core muscles stabilize your spine and prevent your lower back from arching. Your calves press into the anchor point to create a stable base.
Creating full-body tension makes Nordic curls more effective. When you squeeze your glutes and brace your core, your hamstrings work harder. Think of your body as one solid plank from shoulders to knees. This maximizes hamstring activation and protects your spine.
How to Do Nordic Curls Without Equipment?
Nordic curls require careful setup and technique. Follow these steps to perform them safely and effectively at home.
Step 1: Finding a Safe Anchor at Home
Couch, bed frame, heavy furniture, or partner
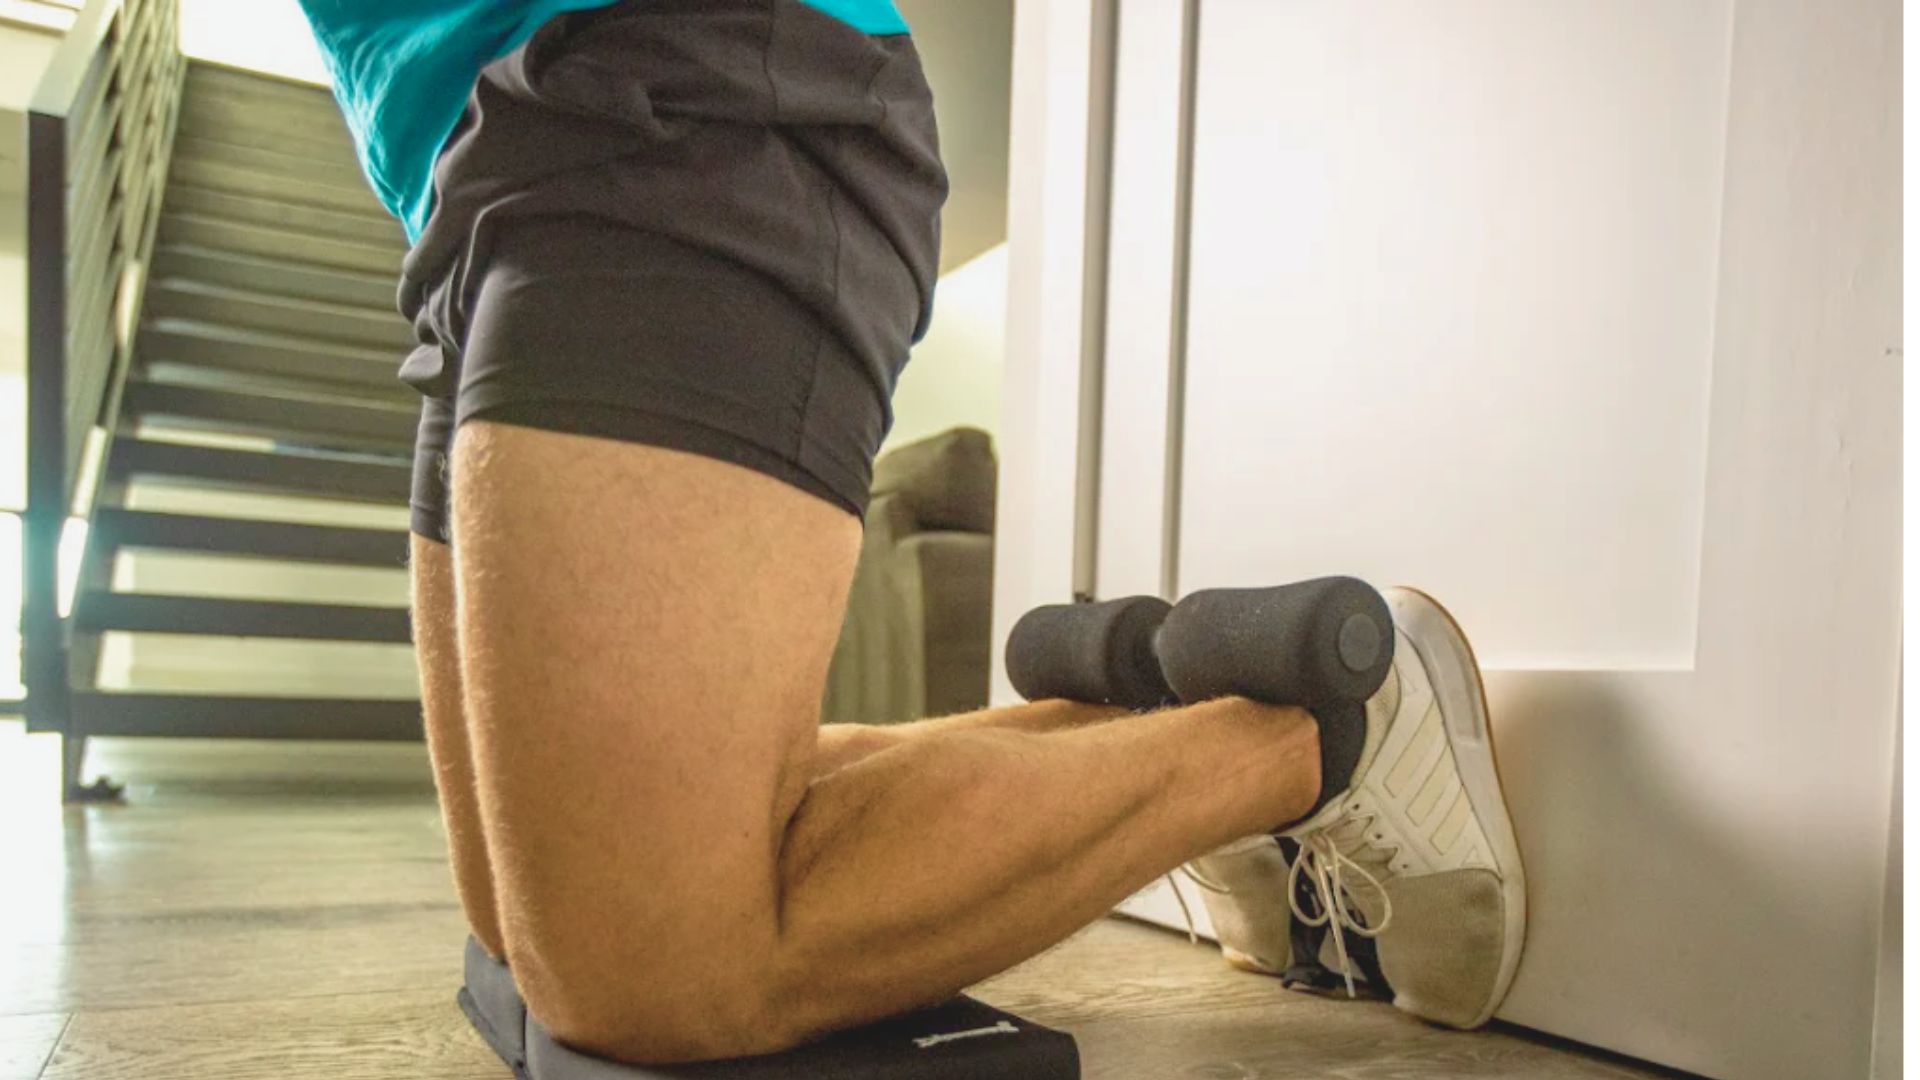
You need something stable to hold your feet in place. A heavy couch works well. Slide your feet under it so the back cushion pins your ankles down.
A bed frame with space underneath also works. Make sure it won’t slide when you pull against it.
Heavy furniture, like a loaded bookshelf, can work too. Test it first. If you have a workout partner, they can kneel on a pad and hold your ankles firmly.
Importance of testing stability before starting
Always test your anchor before doing a full rep. Apply gradual pressure with your feet. If anything shifts or feels unstable, find a different anchor.
An unstable anchor can cause you to fall forward suddenly. This puts your face and wrists at risk.
Spend 30 seconds testing. It’s worth the safety check.
Step 2: Proper Starting Position
Kneeling posture and body alignment
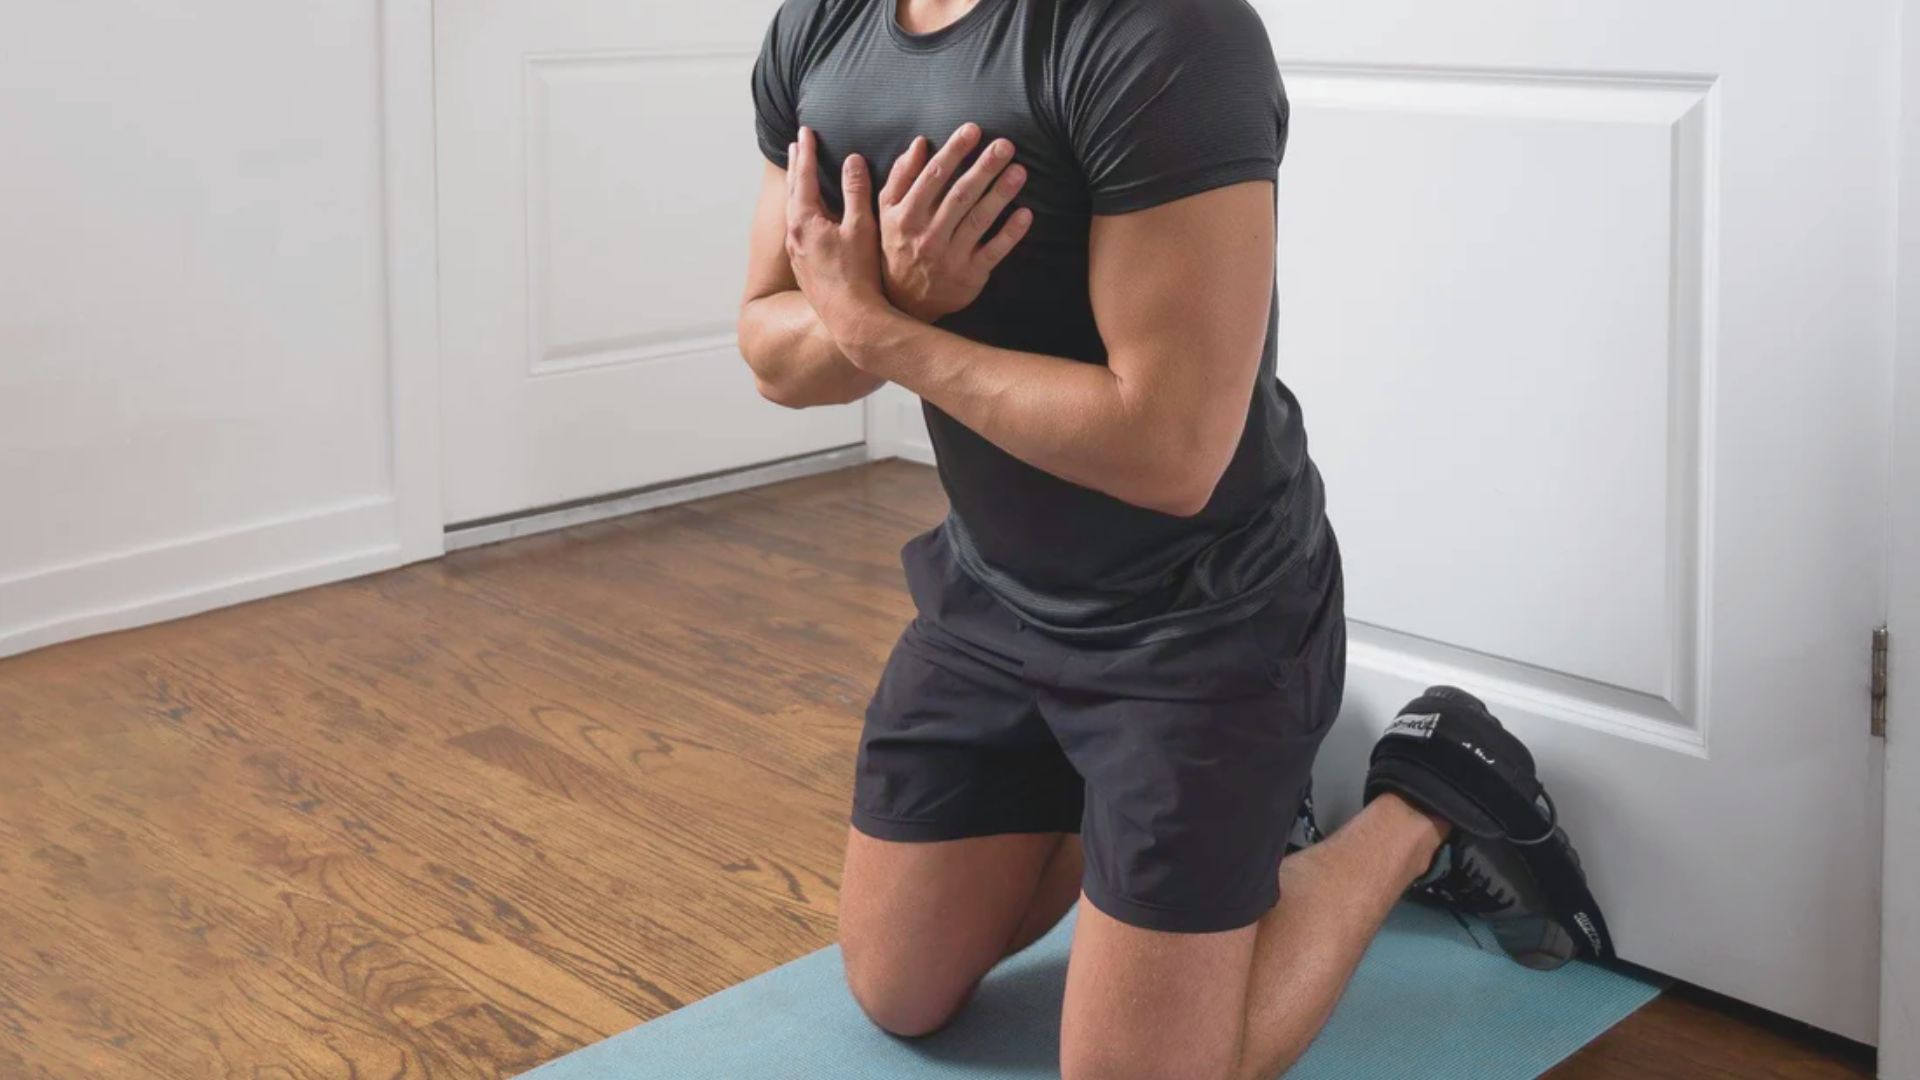
Kneel on a soft surface like a yoga mat or folded towel. Your knees should be hip-width apart. Position your feet under your chosen anchor.
Your body forms a straight line from your knees to your head. Don’t bend at the hips. Keep your chest up and shoulders back.
Look straight ahead, not down. This helps maintain a neutral spine.
Core and glute engagement cues
Before you start lowering, squeeze your glutes hard. This keeps your hips extended. If your hips bend, the exercise becomes much easier but less effective.
Keep this tension throughout the entire movement. Don’t relax until the rep is finished.
Step 3: Controlled Descent Technique
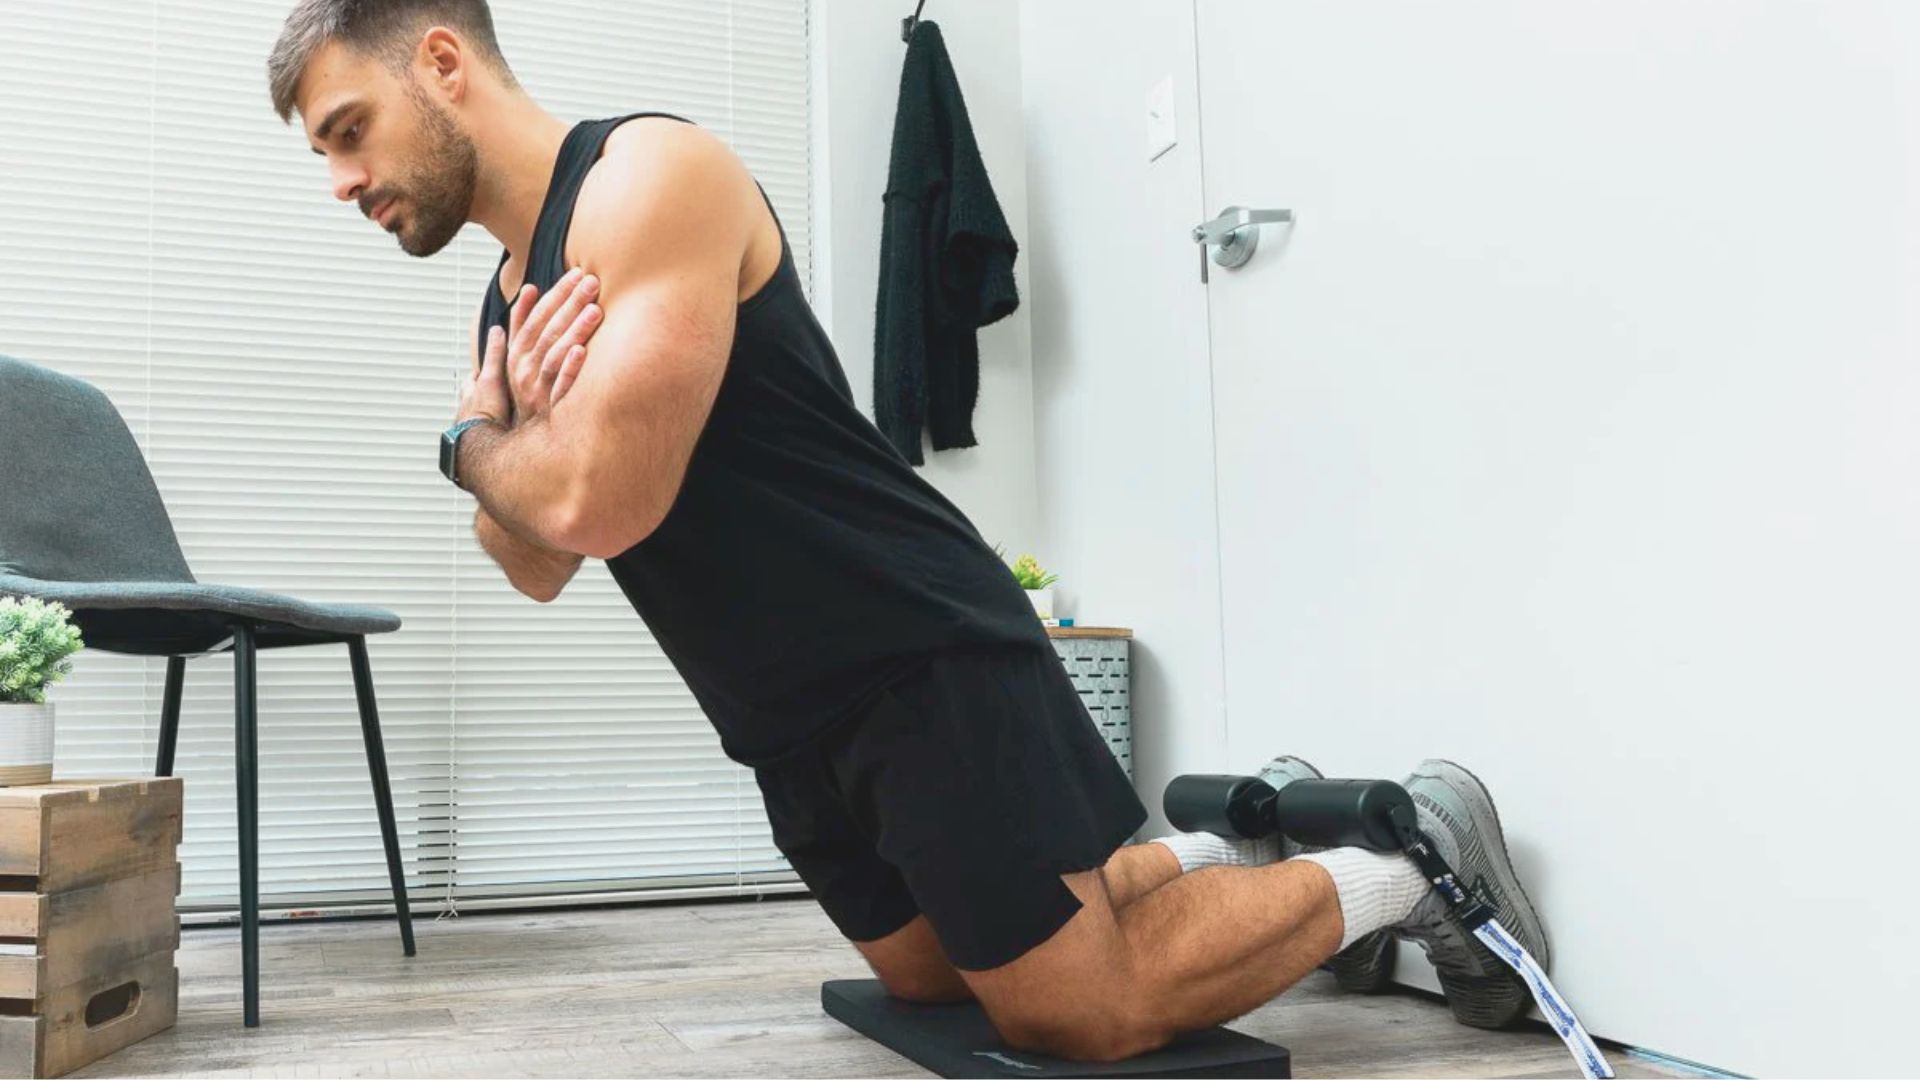
How to lower slowly using hamstrings
Begin leaning forward slowly. Your hamstrings control the speed. Keep your body straight as a board.
Think about resisting gravity rather than lowering quickly. The slower you go, the harder your hamstrings work.
Importance of eccentric control
The lowering phase is where the magic happens. This eccentric contraction builds the most strength and provides injury protection.
Dropping quickly wastes the exercise’s benefits. It also risks straining your hamstrings or falling on your face.
Aim for a 3-5 second descent at minimum. Even slower is better if you can control it.
Step 4: Catching Yourself Safely
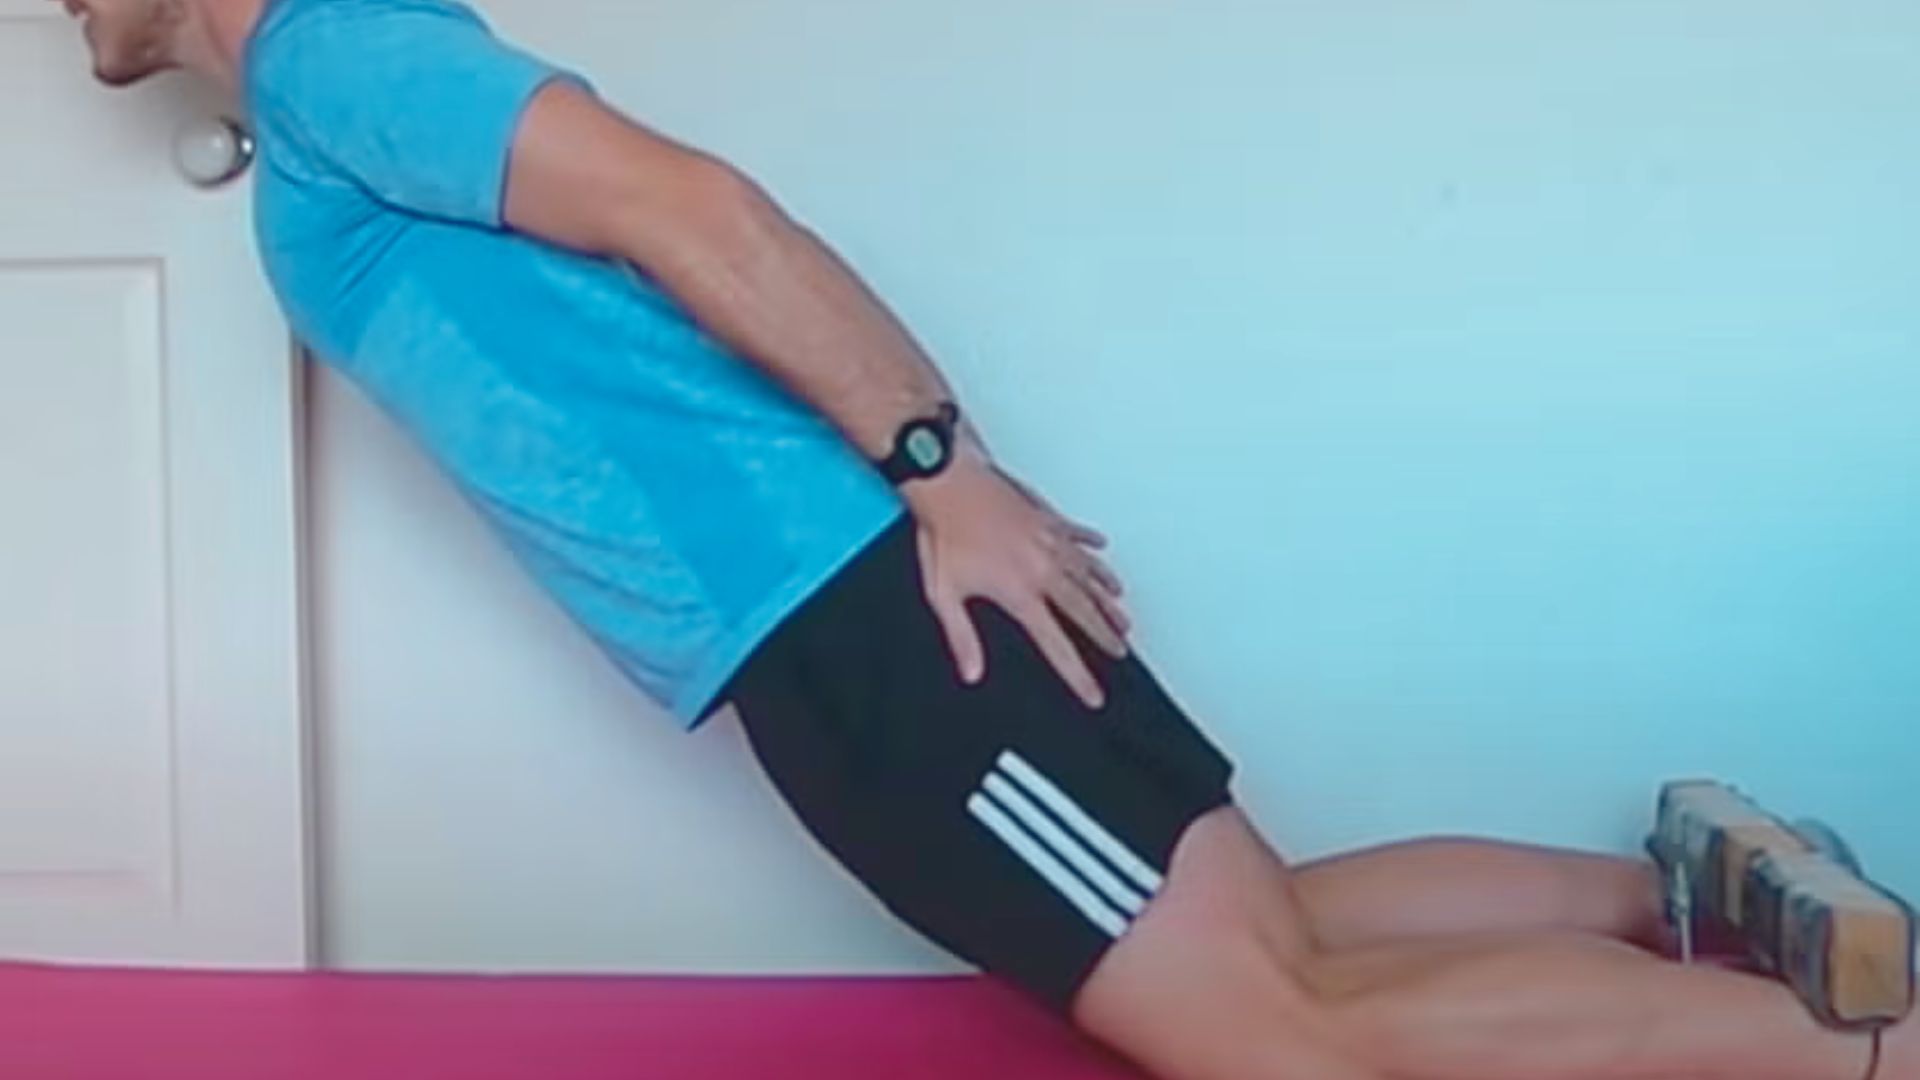
Using hands to prevent falling
When your hamstrings can’t hold you anymore, catch yourself with your hands. Place them in front of you like you’re doing a push-up.
This isn’t cheating. It’s a necessary safety measure, especially for beginners. Even advanced athletes use their hands when fatigued.
Lower yourself until your hands touch the ground. Don’t try to hold the bottom position.
This can strain your hamstrings or cause you to hit the ground hard. Using your hands keeps you safe while you build strength.
As you get stronger, you’ll fall further before catching yourself. Progress takes weeks or months.
Step 5: Returning to the Start Position
Using arms vs hamstrings based on strength level
Beginners should push themselves back up with their arms. This is like doing a push-up from the ground.
Use your arms to get back to the kneeling position. Then set up for the next rep.
Advanced trainees can try pulling themselves back up using their hamstrings. This is extremely difficult. Most people need to build up to this over several months.
Don’t feel bad about using your arms. The lowering phase is what builds strength. The return is less important.
Progressions and Variations Without Equipment
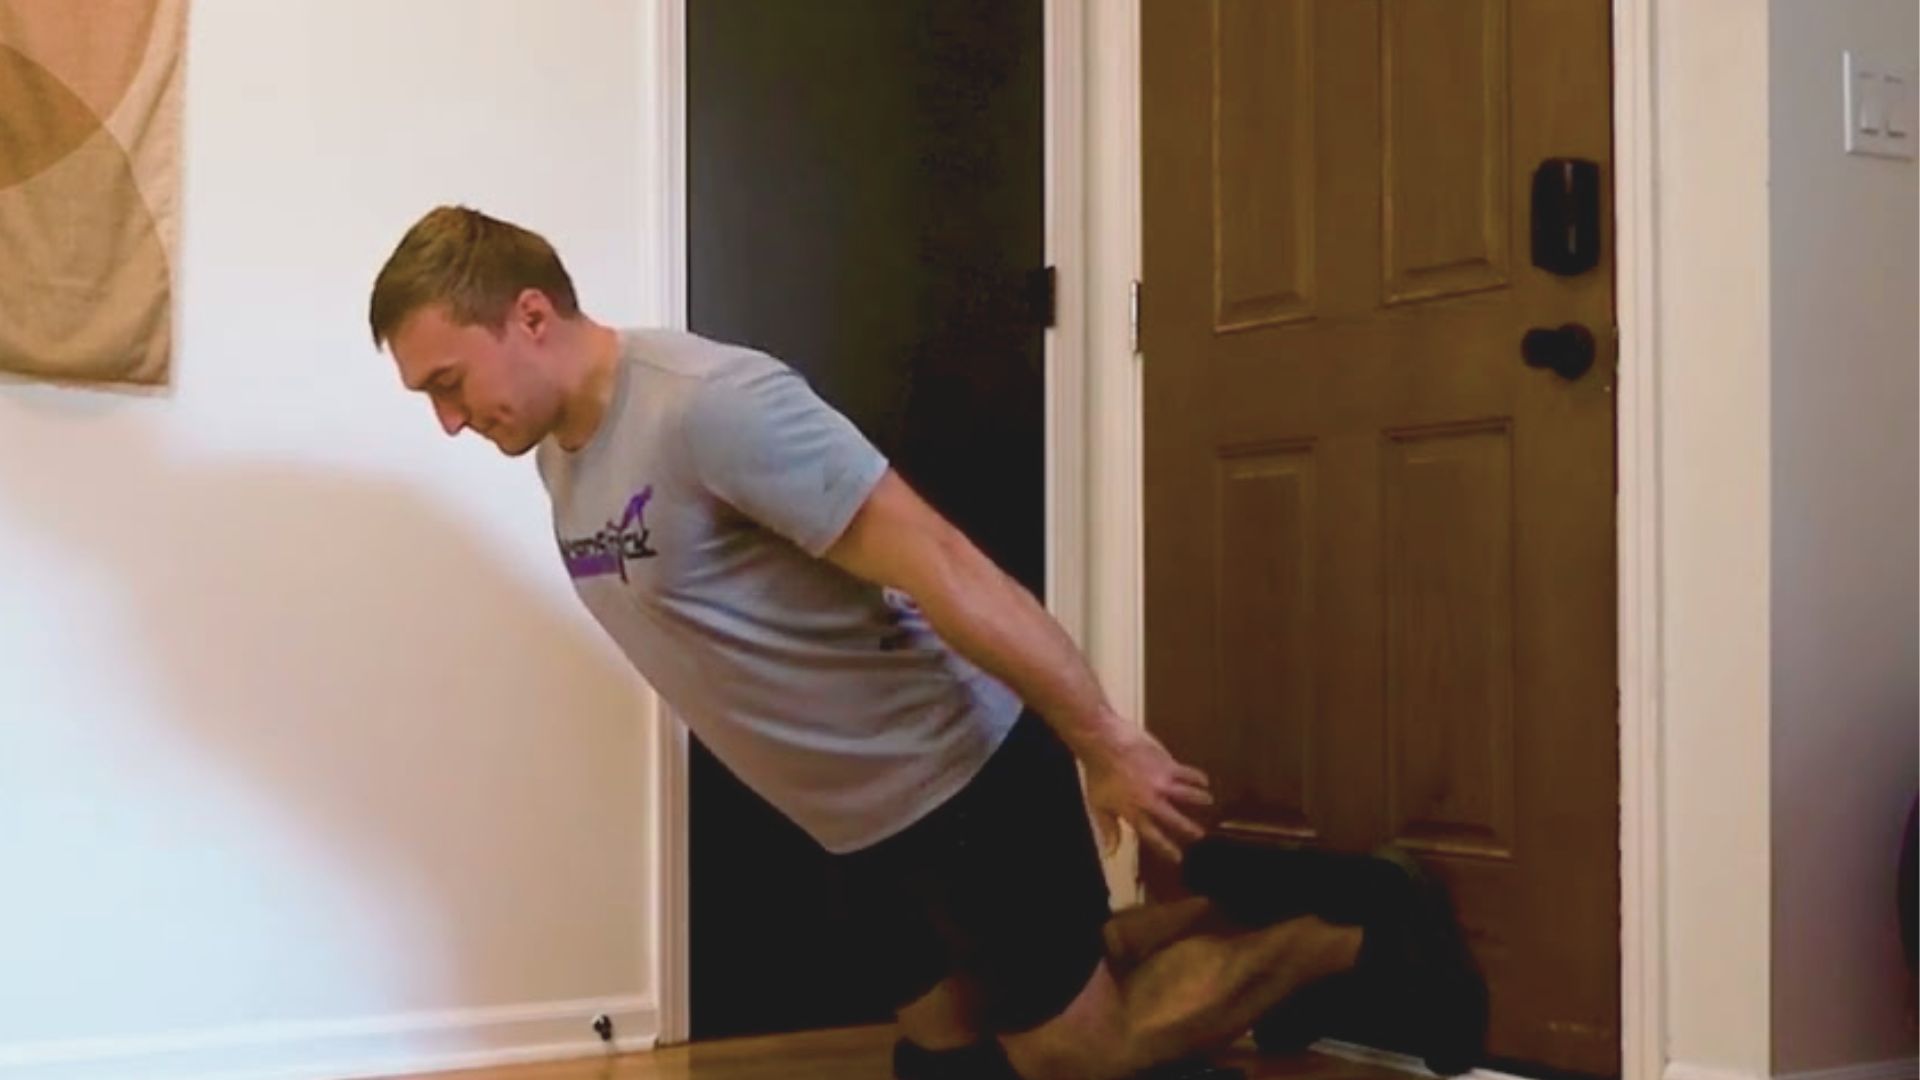
Once you’ve mastered basic Nordic curls, you can make them more challenging without buying anything. Keep progressing slowly and add difficulty only when the current level feels manageable.
Increasing Time Under Tension
Instead of adding reps, slow down your descent. Try 8-10 second negatives instead of 3-5 seconds. This increases the time your muscles spend under tension and leads to greater strength gains.
You can also add pauses during the descent. Lower for 2 seconds, pause for 3 seconds, then lower for 2 more seconds. This makes each rep much harder without changing the movement pattern.
Reducing Hand Assistance
As you get stronger, use your hands less during the catch phase. Try to extend further before catching yourself. Eventually, catch yourself with just your fingertips instead of your full palms.
The ultimate goal is to lower all the way to the ground and pull yourself back up using only your hamstrings. This takes months or years of consistent training. Another option is to catch with only one hand, which adds instability and requires more core strength.
Common Mistakes When Doing Nordic Curls Without Equipment
Even simple exercises can be done incorrectly. Watch out for these issues to stay safe and get better results.
- Bending at the hips turns the exercise into a hip hinge instead of a hamstring curl. Your body must stay straight from knees to head with constant tension in your glutes and core.
- Arching your lower back happens when your core isn’t braced. This puts stress on your spine. Keep your ribs down and pelvis tucked slightly.
- Dropping too fast wastes the eccentric phase where strength is built. It also risks hamstring strains and wrist injuries. Lower slowly or reduce your range of motion.
- Using unstable anchors can cause you to fall forward suddenly. Test your anchor point before every set. Make sure the furniture is heavy, or your partner is ready.
- Losing full-body tension reduces effectiveness. Squeeze your glutes, brace your core, and keep your body rigid like a plank from shoulders to knees.
Conclusion
Nordic curls without equipment are one of the best exercises for building hamstring strength at home. You now have everything you need to start safely and progress steadily.
I still remember my first attempt. I barely lowered three inches before falling. Now I can control the full range. You’ll get there too with consistent practice.
Start today with just a few reps. Focus on form over ego. Your hamstrings will thank you in the coming weeks. Drop a comment below and let me know how your first session goes!
Frequently Asked Questions
Can I do Nordic curls every day?
No, your hamstrings need 48-72 hours to recover. Train 2-3 times per week for best results.
What if I can’t lower myself at all?
Start with small movements. Lean forward just 1-2 inches and hold for 10 seconds to build strength.
Are Nordic curls bad for your knees?
No, they actually protect your knees when done correctly. Use padding and stop if you feel pain.
How long before I see results?
You’ll notice stronger hamstrings within 3-4 weeks. Visible muscle growth takes 8-12 weeks of consistent training.
Can I do Nordic curls if I’m overweight?
Yes, just start with shorter ranges of motion. Progress slowly and focus on control over depth.