

This article covers everything you need to know about the heel slides exercise. From how to do it correctly to how often you should do it, we have it all here.
We will show you safe, step-by-step instructions along with common mistakes to avoid and tips to get the most out of each rep.
This guide is based on widely used physical therapy methods. It is written in plain language so anyone can follow it, no matter where you are in your recovery.
If you are recovering from knee surgery, managing stiffness, or healing after childbirth, this exercise can help.
What Are Heel Slides Exercises?

Heel slides are a gentle, low-impact movement that restores knee bending after injury or surgery.
You lie flat on your back and slowly slide one heel toward your body while keeping your foot on the surface.
The goal is to bend the knee without forcing it. This controlled motion helps your muscles and tissues re-learn how to flex and extend the joint safely.
After a knee procedure, the joint stiffens fast. Heel slides help break down early scar tissue, reduce swelling, and retrain the surrounding muscles.
This exercise also helps people with arthritis, meniscus tears, postpartum recovery, or limited mobility from bed rest. If any of these sound like you, heel slides are a good place to start.
Step-by-Step Guide: How to Do Heel Slides Exercise Correctly

Follow these simple steps to perform heel slides safely and effectively.
Step 1: Starting Position and Setup
Getting your body positioned correctly sets you up for success.
Lie flat on your back on a yoga mat or carpeted floor. Keep both legs straight and arms relaxed by your sides. Your feet should be hip-width apart with toes pointing up.
If you have knee sensitivity, place a small towel under your knee for support.
Step 2: Sliding the Heel and Bending the Knee
This is where the actual movement happens.
Slowly slide one heel along the floor toward your buttocks. Keep your foot flat on the ground throughout the movement. Your knee will bend naturally as you pull your heel closer.
Stop when you feel a gentle stretch or when your knee reaches about 90 degrees. Never force the movement if you feel sharp pain.
Step 3: Holding the End Position Safely
A brief pause helps your knee adjust to the bent position.
Pause for 2-3 seconds at the bent position. Keep breathing normally and make sure your hips stay flat on the floor.
Your non-working leg should remain straight and relaxed.
Step 4: Returning to the Starting Position
The return movement is just as important as the bend.
Slowly slide your heel back to the starting position with the same controlled pace. Keep your heel on the floor the entire way.
Pause briefly before starting your next repetition.
Heel Slides Exercise Benefits
See how regular heel slides support knee function, reduce discomfort, and speed up recovery.
Knee Mobility

Heel slides target knee flexion, the bending motion your knee needs for daily activities.
Each rep gently pushes the joint further into a bend, gradually restoring its functional range. Over time, this translates to better movement when walking, sitting, and climbing stairs.
Heel slides apply a gentle, repeating load that encourages the joint and soft tissue to stretch a little more with each rep.
Unlike aggressive stretching, they use your own leg weight and gravity. This keeps the movement safe and reduces the risk of re-injury.
Pain Relief and Circulation

Movement itself is one of the best tools for managing post-surgical pain.
Heel slides stimulate synovial fluid inside the joint, which lubricates the surfaces and reduces stiffness. The light movement also boosts blood flow, supporting tissue healing and reducing swelling.
Postpartum Recovery

Heel slides are a safe, low-intensity option for women recovering after childbirth.
Pregnancy weakens the muscles supporting the knee, hips, and core. Heel slides gently reactivate the hamstrings, hip flexors, and inner thighs without stressing the pelvic floor.
Most women can start as early as the first week after delivery, but always check with your provider first.
How to Do Heel Slides Exercise
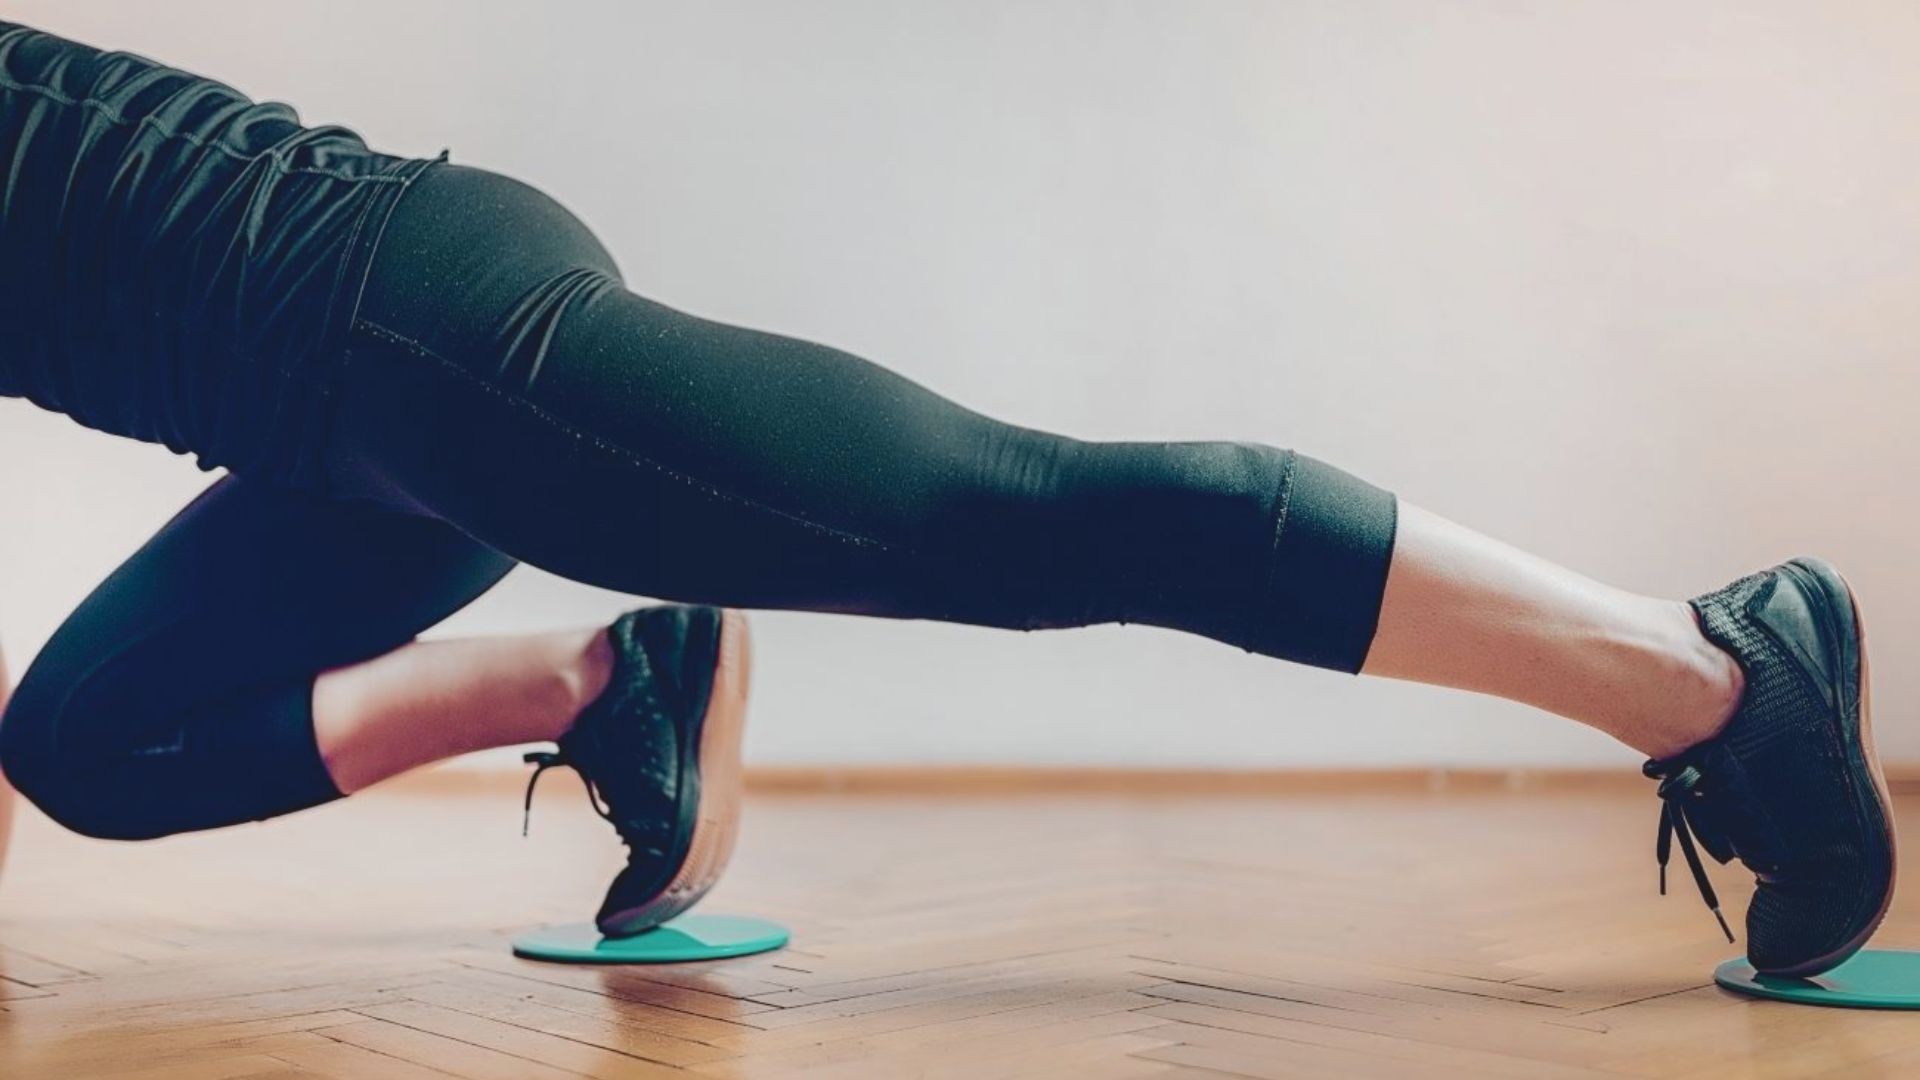
Clear guidance on performing heel slides correctly so you get the full benefit without risk.
Tip: Wear a sock or use a smooth surface to reduce friction.
Form to keep in mind: Back flat, toes pointing up, non-working leg still, and steady breathing throughout.
Before you start: Apply a warm compress for 10 minutes to loosen the joint. Never force the knee past its comfortable range. Move slowly. Stop right away if you feel sharp or shooting pain.
Mistakes to avoid: Rushing the movement reduces muscle activation and raises the risk of strain. Pushing too hard triggers pain and increases swelling.
Holding your breath creates body tension. Lifting the hip means the range is too large, scale it back. Using a rough surface makes the slide harder than it needs to be.
Visual Guide to Heel Slides Exercise

Visual references to help you check your form and perform heel slides with confidence.
Photos and diagrams make it easier to get the movement right. A good image shows the leg flat at the start, the knee bent at mid-point, and the return to start.
Check the foot position, hip height, and whether the back stays flat.
Labeled diagrams from physical therapy sources show which muscles are active during the slide and which ones stabilize the pelvis.
A GIF or short animation is the best way to understand the pacing. It shows how slow and controlled the movement should be.
Look for content from certified rehab platforms and avoid anything that looks fast or jerky.
Heel Slides Exercise Safety Tips and Precautions
Know how to stay safe during heel slides and protect your knee from unnecessary strain.
- Slide only as far as a gentle bend allows. A small range still counts as a productive rep, so do not chase a large bend too soon.
- Place a smooth surface or plastic bag under the heel to cut down on friction and make the slide easier.
- Use a small folded towel under the knee for extra padding if the surface feels too firm or uncomfortable.
- Apply ice for 10 minutes before your session to calm any existing inflammation before you begin moving.
- Never force the knee into a deeper bend. If it resists, scale back the range and build slowly over time.
Conclusion
Recovering from a knee injury takes time, and that is okay. Small progress still counts as progress, and heel slides are one of the simplest ways to keep moving in the right direction.
Done consistently and with good form, this exercise can restore your mobility, ease discomfort, and rebuild the strength your knee needs to carry you through daily life.
Start slow. Listen to your body. Be patient with yourself.
If this guide helped you, drop a comment below and share how it went. Pass it on to someone who might need it too.
Frequently Asked Questions
Are heel slides exercise good for knee pain?
Yes. They gently move the joint through its range of motion, which helps reduce stiffness, improve circulation, and calm inflammation over time.
Can I do heel slides exercise every day?
In most cases, yes. Physical therapists often prescribe them 2 to 3 times per day during early recovery. Daily practice is safe as long as there is no sharp pain or increasing swelling.
How long before heel slides exercise results show?
Most people notice improved flexibility within 1 to 2 weeks. Bigger gains like reaching a 90-degree bend after surgery can take 3 to 4 weeks.
Do heel slides help after total knee replacement?
Yes. They are typically started within 24 hours of surgery and are key to reaching the 90-degree flexion goal most surgeons set in early recovery.
What should I feel during heel slides exercise?
A mild pulling or tightening at the back of the knee or thigh is normal. Sharp pain, burning, or a sensation of the knee giving way is not. Stop and contact your care provider if any of those occur.