

I’ve spent years training my arms, and hammer curls on a machine changed everything for my forearm development.
This guide shows you exactly how to use the hammer curl machine for maximum muscle activation.
You’ll learn proper setup, step-by-step technique, and common mistakes that waste your effort.
I’m breaking down the exact targeting methods that helped me build bigger biceps and stronger forearms.
Inside, you’ll find beginner to advanced workouts you can start today. No guesswork. Just results.
Let’s get your arms growing.
Why Hammer Curl Machines Work Better for Arm Development
The machine version gives you consistent resistance throughout the entire movement. You can’t cheat by swinging your body or using momentum.
Your form stays locked in. The machine guides the movement path for you. This means every rep hits the right muscles.
Free weights require balance and stabilization. Machines remove that variable. You get pure muscle contraction with less risk of injury.
For building serious forearm and bicep thickness, the controlled environment of a machine is hard to beat. You can also safely push to failure without worrying about dropping weights.
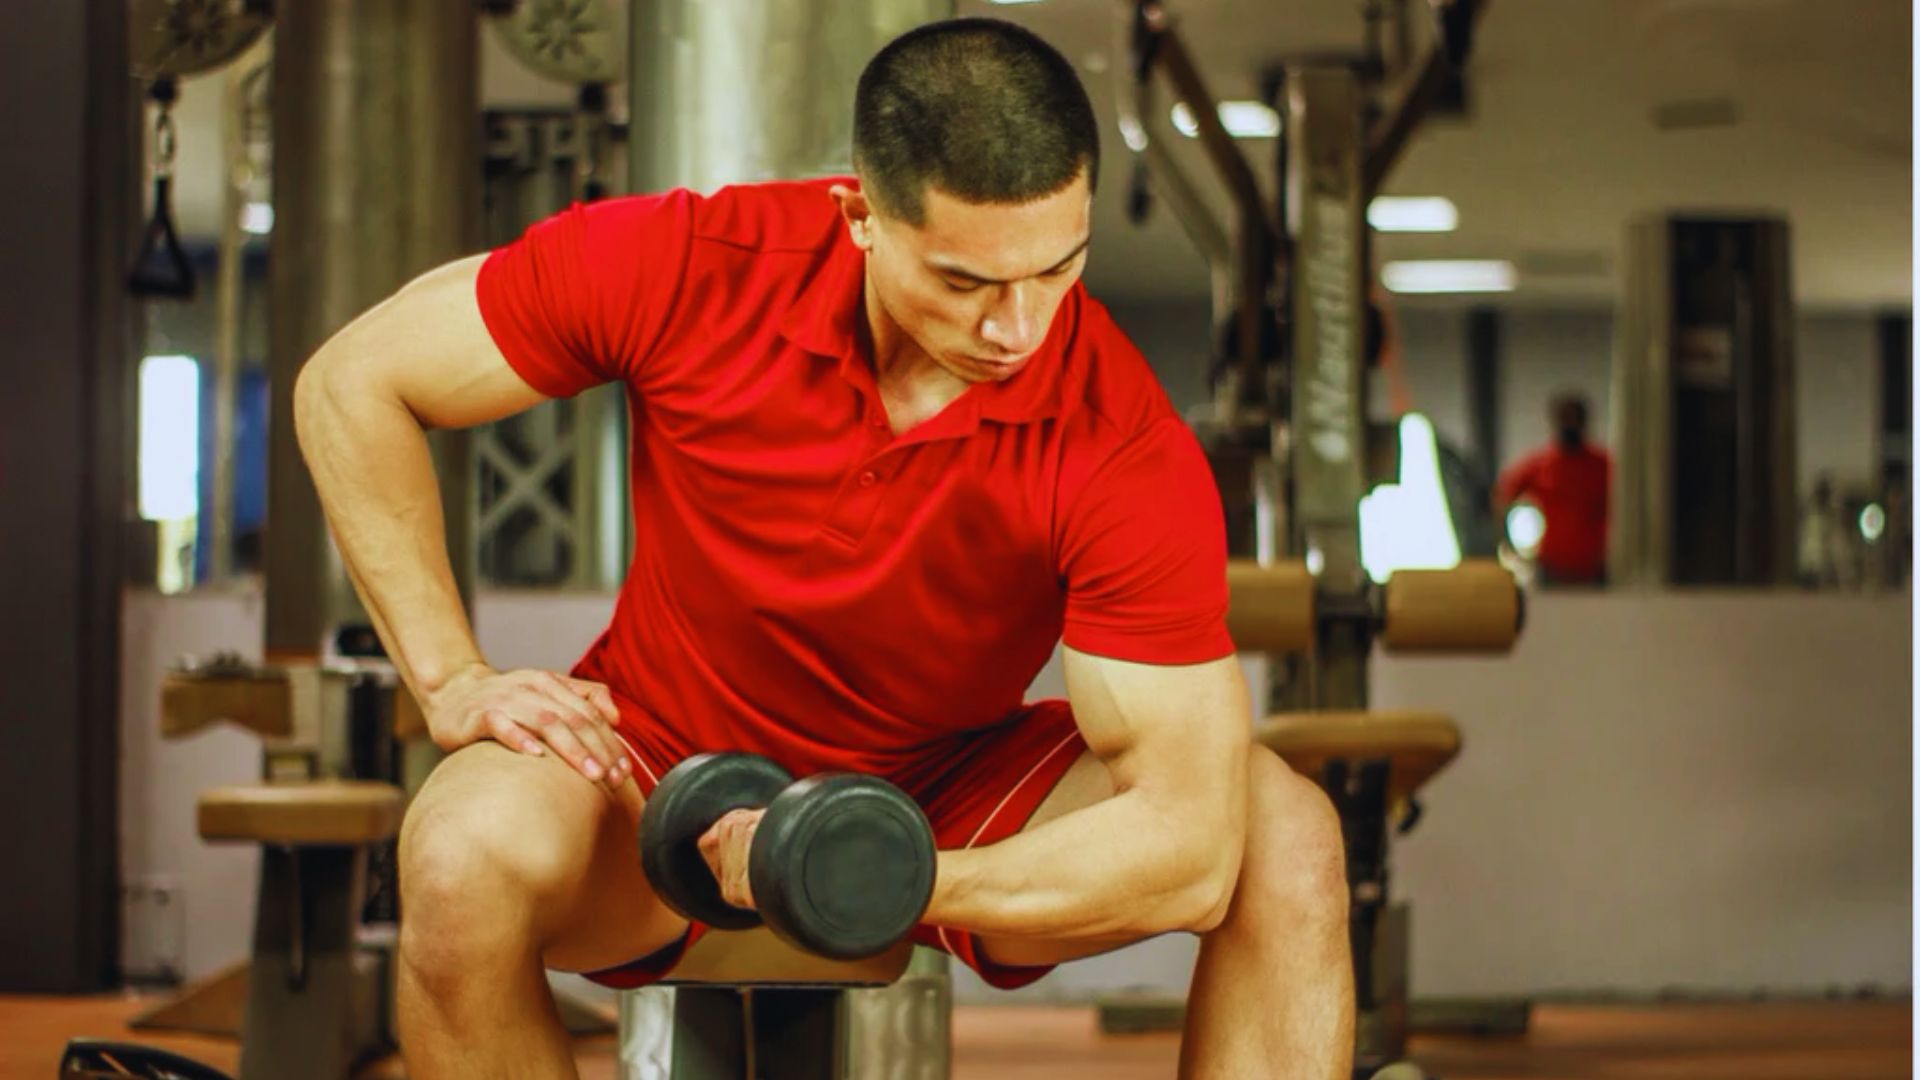
What Are Hammer Curls and Which Muscles Do They Work?
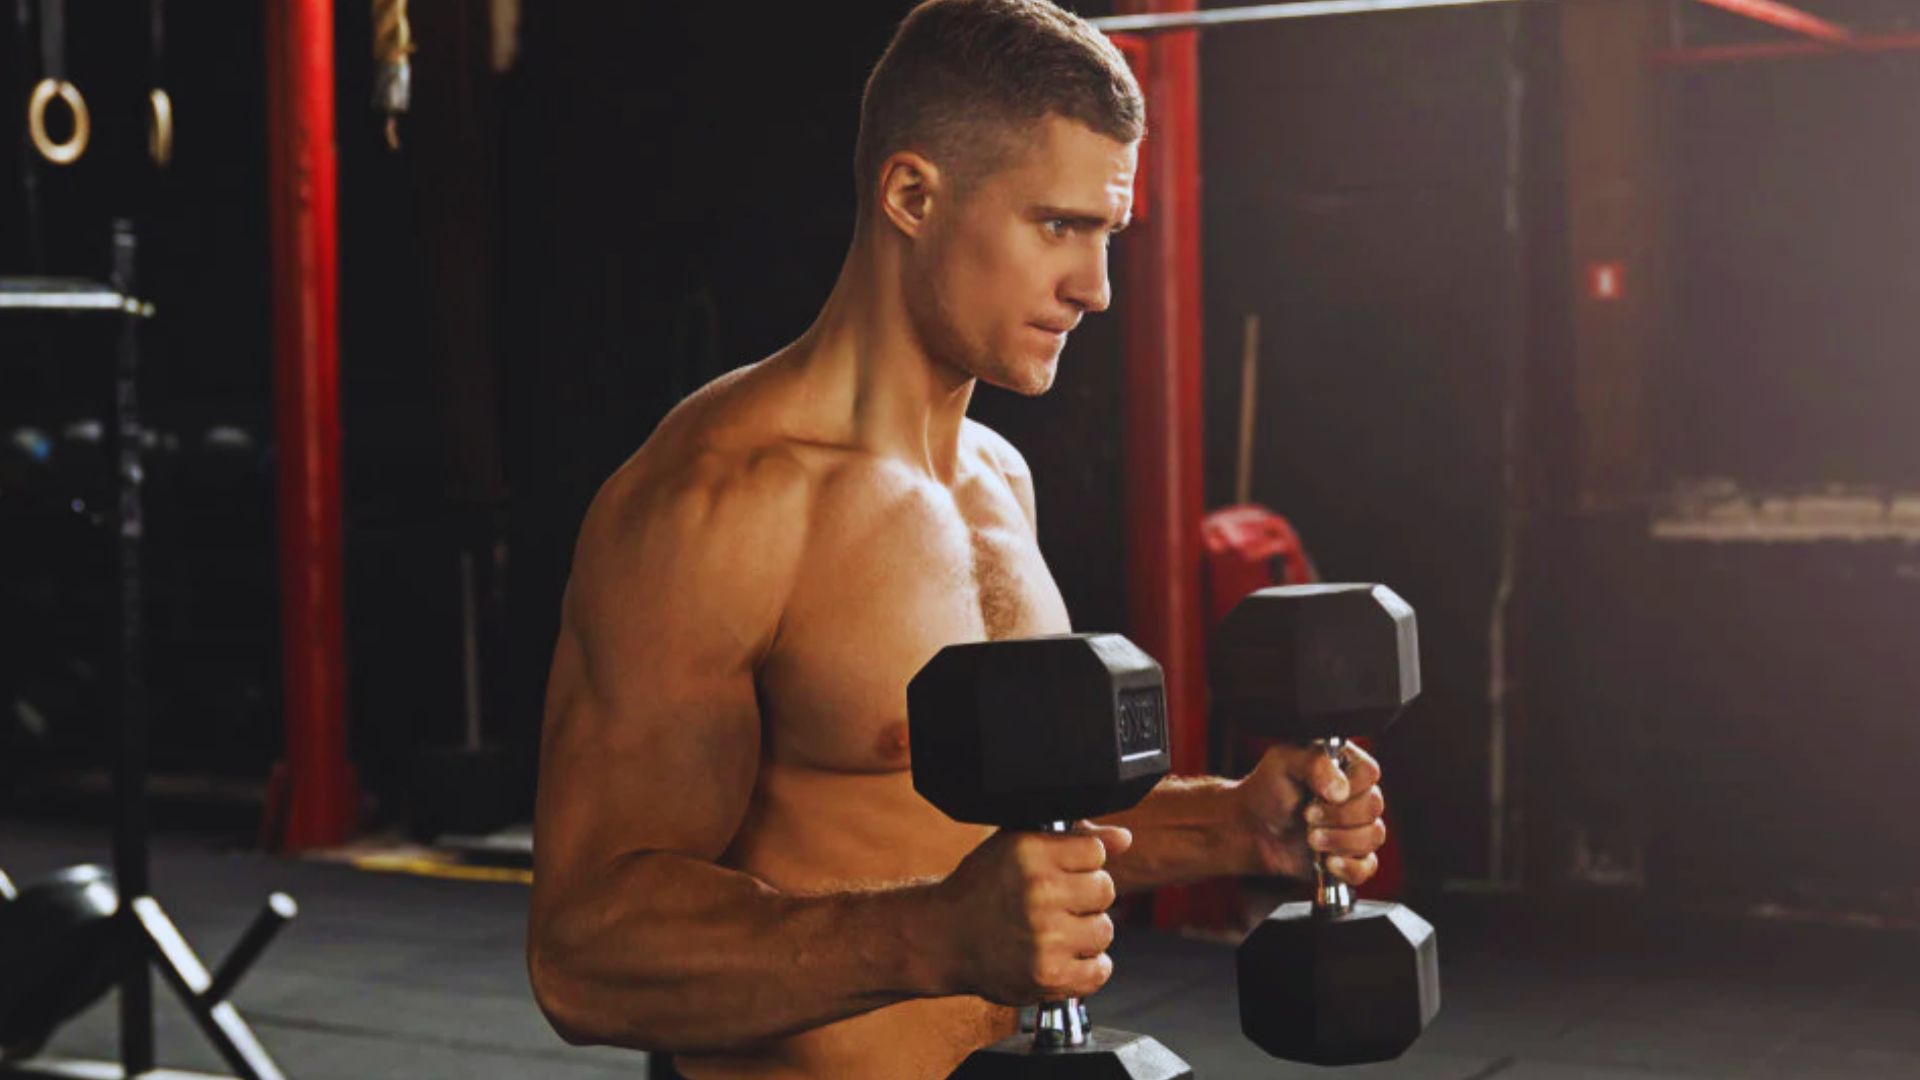
Hammer curls use a neutral grip, palms facing each other. This position hits your arms differently than regular curls.
The main muscles working are the brachialis, brachioradialis, and biceps brachii. The brachialis sits under your biceps and adds thickness to your upper arm.
The brachioradialis is the large forearm muscle that creates that defined forearm look. Your biceps brachii gets worked too, just differently than with supinated curls.
Your forearms get intense activation with hammer curls. More than they do with standard bicep curls.
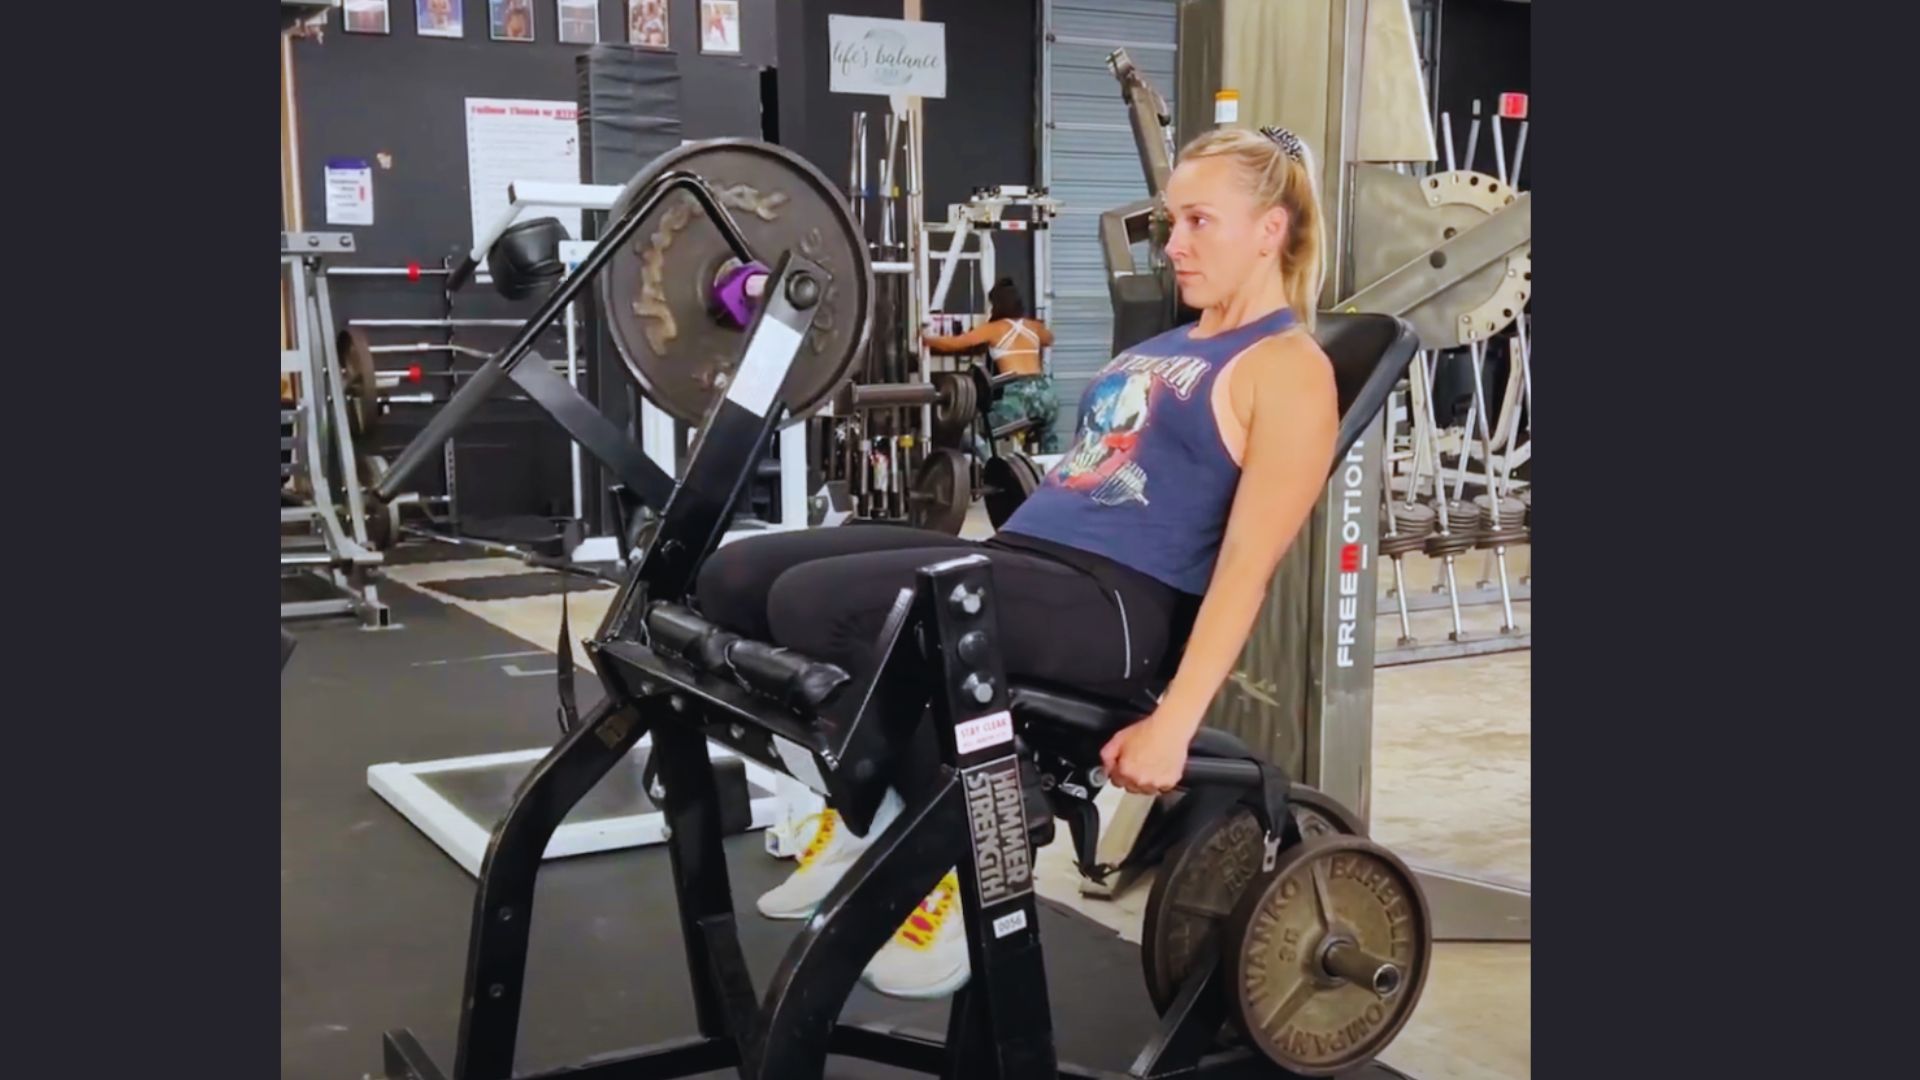
Setting Up the Hammer Curl Machine Correctly
Setup determines everything. Bad positioning kills your results before you start.
Adjusting Seat and Arm Pads for Proper Alignment
Sit down first. Your elbows should align with the machine’s pivot point.
Adjust the seat height until this happens. Too high? Your shoulders lift during the curl. Too low? You lose tension at the bottom.
The arm pads need to support your upper arms completely. Check your posture chest up, back flat against the pad, feet planted firmly.
Choosing the Right Weight
Start lighter than you think. Pick a weight you can curl for 12 reps with perfect form. You should feel the muscles working, not struggling.
Your last 2-3 reps should be challenging but not impossible. Bad weight selection equals bad form, which means wasted time and zero results.
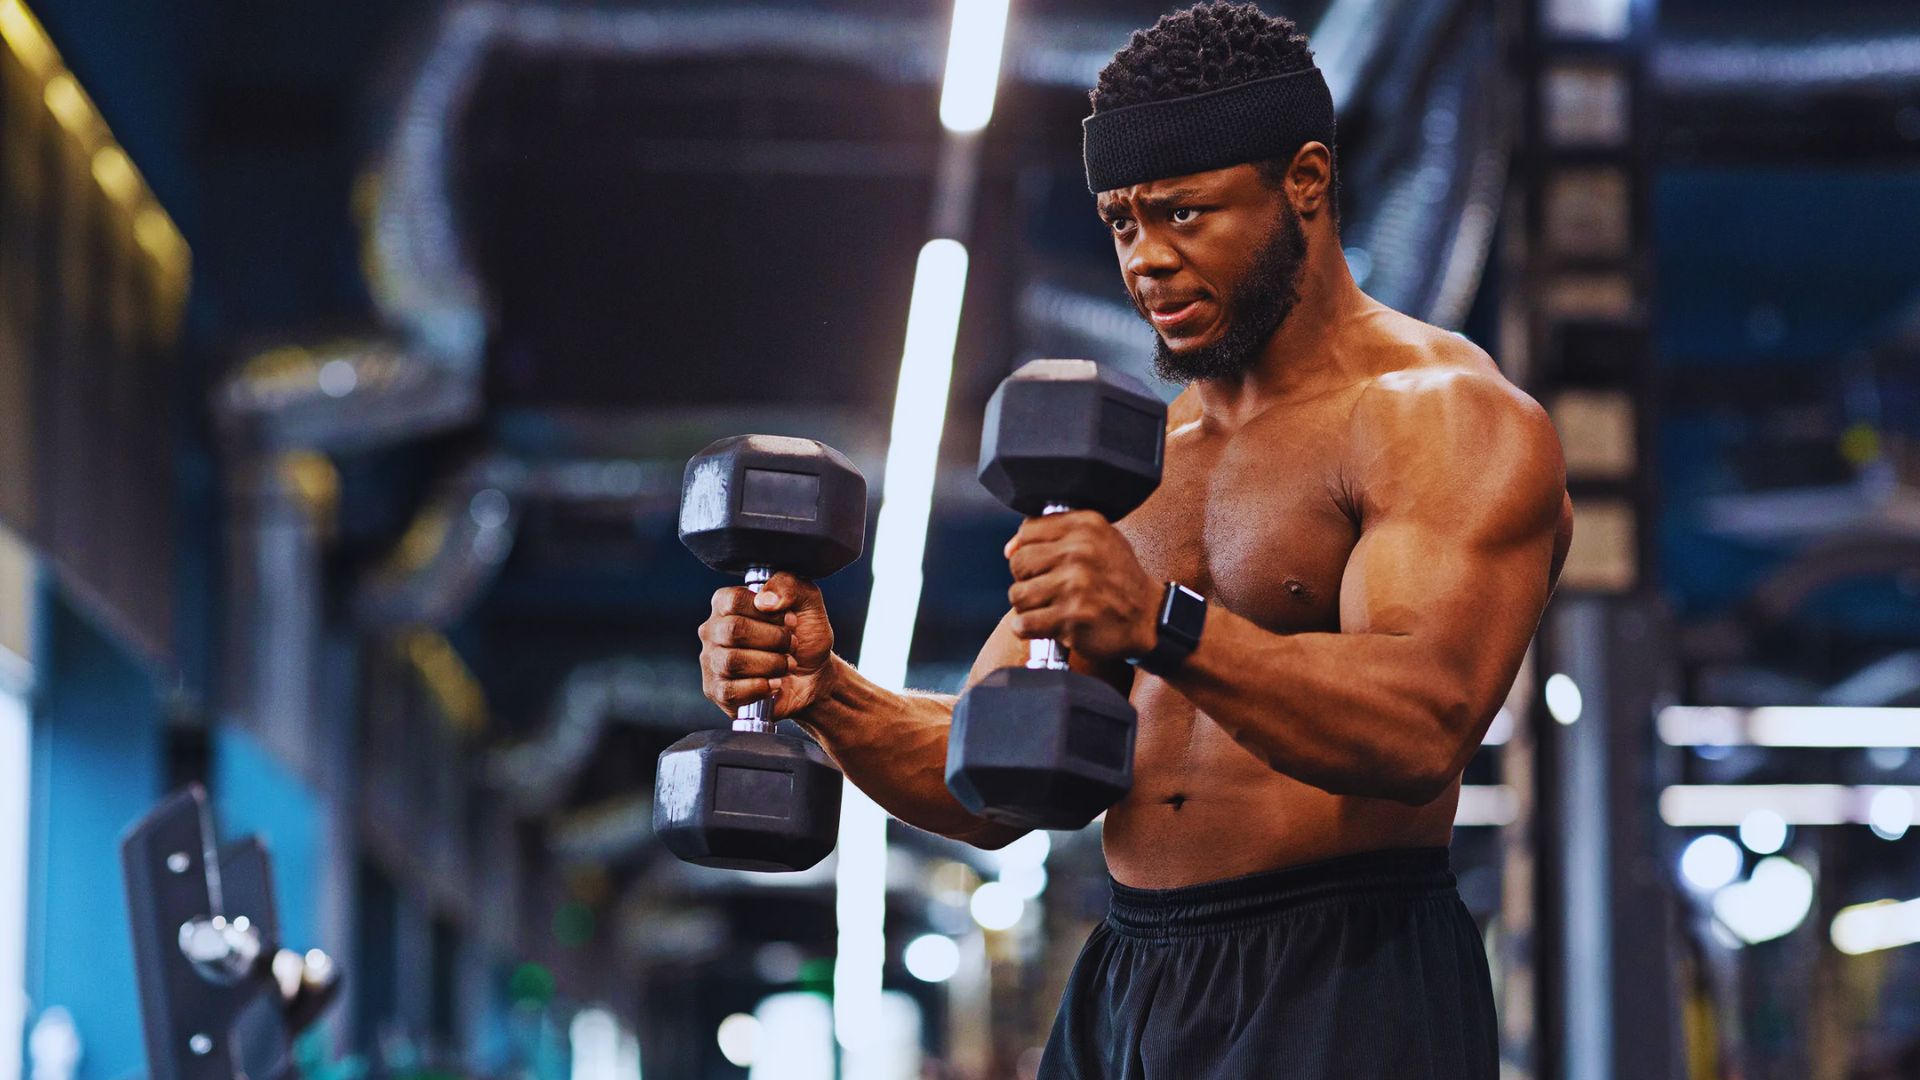
Correct Grip and Wrist Position
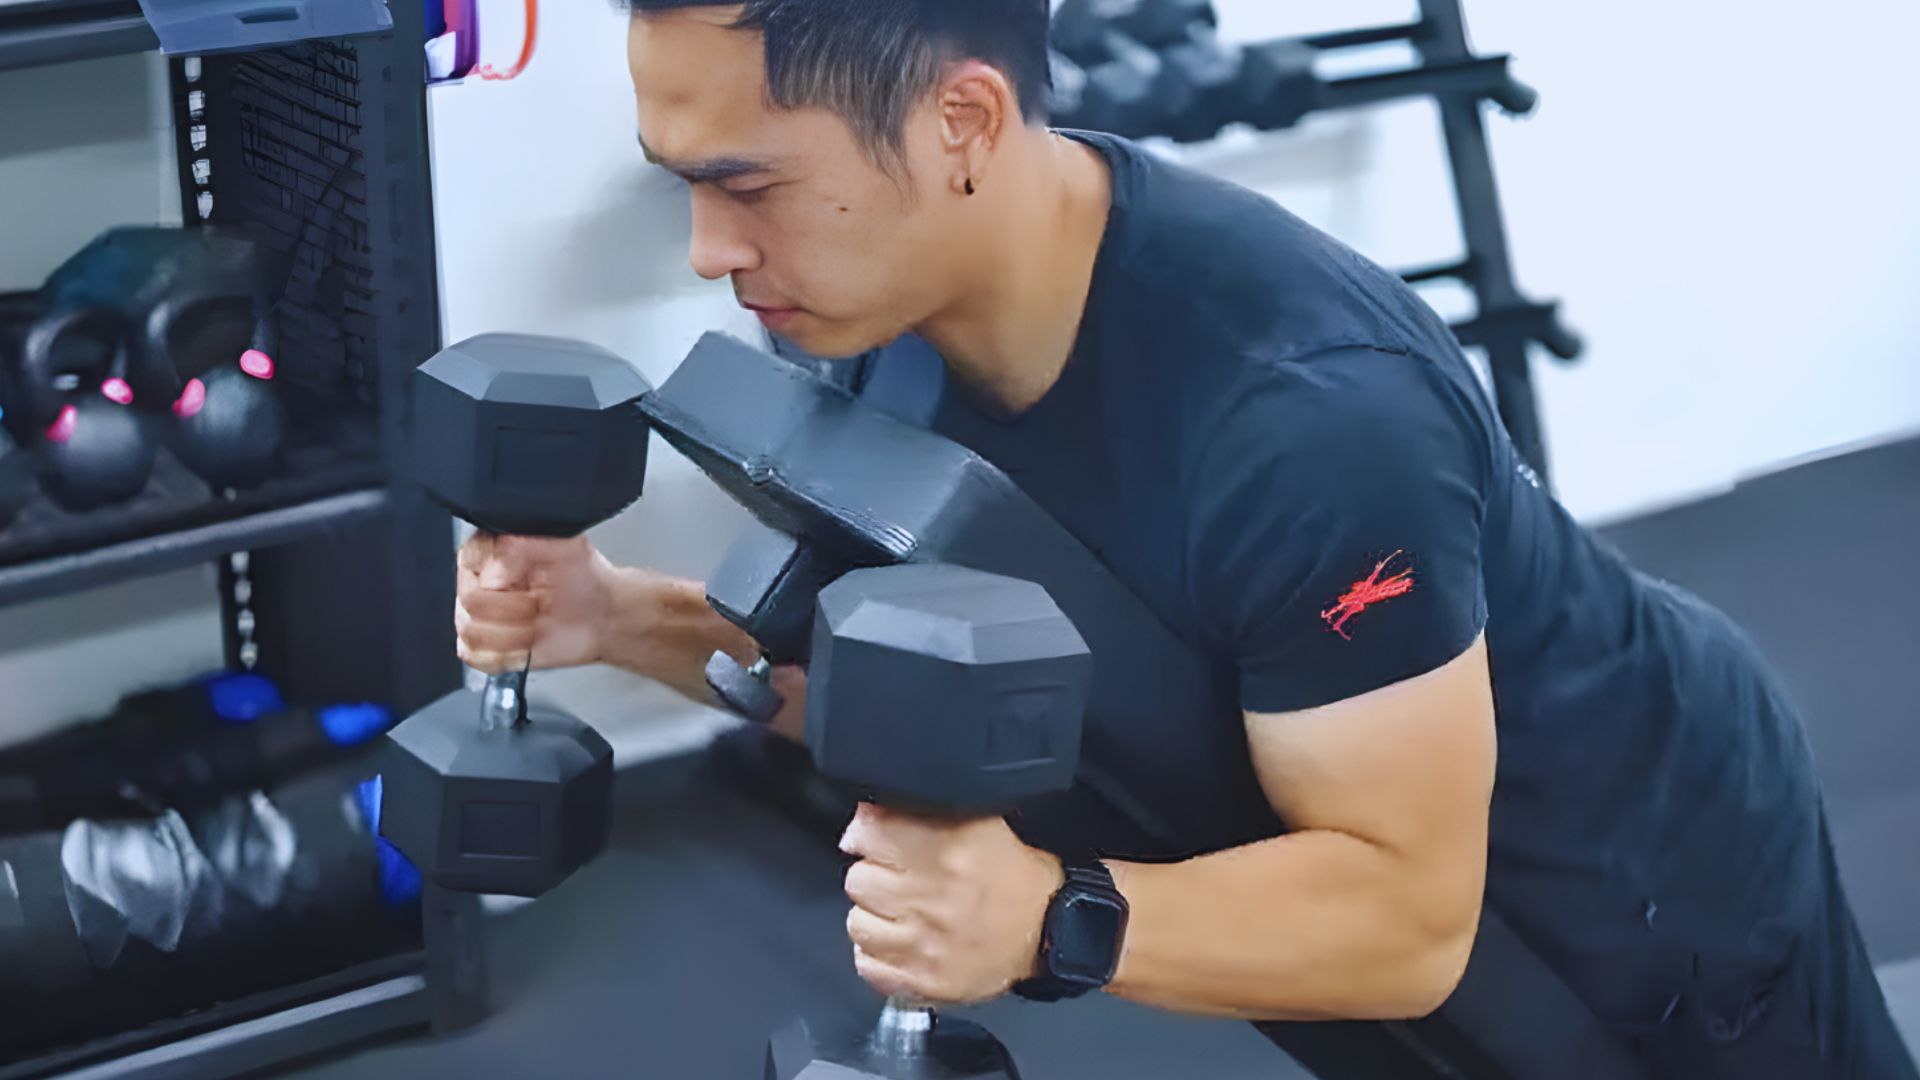
Grab the handles with palms facing each other. That’s the neutral grip. Keep your wrists straight and locked.
Don’t let them bend back or curl forward. Your grip should be firm but not white-knuckle tight. Thumbs wrap around the handles.This keeps everything secure and safe.
Step-by-Step Technique for Hammer Curls on a Machine
Here’s the exact process I use every day.
1. Prepare the Machine
Set your weight. Adjust your seat and pads. Sit with your back flush against the support pad.
Place your upper arms on the pads with elbows at the pivot point.Double-check that everything feels stable before you grab the handles.
2. Set Your Grip

Grab both handles. Neutral grip. Wrists straight.
Take a breath and brace your core slightly.Your hands should feel comfortable and natural on the grips.
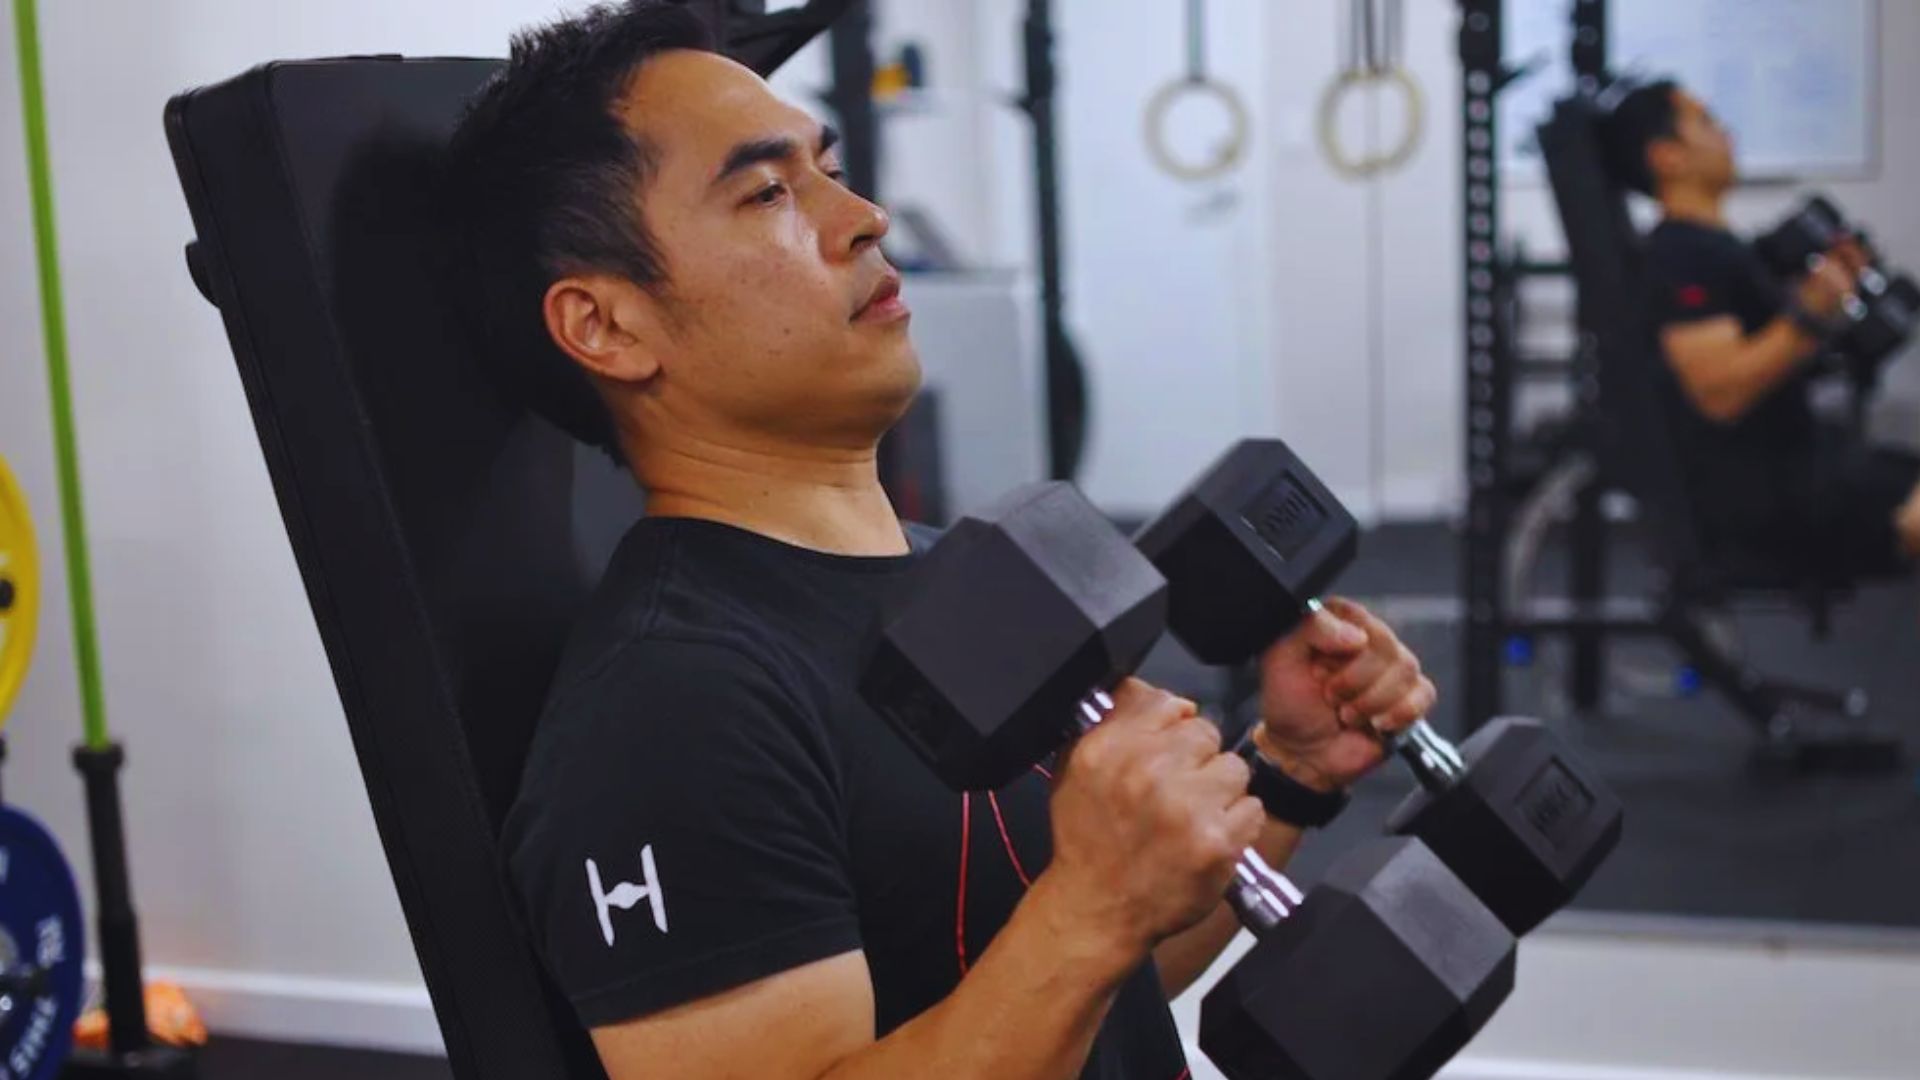
3. Starting Position
Arms should be almost fully extended. Keep a tiny bend in your elbows.
Don’t lock out completely. Your upper arms stay glued to the pads throughout the entire movement.
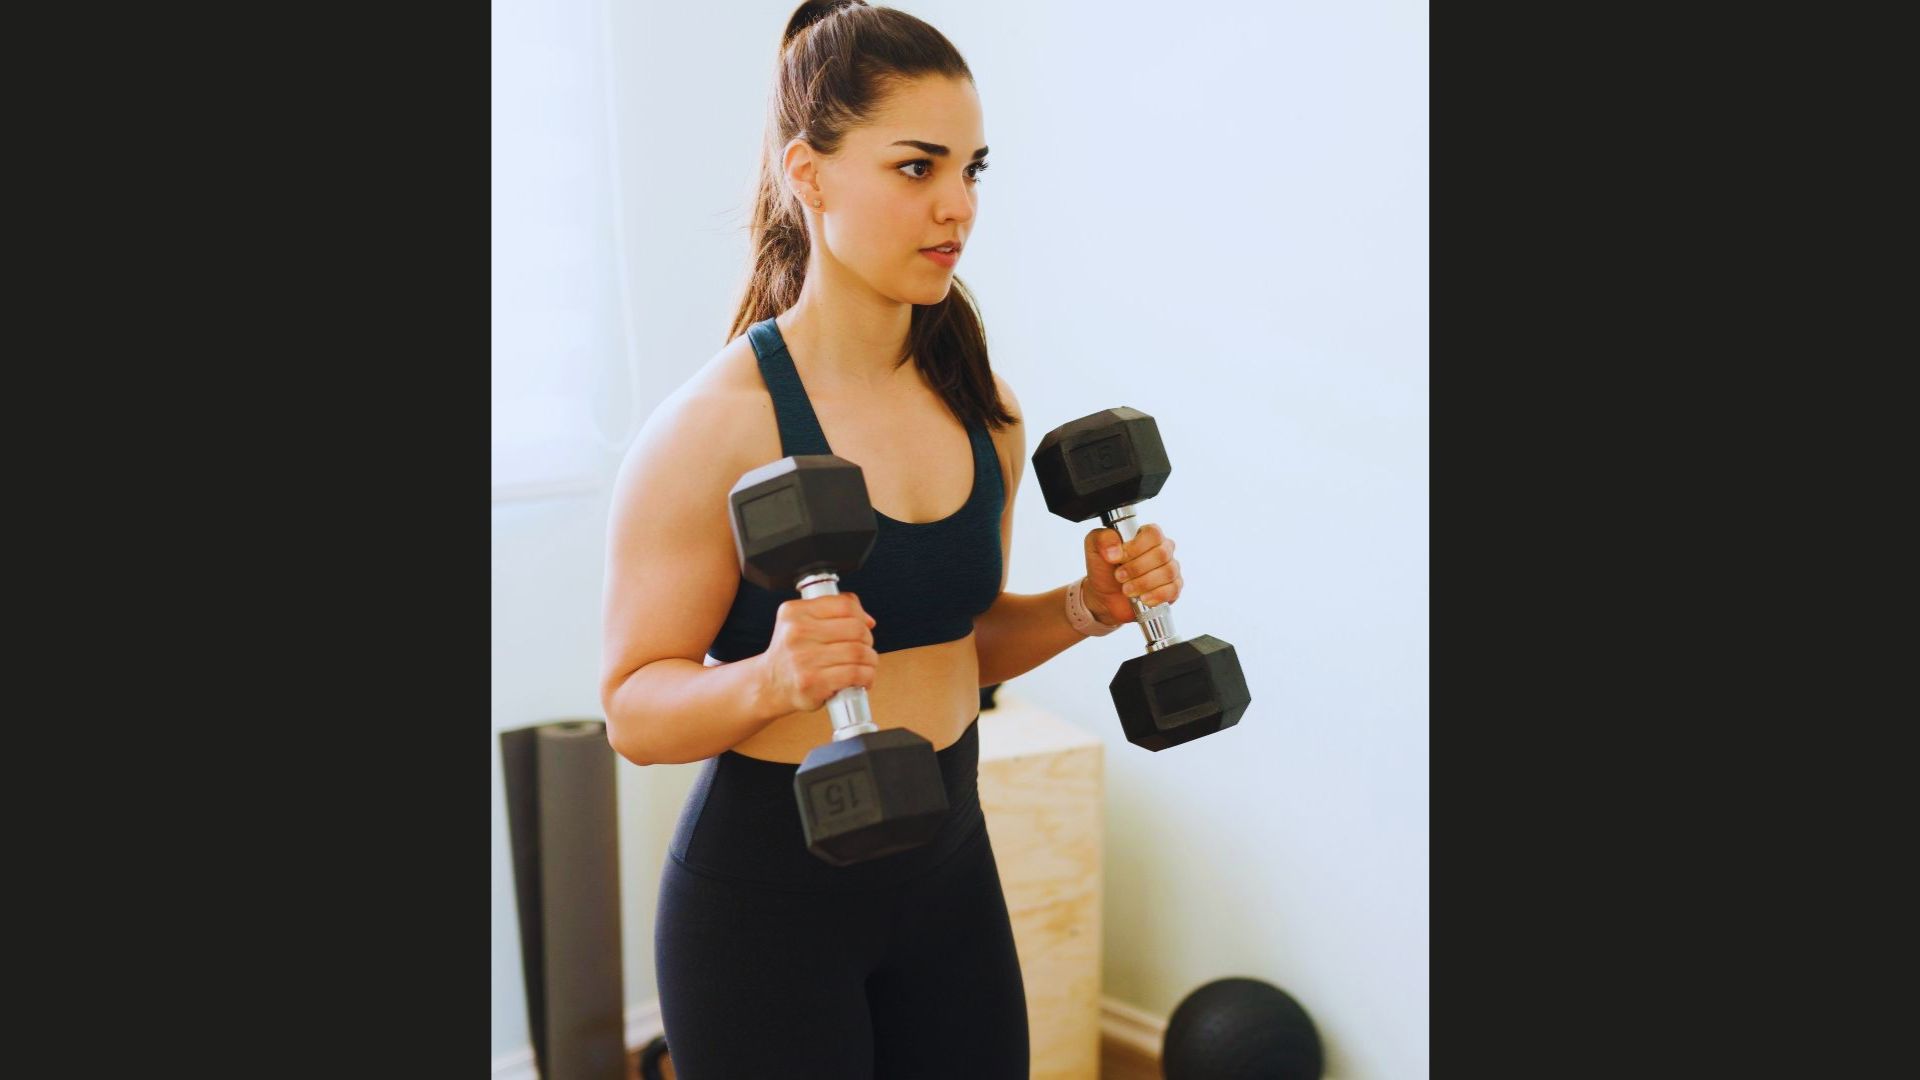
4. Curl the Weight Up

Pull the handles toward your shoulders. Squeeze your biceps and forearms hard. Move slowly and controlled, counting 2 seconds up.
You should feel tension in your muscles even before you start curling.Stop when your forearms are nearly vertical. Hold the top position for 1 second. Feel the contraction.
5. Lower the Weight
Resist the weight on the way down. This is where serious growth happens. Count 3 seconds down. Fight gravity.
Your arms should move smoothly, no jerking or dropping.Keep your shoulders down and relaxed during the entire curl.
6. Repeat for Reps
Keep breathing. Exhale during the curl up. Inhale going down.
Maintain the same tempo every rep. Stop when your form breaks down.Quality reps always beat quantity
7. Post-Workout Stretch
After your set, stretch your forearms. Press your palms together in front of your chest, fingers pointing down. Hold 20 seconds.
Then reverse it: backs of hands together, fingers up. Another 20 seconds.Stretching reduces soreness and improves flexibility for your next workout.
Tips to Properly Target Muscles During Hammer Curls
These small adjustments make a huge difference in your results.
- Pin your upper arms to the pads. No lifting them during the curl.
- Squeeze at the top of every single rep. Make it count.
- Keep your wrists locked straight. Bending them steals tension from your forearms.
- Move slowly. Fast reps mean momentum does the work, not your muscles.
- Use a full range of motion. Partial reps give partial results.
Sample Hammer Curl Machine Workouts
Pick the plan that matches your current training level.
Beginners: should do 3 sets of 10-12 reps with 90 seconds rest, using 40-50% max weight. Train 2x per week with a 2-second lift, 1-second hold, 3-second lower tempo.
Intermediate lifters:can handle 4 sets of 8-10 reps with 60 seconds rest at 60-70% max weight. Add a drop set on your final set.
Advanced trainers:perform 5 sets of 6-8 reps at 75-85% max weight with 45 seconds rest. Use slow tempo or superset with reverse curls. Try 21s for variety. Train 2-3x weekly with 48 hours between sessions.
Recovery and Stretching for Biceps and Forearms

Your muscles grow during rest, not during training. Give your arms 48-72 hours between hammer curl sessions. After each workout, spend 5 minutes stretching.
Do wrist flexor stretches by extending your arm palm up and pulling fingers back gently for 30 seconds each side.
Then do wrist extensor stretches with palm down, pressing fingers down for 30 seconds.
Finish with bicep wall stretches by placing your palm flat on a wall behind you and rotating away slightly. Ice your forearms if sore. Drink plenty of water and sleep 7-8 hours minimum.
Common Mistakes That Reduce Muscle Activation
Avoid these errors to get maximum muscle growth from every rep.
- Swinging your body turns this into a momentum exercise, not muscle isolation.
- Lifting your elbows off the pads shifts tension away from target muscles.
- Using too much weight forces you to cheat with bad form.
- Dropping the weight too fast wastes the negative portion where growth happens.
- Bending your wrists steals tension from your forearms and risks injury.
Conclusion
Your arms will thank you for taking the time to learn proper technique. I wasted months doing these wrong before someone showed me the correct form.
Start with lighter weight than your ego wants. Master the movement first. The muscle growth will come faster than you expect when you target the right areas.
Try the beginner workout this week and feel the difference in your forearms.
Drop a comment below and tell me how your first session goes. I read every single one.
Frequently Asked Questions
Can I Do Reverse Snow Angels Every Day?
No. It’s best to perform reverse snow angels 2–3 times per week with rest days in between to allow your muscles to recover and prevent overuse.
What Muscles Do Reverse Snow Angels Work?
They target your rear deltoids, rhomboids, and middle trapezius between your shoulder blades.
Are Reverse Snow Angels Good for Posture?
Yes. They strengthen muscles that pull your shoulders back and fix rounded posture.
Should My Arms Touch the Floor?
Only lower as far as comfortable. Your range improves with practice.
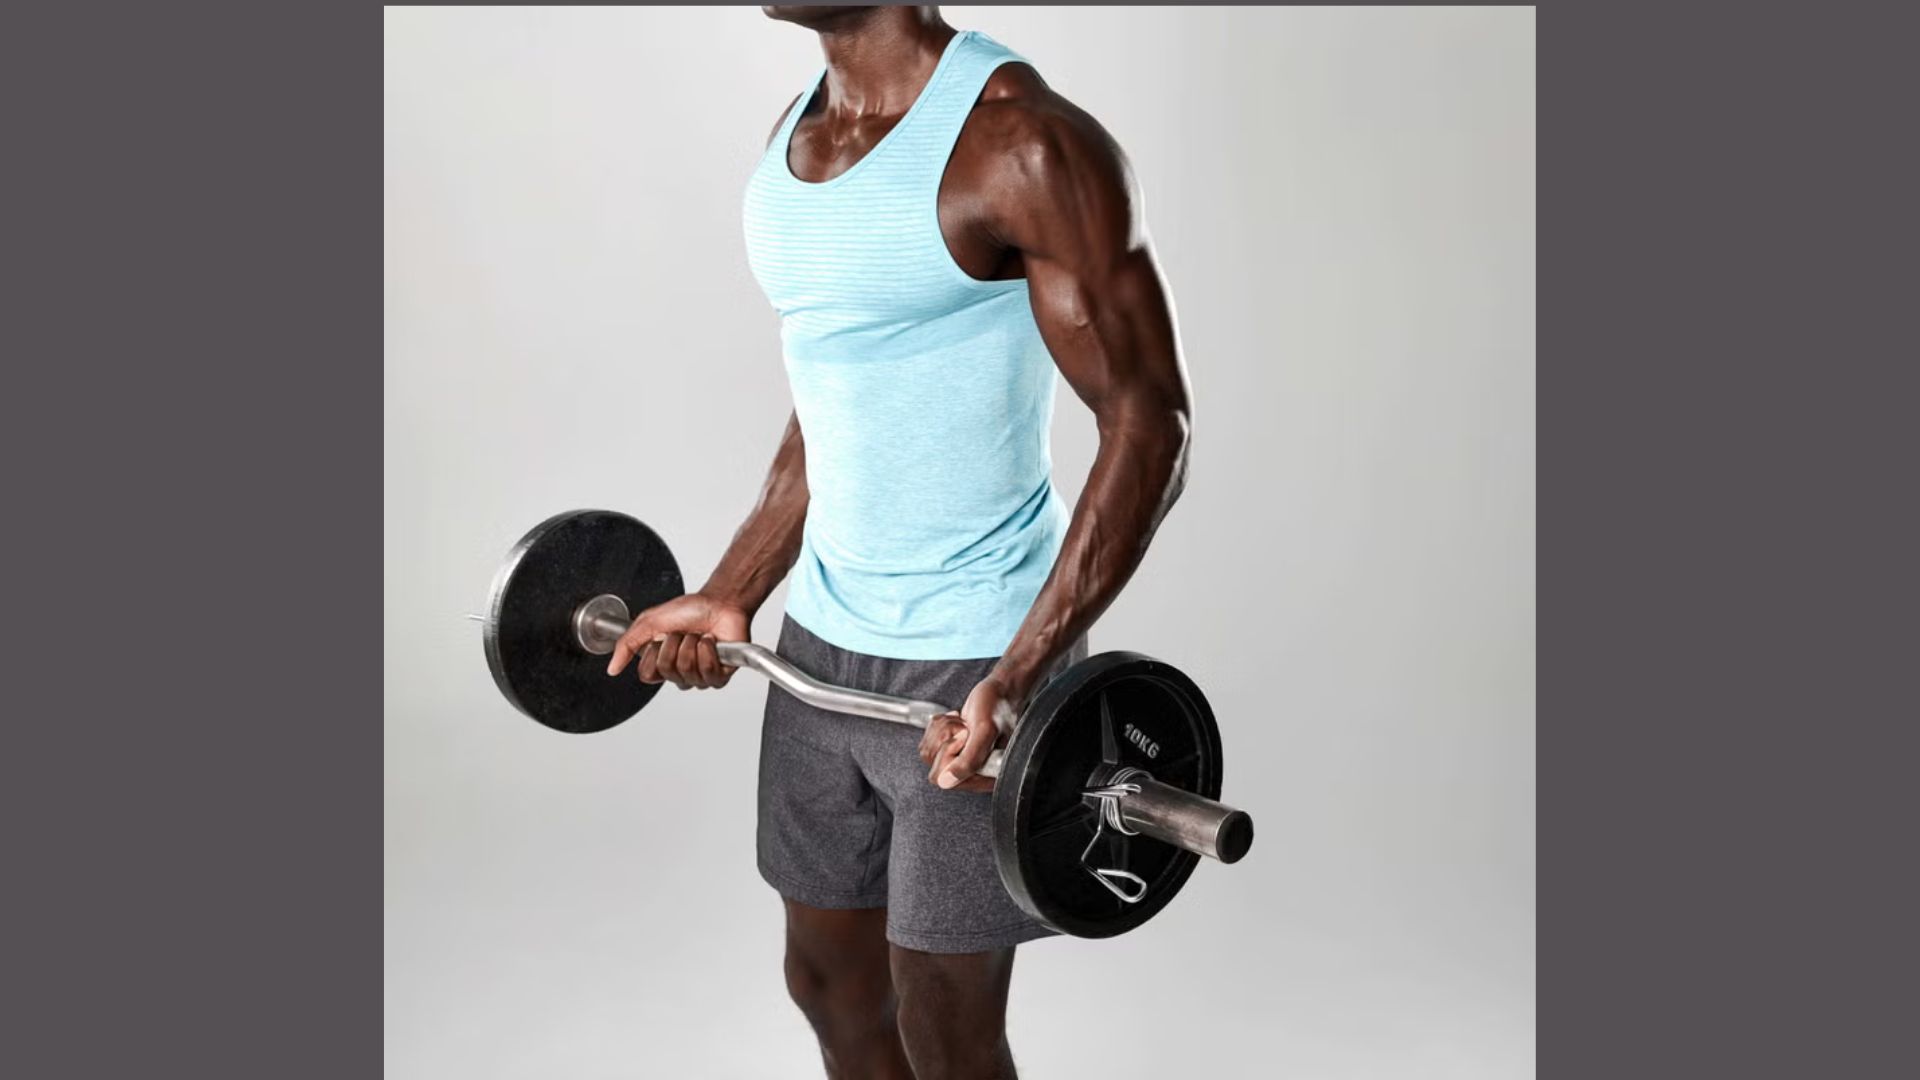
Is the Hammer Curl Machine Better Than Dumbbells?
Yes. It keeps your form strict, reduces cheating, and improves muscle isolation for biceps and forearms.


